Sunday, March 4, 2012

Warm Weather Thoughts... and Clothes.

So for a little break from the Ooh La La Pin-Up Sew-Along posts I thought I'd share something not lingerie-related for once.


Last spring I made this set and for some reason never took photos. Mostly because it was SO COLD and never warmed up over the summer. This ended up neatly tucked away with all my other warm weather clothes and projects.

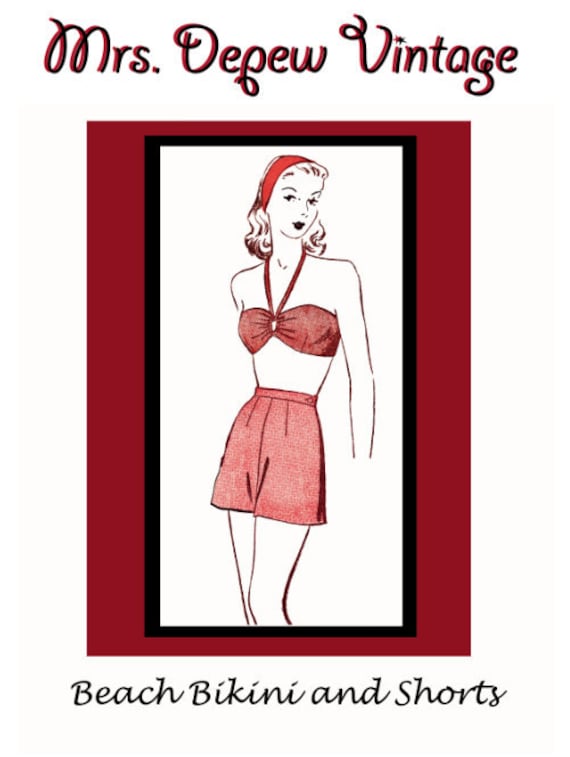
For just the short pattern, click here.
Lately people have been asking me if I have a shorts pattern at Mrs. Depew Vintage and I do! Does that mean it's warming up somewhere in the world? It gives me hope, and reason to air out my summer pretties.

I used this great Beach Set Pattern PDF that I had based on a great 40's pattern in my stash.

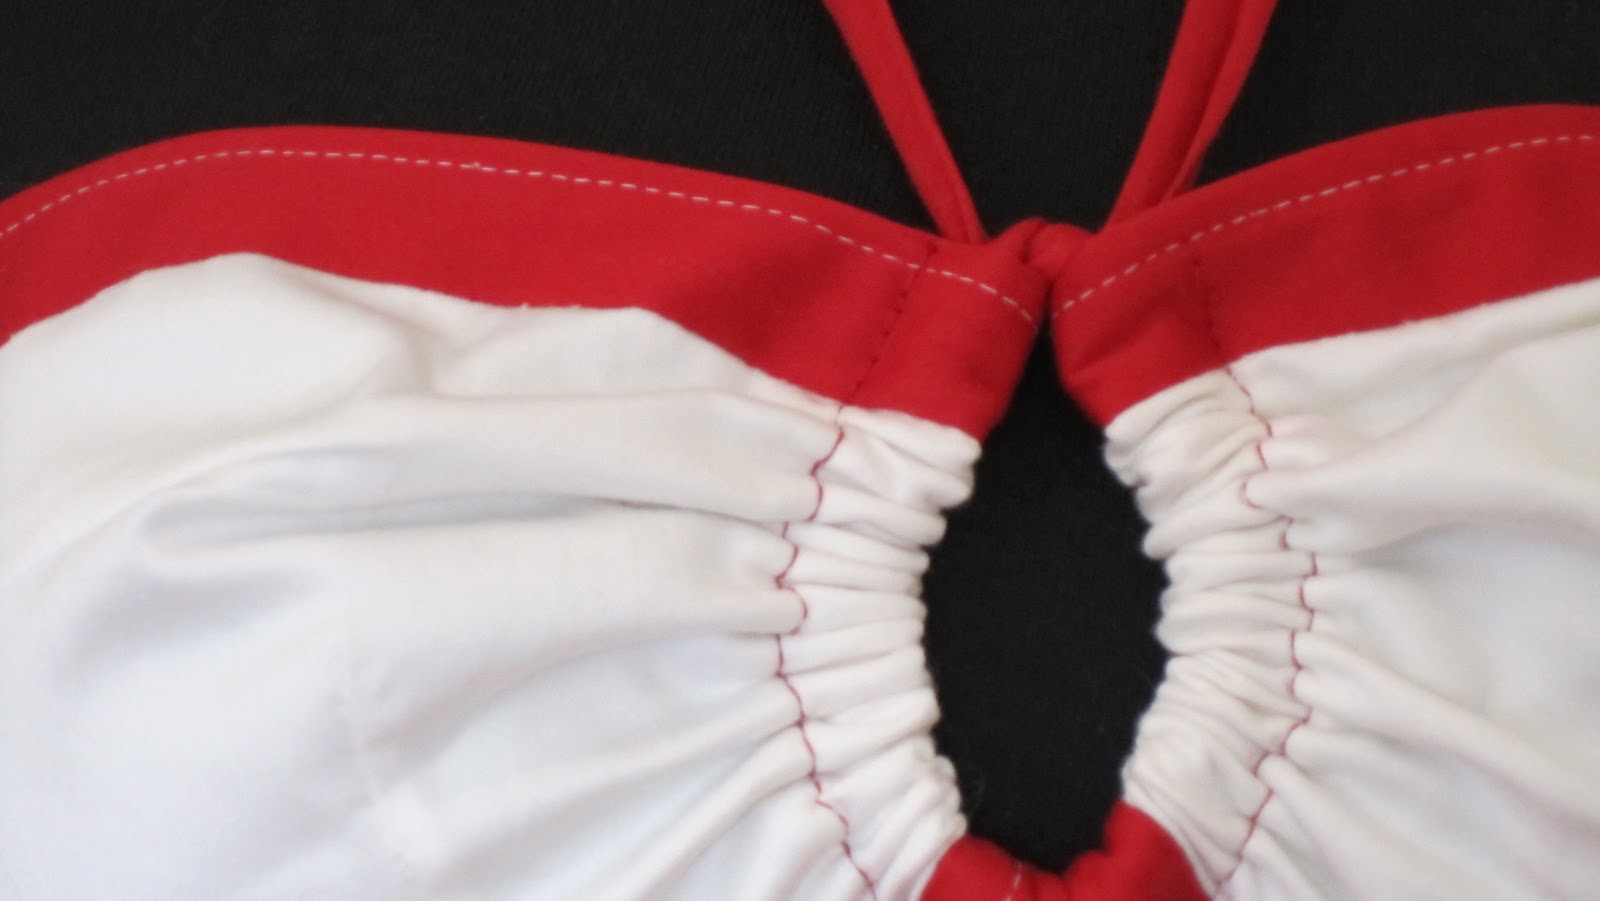
To make the contrasting top and bottom strips I just cut 2 more of the waistband piece and sewed it on like bias tape before sewing any of my seams together.


Because of the nifty gathering effect of the pattern front, there's actually quite a bit of room in the bust area, depending on how tight you tie the knot at the bust. This is a 38" bust and a friend with an enviable DD pair tired it on and it fit great. I had to snip 2" off the center seam of the pattern to make it fit my much less impressive measurements.


For the shorts fabric I used a stretch cotton sateen from fabric.com that they unfortunately don't sell anymore. As much as I love the sateen effect on cotton (ah, sateen sheets) it's a complete cat hair magnet so I'll probably avoid it in the future.


How about you? Are you starting to get a bit anxious for spring? Do you have any fun spring clothing sewing plans? I'm already thinking about more sew-along ideas and I think next time we'll try some fun separates. Maybe a blouse? What would you like to see next?

Saturday, March 3, 2012

Ooh la la Pin Up Sew-Along... Embelishments: Hooks and eyes can be pretty too.


When I last posted about the corset we had just finished sewing our hook and eye tape to the corset back. Now, here's how to make it pretty.


I chose to bind the outside edges of my closure with cream satin bias tape. This was too small a place to get a sewing machine needle into, especially with the hooks and eyes in the way, but that's ok. I really prefer to sew bias binding on by hand. I feel like I have better control over where my stitches go and how they look on both sides.

When we first moved to Norway, I made a newbie mistake and plugged my sewing machine into the wrong end of my electric transformer, blowing the electric part out. Gertie of Gertie's Blog for Better Sewing and her great readers helped me out in this post by suggesting all sorts of hand sewing projects I could do to stay busy until my machine was fixed.
I ended up sewing several projects completely by hand including an amazing silk blouse and now I consider hand stitching to be an incredibly soothing and rewarding pastime.

If you choose to bind our edge as I have done, make sure that you keep your stitches under the eyes, and that the stitches directly under the eye are split in two, just in case the hook catches, it will be anchored well there.


I bound both edges like this and then it was time to add boning again. I agree with Sarah completely when she said that if you add boning anywhere to the corset, you really need to add it to the back.


It depends on what type of hook and eye tape you have but sometimes there's a channel already hidden behind the hooks and eyes that's perfect for boning to slip into. If there isn't such a spot in your case, then don't worry! There should still be a gap between the back of the hook and eye tape against the corset fabric.


Here's my bound and boned hook edge from the outside.
For a little added embellishment I added a length of purchased ruffle trim to the back of my hook side. I just carefully slip-stitched it in place. The top and bottom ends will be nicely bound when we finish the rest of the corset binding.


Next up comes binding the top and bottom. If you've done any quilting, I'm sure your bias binding techniques will come in handy in this part!
With any luck, my garter clips will get here soon and I can finish this little beauty.

How is everyone doing so far? Are you behind or ahead of Sarah and I?
Keep in mind that there's no deadline, no homework due, and you don't have to keep the same pace as anyone else. This is to make sewing lingerie easy and fun for you, on YOUR terms!

Thursday, March 1, 2012

Ohh La La Pin Up Sew Along... Your Hook and Eye Closure


The pattern we're using...

All right Ladies, it's that time. Hook and eye time. First, allow me to disclaim a bit. This is not my very best work. I did this on day 4 of NO sleep (hurray for medicine side effects) so my pictures and sewing both are a wee bit blurry, I apologize.

This is a bit of a long post so feel free to stop half way though and have a glass of wine. I did.

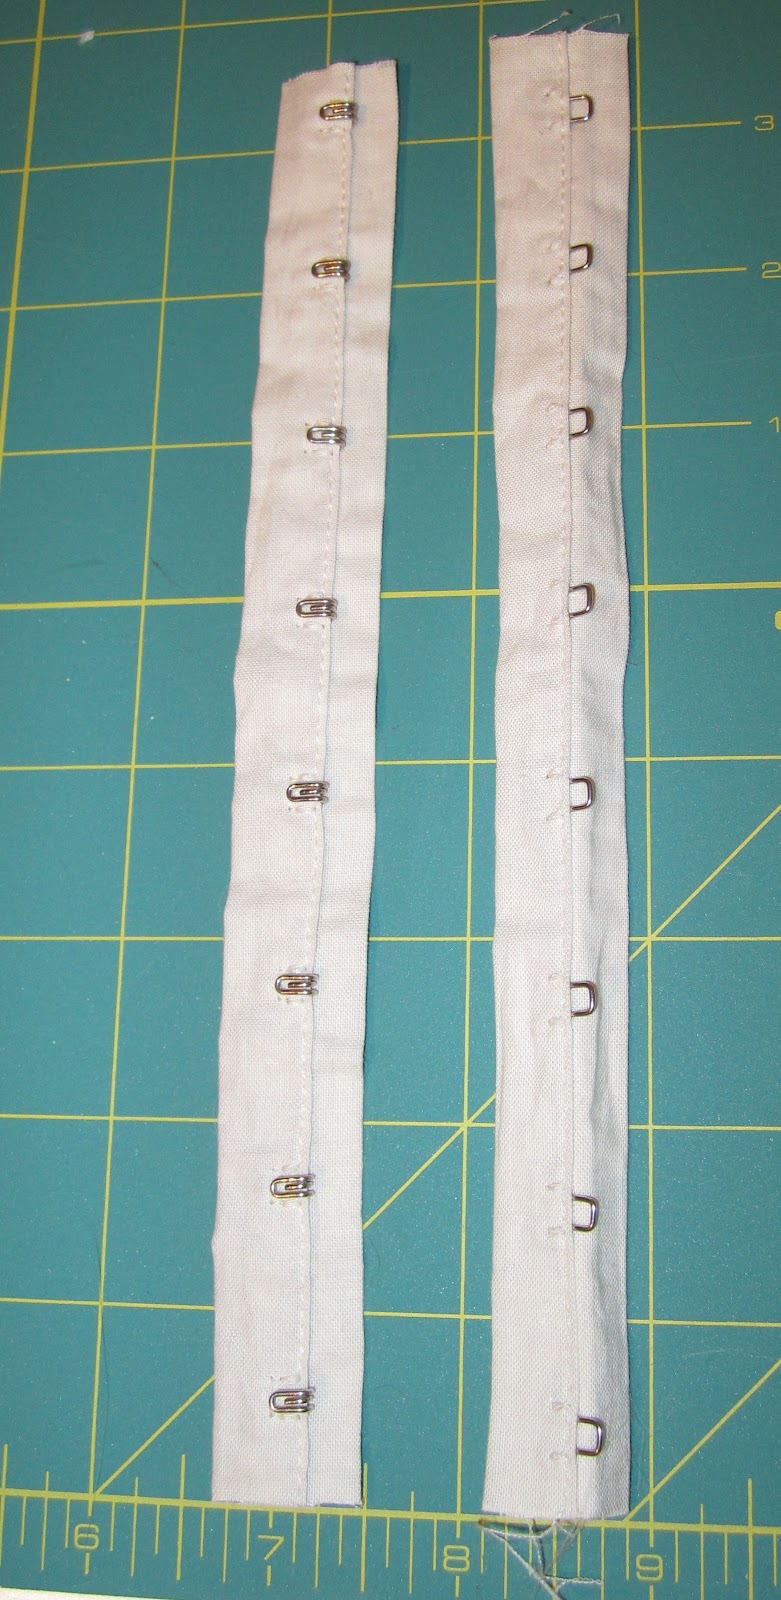
The right hand side of the tape will be our 'raw' edge.
 Start by cutting the length of hook and eye tape you need for your back closure. I recommend doing this with the hooks and eyes locked together to avoid any mismatched edges.
Decide which side you want the hooks and eyes on. I went with the standard bra formula of Hooks on the Right, Eyes on the Left.

Let's start with they eyes, shall we?

Ohh La La Pin Up Sew Along... Everything in One Place.


If you're participating in the Ooh La La Pin-Up Sew-Along then it might be a good idea to bookmark this page. Below are links to each how-to post so far and I'll keep updating to this page as well after each new post.
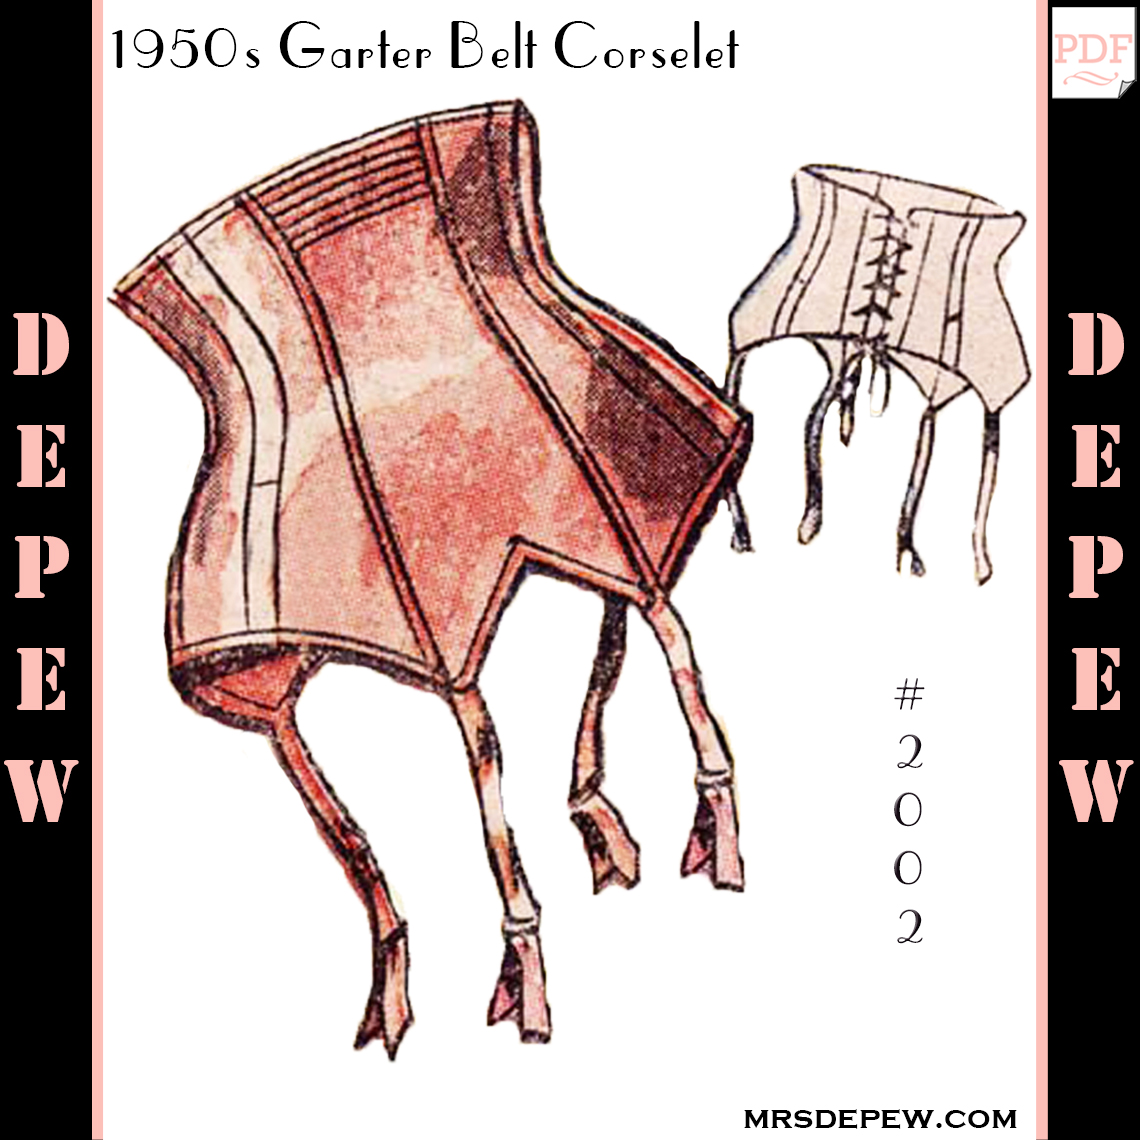
1950s French Corset/ Garter Belt #2002 vintage sewing pattern available for download here.

Part 1, Corset:
1. Introduction.
2. What you'll need.
3. Printing the pattern.
4. Corset boning and why you need it.
5. Grading your pattern up or down.
6. Sewing your muslin.
7. Lace overlay is pretty... and optional.
8. Sewing your French seams.
Ohhh Lulu: Contrasting bone casings.
Ohhh Lulu: Preparing your center back pieces- Eyelet version.
9. Adding your boning.
10. Back hook and Eye Closure.
Ohhh Lulu: Applying your eyelets.
11. Binding your edges.
12. Bias binding: sewing an inverted corner.
Ohhh Lulu: Satin-covered garter straps.
13. Attaching garter straps.
Ohhh Lulu: Adding Bows 
14: Adding rosettes, and the finished corset!

1950s French Bra pattern available for download here.
Part 2, Bra:
1. What you need to start your bra ~ Courtesy of Ohhh Lulu.
2. Making a muslin of Version 1 and how to adjust for a smaller cup size.
3. Making a muslin of Version 2 ~ Courtesy of Ohhh Lulu.
Long-line Version: Important adjustments if you're a larger cup size ~ Courtesy of Ohhh Lulu.
4. Cutting your Fabric ~ Courtesy of Ohhh Lulu.
5. Darts and lining.
6. Sewing your bra seams.
Long-line Version: Cups and corselet assembly ~ Courtesy of Ohhh Lulu.
Long-line Version: Adding a little extra support ~ Courtesy of Ohhh Lulu.
7. Attaching your lining. 
8. Cheating nature a bit... or padding your bra.
9. Bra Back Closure.
10. Binding the raw edges.
11.Sewing on your bra straps and the finished product.
12: Sewing adjustable bra straps ~ Courtesy of Ohhh Lulu. 

Part 3, Super Fancy Extended Edition; Betty High Waist Panties:
Where you can find the panties pattern. 

1. What you will need to sew the panties. ~ Courtesy of Ohhh Lulu.
2. Sarah: Sewing your muslin. ~ Courtesy of Ohhh Lulu.
3. Anna's Muslin.
4. Cutting your fabric and sewing your vertical seams. ~ Courtesy of Ohhh Lulu.
5. Sewing in the crotch lining.  ~ Courtesy of Ohhh Lulu.
6. Finishing the leg and waist openings with elastic.  ~ Courtesy of Ohhh Lulu.
7. Anna's Finished High Waist Panties.

Tuesday, February 28, 2012

Ohh La La Pin Up Sew Along... Adding your boning.


The pattern we're using...

In our last post we went over sewing a French seam to encase our corset boning.


Today we have a close up view of how the boning will fit snugly inside the channel created by the French seam. The above looks pretty narrow to fit 1/4" boning in, and it is but it will fit if you've measured your seam allowances right while sewing.


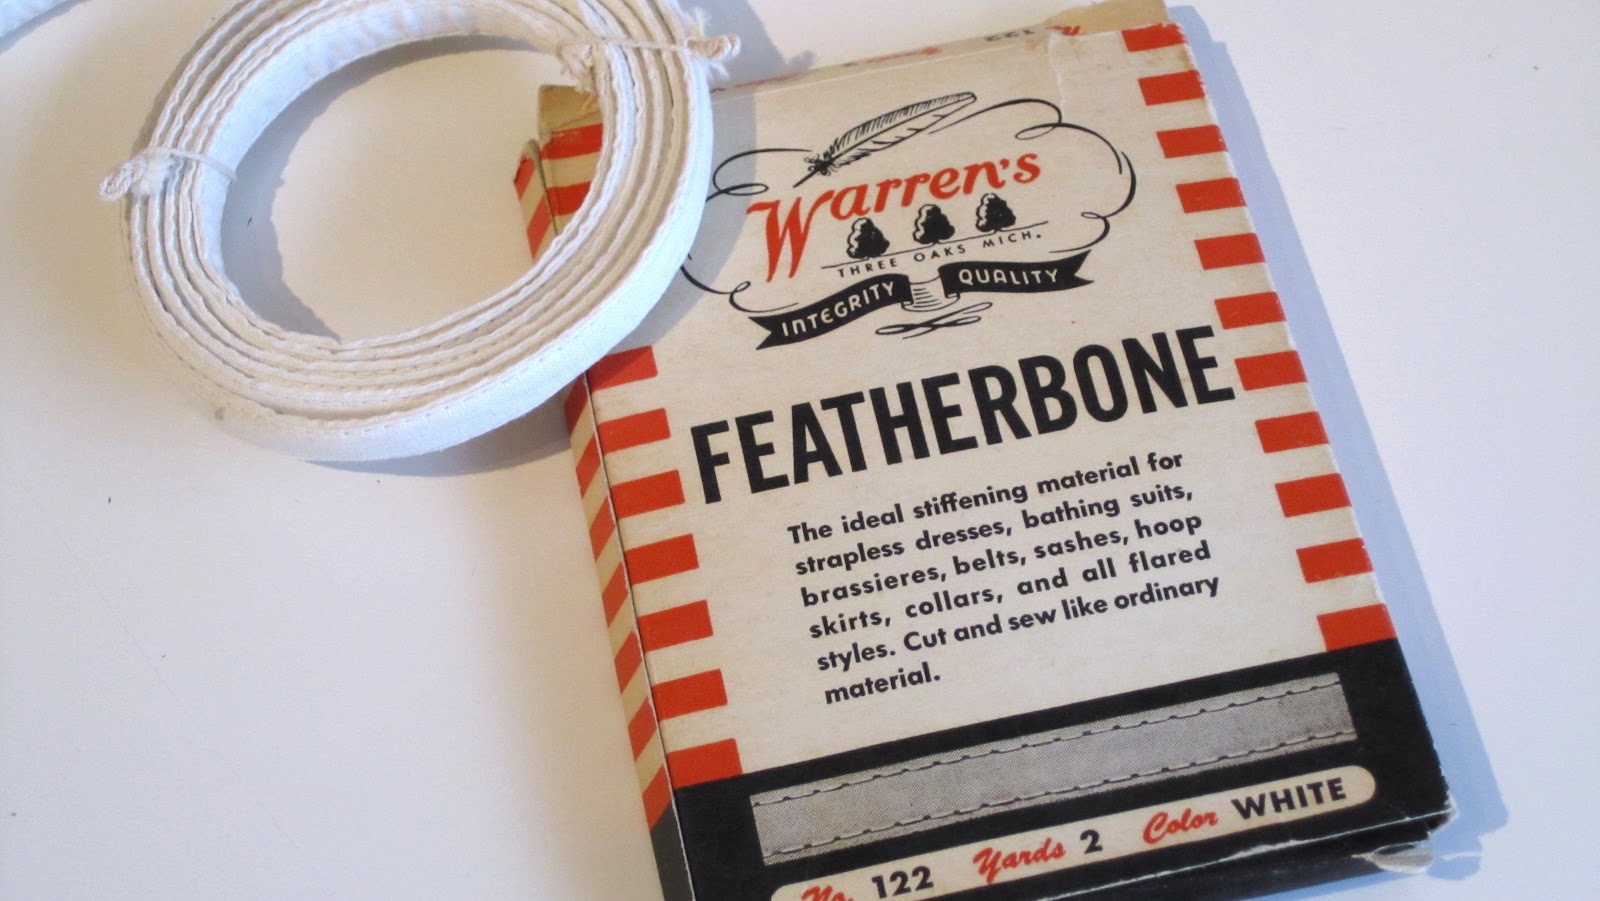
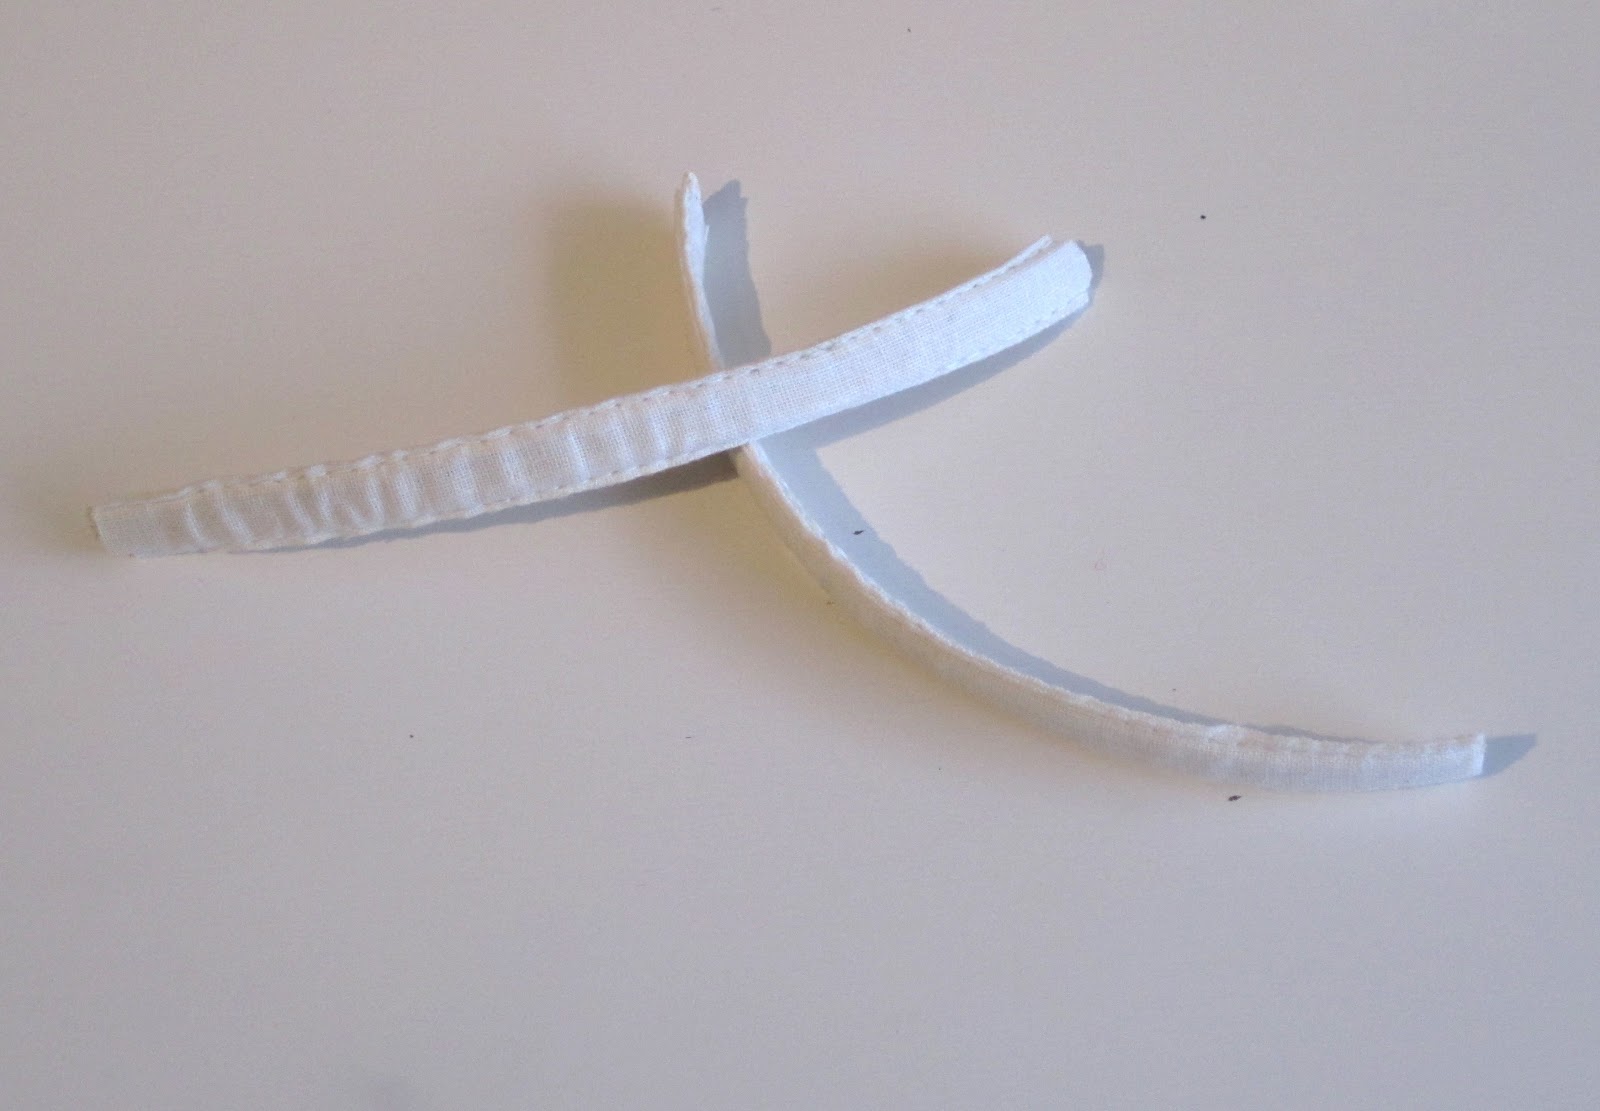
I'm using 1/4" wide, vintage 1940's Featherbone to stiffen my seams. If you want to refer back to the types of boning, Sarah gave us a really great overview in this post.


I have chosen to bone only the first side front channels marked for boning in the pattern. I'll be using the rest of my boning to stiffen my hook and eye closure at the back, which we'll talk more about in a later post.

Make sure you round the edges of your boning at the top and bottom. This keeps rough corners from wearing through your fabric and eventually poking the daylights out of you. Edges too rough for scissors? Try filing it smooth with a nail file.

Sunday, February 26, 2012

Ohh La La Pin Up Sew Along... Sewing your French seams.


The pattern we're using...

Today for the sew-along we'll sew all our side seams together. Unlike the regular seams we used to cobble our muslins together, we'll be using French seams, stitched flat to encase our boning.
But first, since this pattern has seam numbers instead of notches, how will you tell your pattern pieces apart? You can always mark with chalk or fading fabric pen but I prefer to make a key.

I'm not sure why I went up to five instead of four here, must've been the wine.
To tell my many pattern pieces apart since I used pattern weights instead of pins when cutting, I like to color code my seams with pins.


So for example, blue is seam #3, green is seam #4, and instead of matching notches, I match up the pins.

Now for our French seams. Remember, Wrong sides together, then Right. Sarah and I have both added a 5/8" seam allowance to our pattern pieces.

Friday, February 24, 2012

Ohh La La Pin Up Sew Along... Lace overlay is pretty... and optional.


The pattern we're using...

Today I'm going to show you how to do a lace overlay on your corset. This is an optional embellishment; I'm using it to overlay only three panels in the corset for contrast, pattern piece 1 and 3.


First cut out your main fabric just like you normally would. I'm using some vintage satin I've had waiting for a pretty lingerie project like this and less than 1/2 yard of 5" wide cream vintage lace.


I found another random pattern weight option. Money, or more particularly, heavy 5, 10, and 20 kroner coins. They weigh roughly the same as euro coins and silver dollars and they work great!


 For the front panel, piece #1, open it up and lay your lace over it. If you have a pattern that you want to center, do that and then pin the lace in place to your bottom fabric, smoothing but not stretching the lace.
Cut out your lace.