Showing posts with label boning. Show all posts

Saturday, March 3, 2012

Ooh la la Pin Up Sew-Along... Embelishments: Hooks and eyes can be pretty too.


When I last posted about the corset we had just finished sewing our hook and eye tape to the corset back. Now, here's how to make it pretty.


I chose to bind the outside edges of my closure with cream satin bias tape. This was too small a place to get a sewing machine needle into, especially with the hooks and eyes in the way, but that's ok. I really prefer to sew bias binding on by hand. I feel like I have better control over where my stitches go and how they look on both sides.

When we first moved to Norway, I made a newbie mistake and plugged my sewing machine into the wrong end of my electric transformer, blowing the electric part out. Gertie of Gertie's Blog for Better Sewing and her great readers helped me out in this post by suggesting all sorts of hand sewing projects I could do to stay busy until my machine was fixed.
I ended up sewing several projects completely by hand including an amazing silk blouse and now I consider hand stitching to be an incredibly soothing and rewarding pastime.

If you choose to bind our edge as I have done, make sure that you keep your stitches under the eyes, and that the stitches directly under the eye are split in two, just in case the hook catches, it will be anchored well there.


I bound both edges like this and then it was time to add boning again. I agree with Sarah completely when she said that if you add boning anywhere to the corset, you really need to add it to the back.


It depends on what type of hook and eye tape you have but sometimes there's a channel already hidden behind the hooks and eyes that's perfect for boning to slip into. If there isn't such a spot in your case, then don't worry! There should still be a gap between the back of the hook and eye tape against the corset fabric.


Here's my bound and boned hook edge from the outside.
For a little added embellishment I added a length of purchased ruffle trim to the back of my hook side. I just carefully slip-stitched it in place. The top and bottom ends will be nicely bound when we finish the rest of the corset binding.


Next up comes binding the top and bottom. If you've done any quilting, I'm sure your bias binding techniques will come in handy in this part!
With any luck, my garter clips will get here soon and I can finish this little beauty.

How is everyone doing so far? Are you behind or ahead of Sarah and I?
Keep in mind that there's no deadline, no homework due, and you don't have to keep the same pace as anyone else. This is to make sewing lingerie easy and fun for you, on YOUR terms!

Tuesday, February 28, 2012

Ohh La La Pin Up Sew Along... Adding your boning.


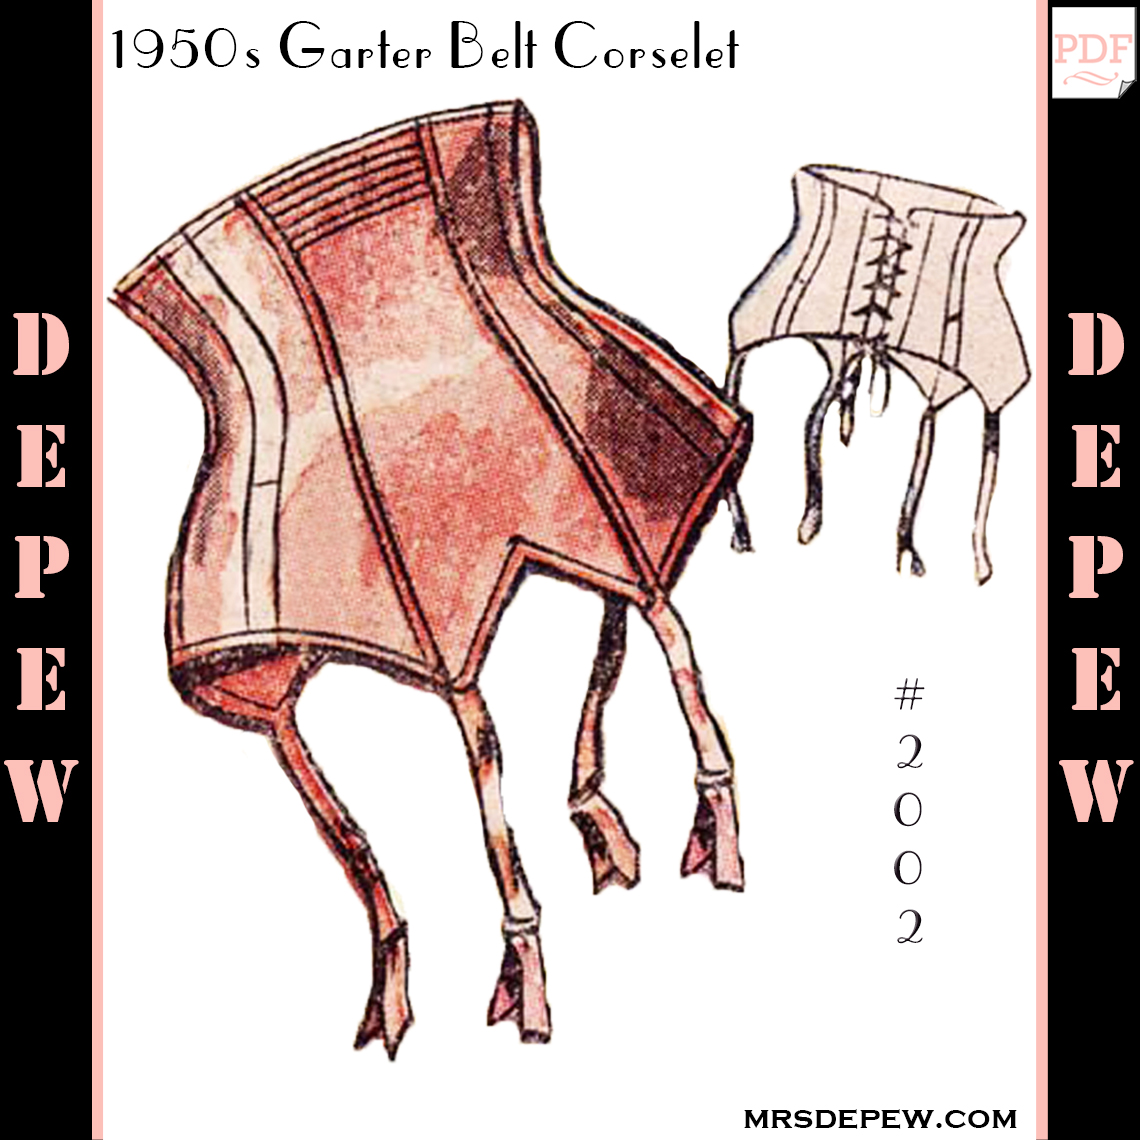
The pattern we're using...

In our last post we went over sewing a French seam to encase our corset boning.


Today we have a close up view of how the boning will fit snugly inside the channel created by the French seam. The above looks pretty narrow to fit 1/4" boning in, and it is but it will fit if you've measured your seam allowances right while sewing.


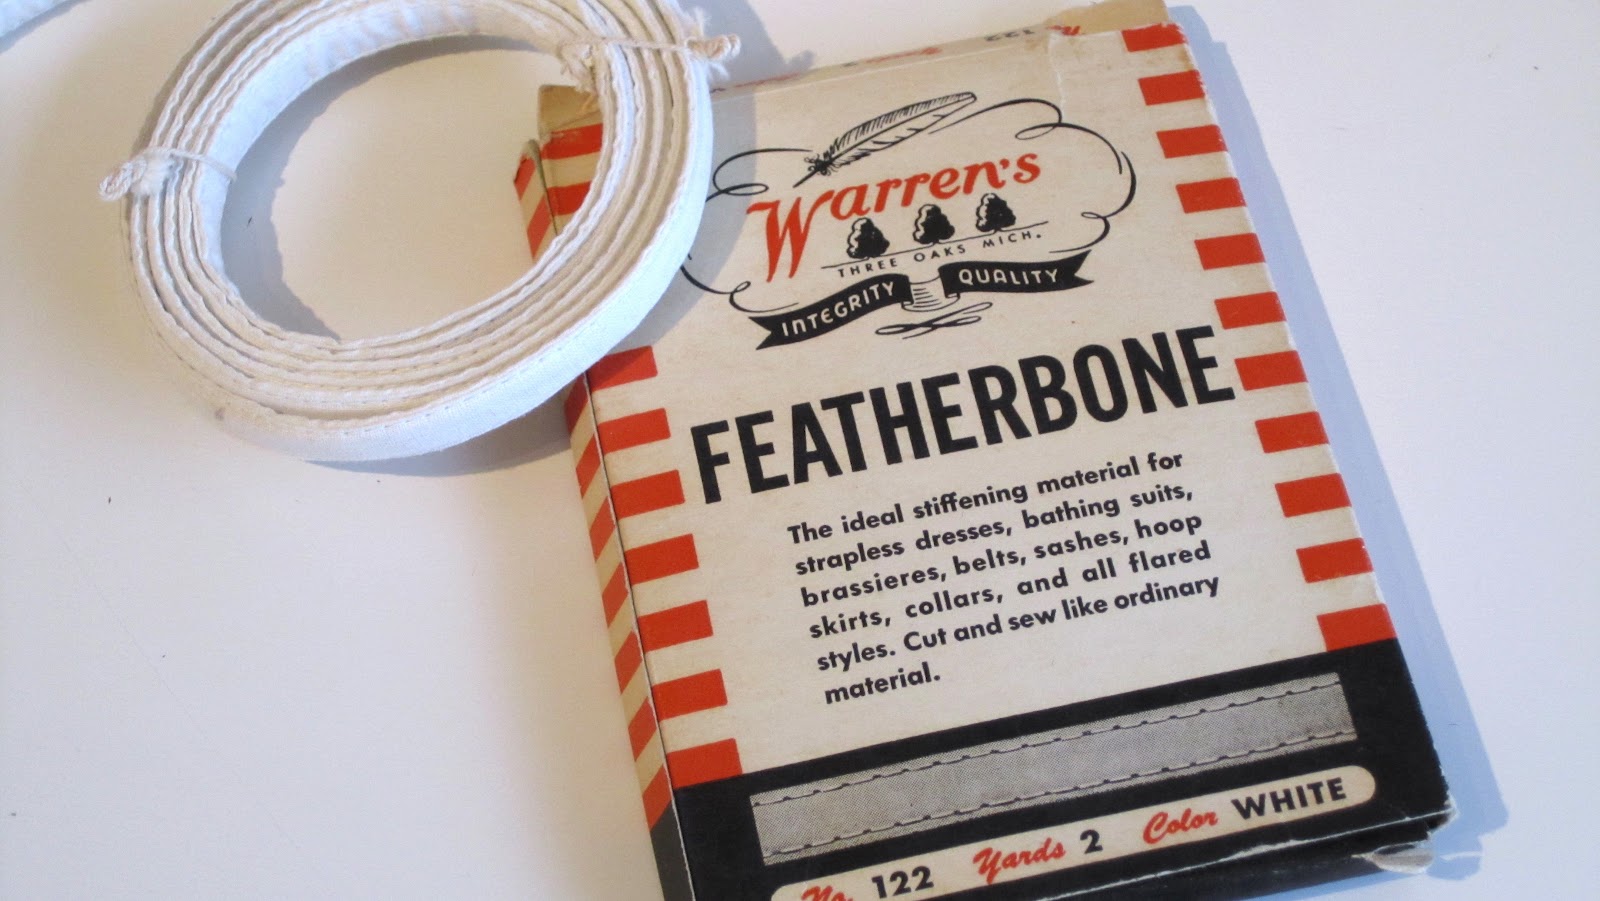
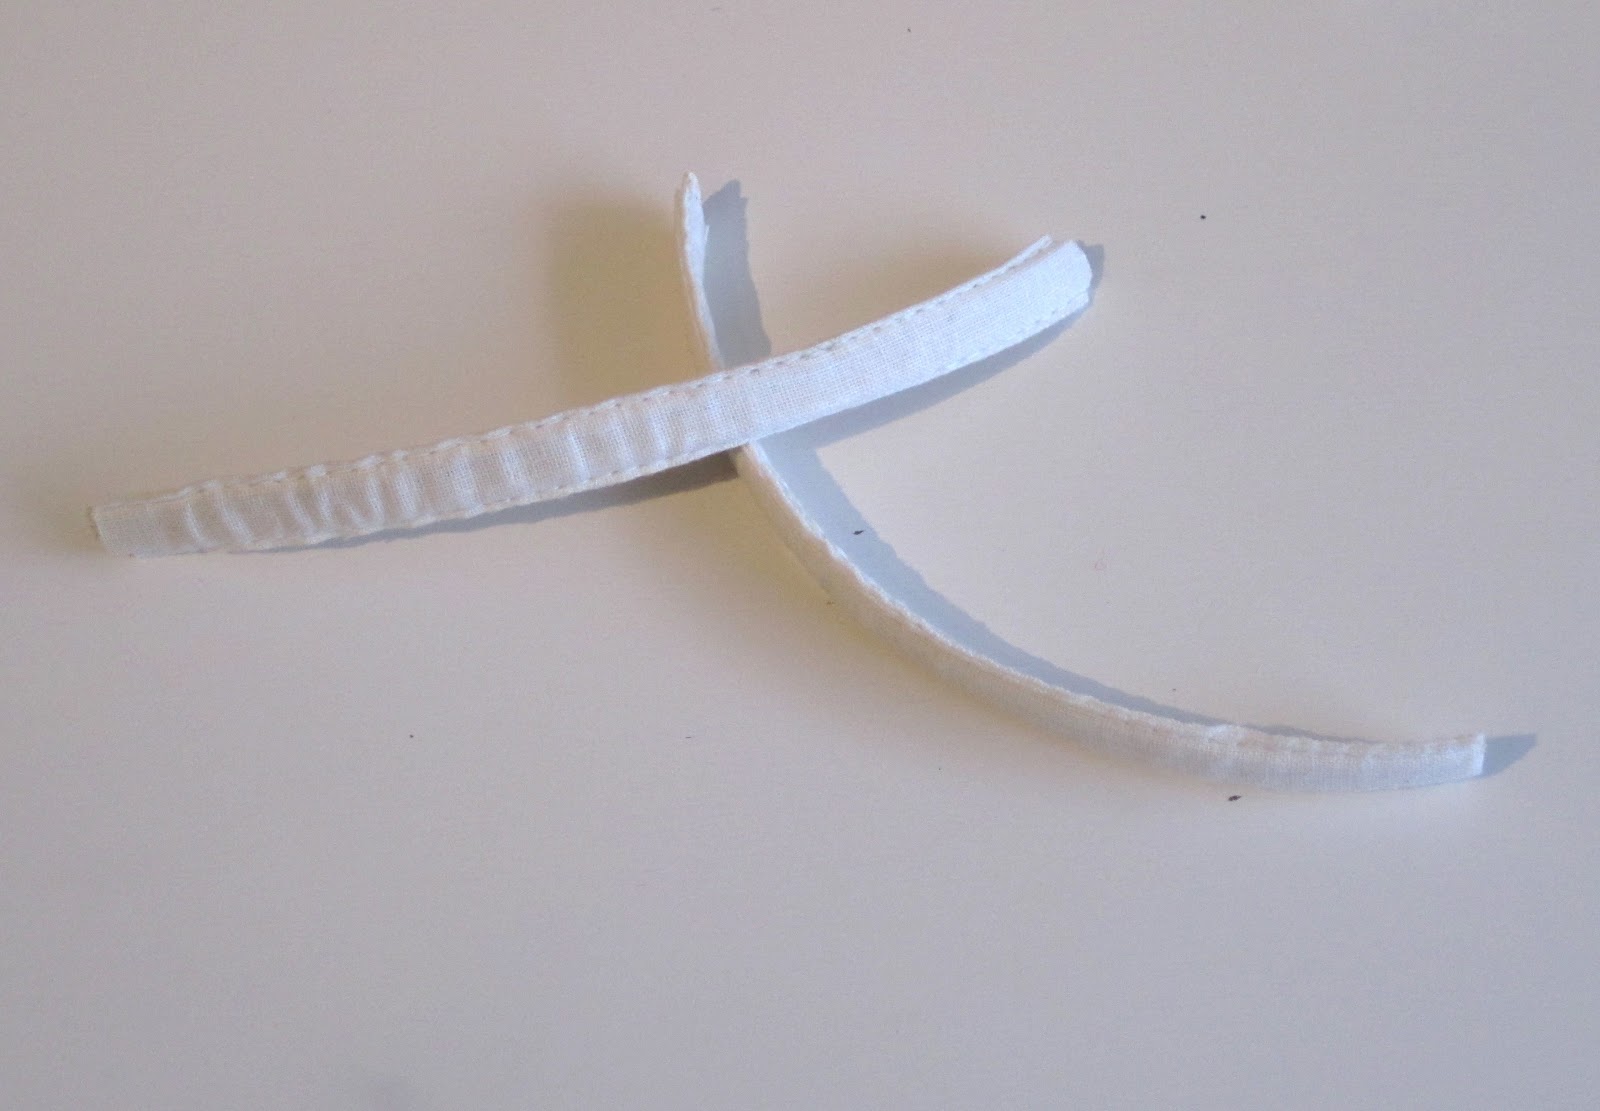
I'm using 1/4" wide, vintage 1940's Featherbone to stiffen my seams. If you want to refer back to the types of boning, Sarah gave us a really great overview in this post.


I have chosen to bone only the first side front channels marked for boning in the pattern. I'll be using the rest of my boning to stiffen my hook and eye closure at the back, which we'll talk more about in a later post.

Make sure you round the edges of your boning at the top and bottom. This keeps rough corners from wearing through your fabric and eventually poking the daylights out of you. Edges too rough for scissors? Try filing it smooth with a nail file.

Tuesday, February 21, 2012

Ooh la la Pin Up Sew-Along... Corset boning and why you need it.

 
When to Use Boning, and What Kind
The question is, are you wearing it to the bedroom or the boardroom?
Boning your corset is always best, to be honest. In my experience, unless it’s hiding under a dress, bedroom lingerie has a shelf life of about 2.5 minutes before it lands on the floor. That 2.5 minutes doesn’t require too much support. The main point of the side boning in this corset is to keep it from folding and bunching up on you when you bend over.
(I’m sorry, I’m immature, and I’m giggling at all the double entendres as I write this.)

There are several kinds of boning that you can use both new and vintage.


Vintage Notions:
My mother, the fantastic vintage dealer and former custom corset-maker literally has buildings full of vintage clothing, patterns, ribbon, fabric, notions and a million other things. Last summer on a visit home she and I dug through boxes and boxes and I stumbled across more than one large box that was overflowing with old bias tape, rick rack, needles, ribbons, spools of thread, and to my delight, a box of Warren’s Featherbone.


Needless to say, I bought an extra suitcase to drag the contents of the box home with me.