

For our next installment of the Ohh La la Pin-up Sew-along we'll be sewing all of our major seams for the bra. I have chosen to add lace overlay to my bra upper pieces as you can see below. For a great post on an alternative to lining the whole bra, check out Sarah's awesome post on lining just the lower front cup. (The results are gorgeous!)
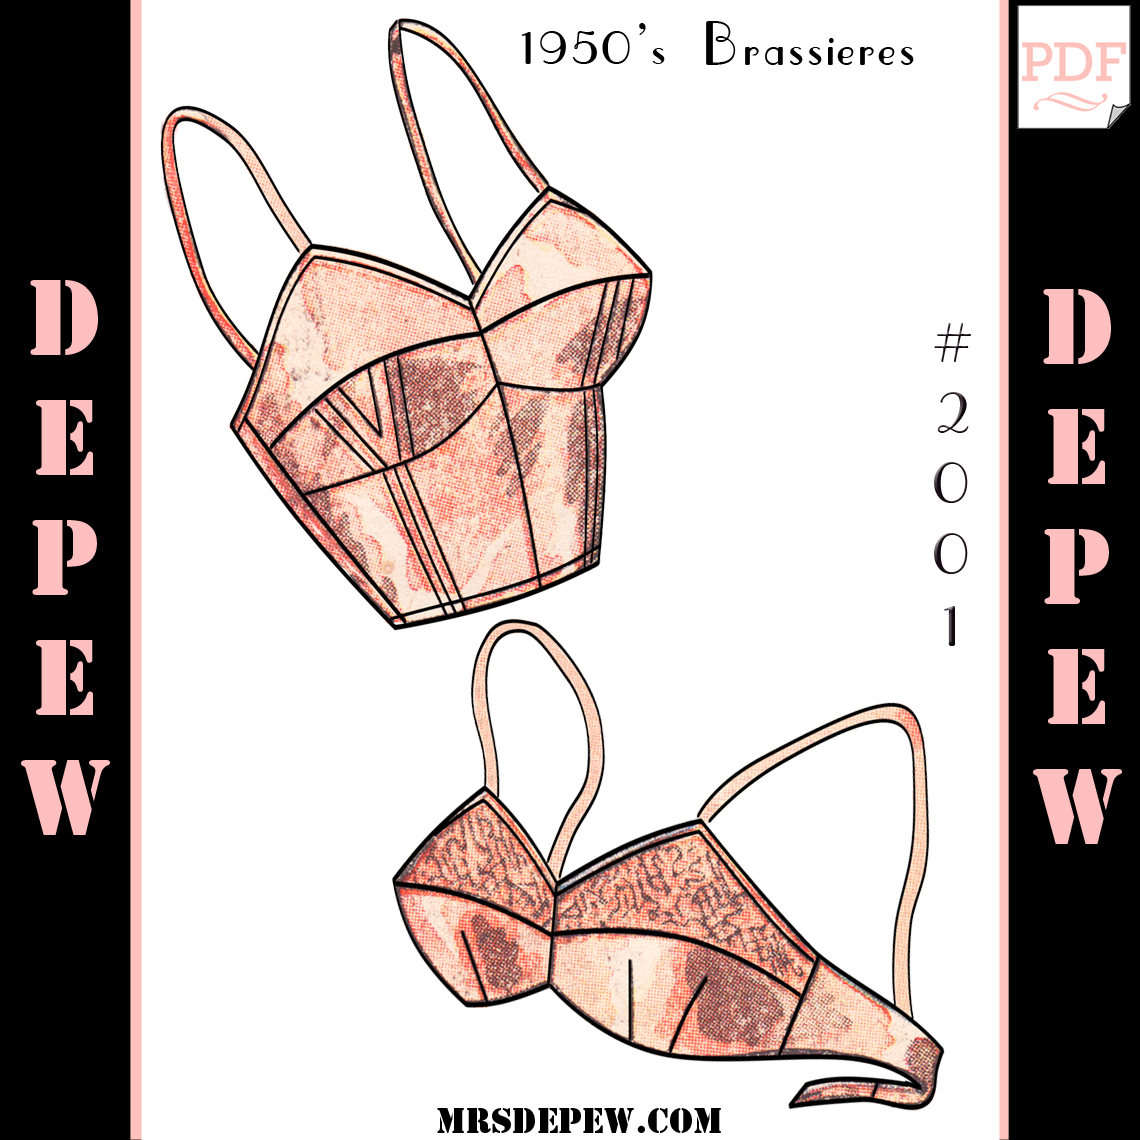 |
| The pattern we're using... |

Start with just the Front Upper pieces (#1). Lay them both right sides together and stitch the seam marked A. This is your center front seam.
 |
| Upper fronts (outer version) sewn together at center seam A. |
I will be pinking all of my seams with shears as I go. For straight seams like the center here this is not so big a deal, but when we get to curved seams, if you don't pink them, then definitely clip them so that they can curve properly. This is always important in a bra. Also, don't forget to press your seams!
 |
| Upper Front center seam A (my lining) from the inside. |
Next we join the center seam for the Lower Fronts (#2). Place them right sides together and stitch. Then trim and press.

 |
| My lower front bra cups, outer and lining. |

If you're working with slippery fabrics like satin (as I am) then there's a trick to keep your center front seam from shifting off center while you sew. Here is my bra lining. As you can see the center has shifted slightly while being stitched from one end to the other and is now about 1/8" off.

To avoid this, start instead by stitching from the center out to the ends in each direction as I have done below with my outer front.
 |

Voila! Now that we have the center front and cup seams sewn, we can attach our bra backs.

Below is my bra front lining and my bra back lining pieces. Place the bra back (#3) right sides together with the bra front side seam and stitch.

Then trim and press.
 |
| Bra side seam. |

Do the same with both your lining and bra outer pieces until you have 2 bundles of fabric that are starting to resemble something like a bra!

Next up, sewing our bra lining to our outer bra.
How are you doing so far? Are you lining your whole bra like I am or are you going for a less bulky, partially lined version as Sarah is?
On another note, for those of you who fell in love with Modes et Travaux Magazine when I shared my collection in this post, the lovely Louise from Forever French has added some amazing ones to her shop this week.
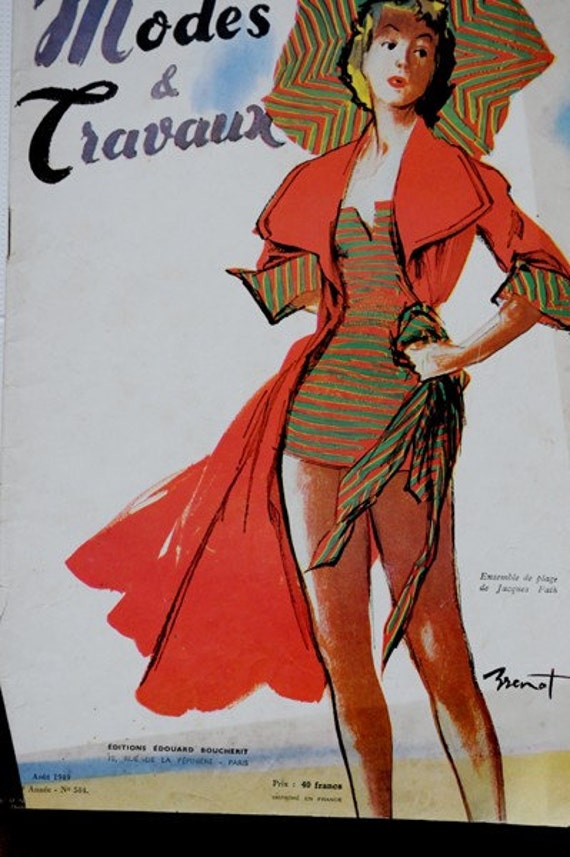 |
| I would have bought this one too if it had been a different color scheme! |
1 comments:
I love the lace its gorgeous! Can't wait to see what it looks like! XxxX http://thesecondhandrose.blogspot.co.uk/
Post a Comment