

Lets sew a bra, shall we? I'm going to start with sewing the plain bra (version 1) and later on I'll do the corselet (version 2) as well.
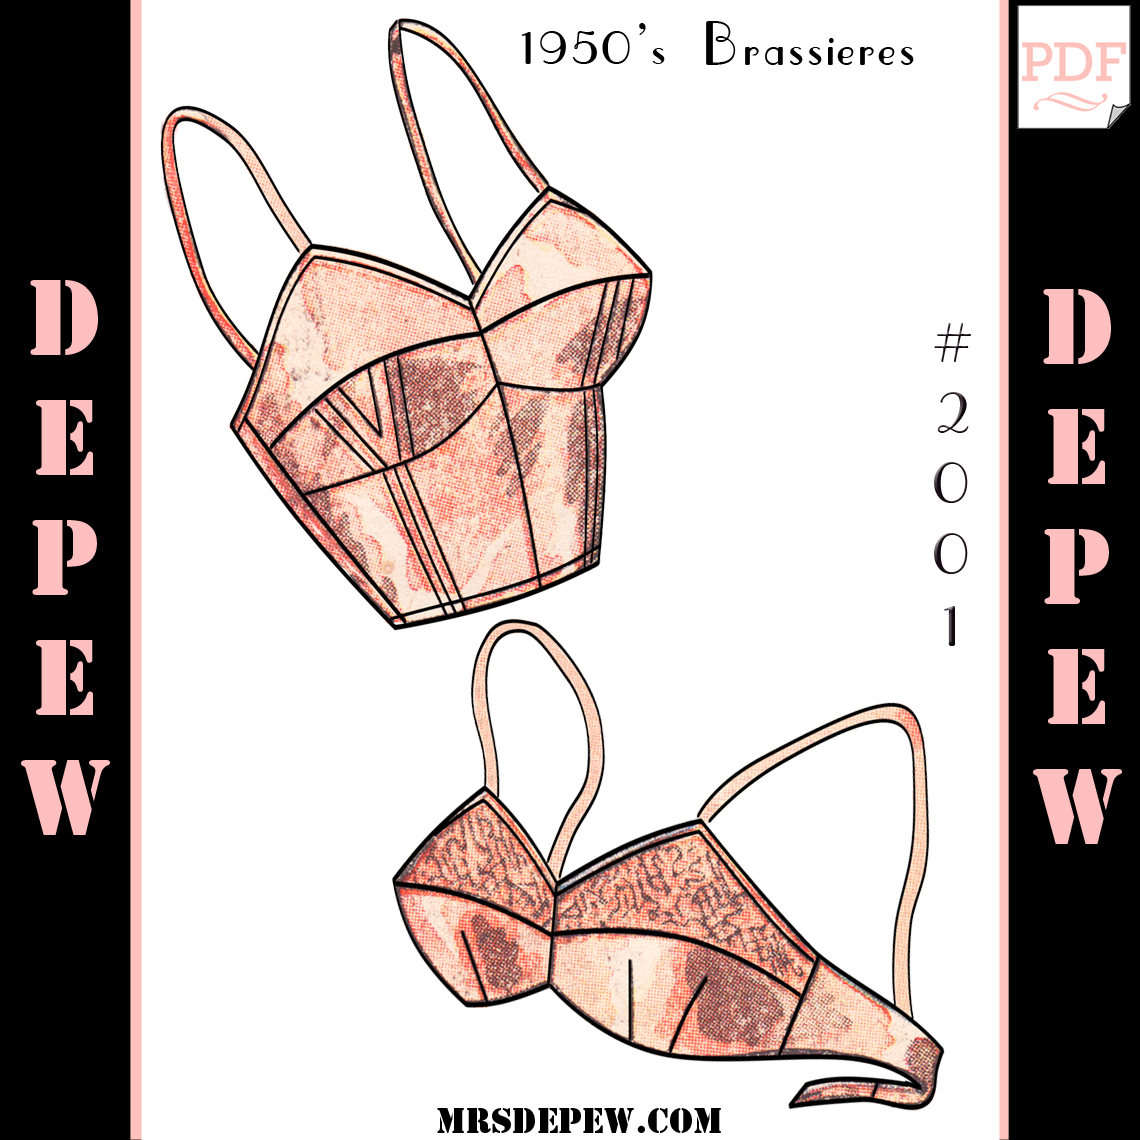 |
| The pattern we're using... |
Sarah is doing one of both as well, and has kindly created a couple of great posts on what we'll need to plan for the bra, as well as her invaluable perspective on sewing the corselet version for the more generously endowed; a must-read if you plan on sewing Version 2.
The first thing you need to do once you've printed your pattern pieces out is to add your seam allowance.
But wait! You need to decide how you want to sew the bra before adding any allowances.
If you plan on binding the top AND the bottom of the bra, don't add any seam allowance to the top half of piece #1, the bottom half of piece # 2, or the top and bottom half of piece #3.
I plan to bind only the top half of the bra and I'll be joining my bra lining and my bra outside at the bottom so I'll need a seam allowance there.
Here you can see that I have added seam allowances to the center front of both bra cup pieces (seam A), the cup seam (B) and the side seams (D).

Another thing you need to keep in mind is what type of closure you plan on using. You can use a purchased bra back, S hook, vintage closure, or the old school vintage buttonhole. Whichever you choose, make sure that your bra center back is wide enough for your closure choice.
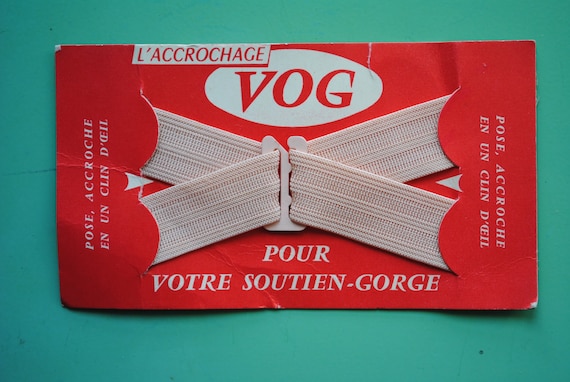 |
| I'll be using one of these, I can't wait! |

I know that for many seamstresses, the reason they sew their own bras is because commercial bras are usually too small for them or don't last. Not in my case. I sew my own lingerie because most bras are too big for me. Sad, I know, but true.
So for a tiny girl like me (up top, at least) I actually needed to make some adjustments to make the bra fit my small cup size (barely a B on a really good day).

The center cup seam allows for a full B cup, and looks saggy and odd on my small bits.
 |
| Not ok. Not ok at all. |
So, in my muslin, I stitched my cup seam again, this time about 1 cm in from my first line of stitching, grading at the side seams and center just a bit.


And this is how the cups fit afterwards. Much better!

Naturally, I'll need to make these adjustments to my pattern pieces now. A French curve comes in really handy in cases like these. Isn't my vintage one pretty?

I marked 1 cm in from the very center of cup where it will rest over my... ahem... nipple.

I graded this down just a tiny bit at the center and side seams. Now I'll need to make sure that my adjustments will fit the bra back piece (#3) at the side seam.
 |
| A tad too big now. |


I used the edge of my French curve to follow the smooth, slightly curved line that the bra back creates, then marked and trimmed my edge.

Voila! Now my pattern pieces reflect my tiny top half and I'm ready to move on to cutting out my pretty, pretty satin.
How about you? What fabric have you chosen to make your bra from?
And Oh My Gosh! There are now 350 of you following A Few Threads Loose! I love you ALL, each and every one of you. Thanks for reading my blog, you beautiful people, you.
8 comments:
Loved watching the corset tutorial come together, but THIS is what I've really been waiting for! Thanks again for taking us all along. :)
I'm going to have to make the exact same adjustments as you, so thanks for sharing this! I get tired of searching for "SBAs" as it seems there is a different approach for each pattern style.
Just printed out my pattern. I'll be making mine in peachy pink cotton backed satin with black lace on the upper cups. I just can't decide which version to make, though I'm leaning towards the longline one. If in doubt, I have plenty of fabric to make both!
Oh! This is what I was waiting for! Can't wait to give this a try :)
I can't wait to see them.
For a larger bust, do you add to the same seam? I'm a C cup
Yes, you do add to the same seam. Start with about 1/2" at the seam for each pattern piece and then try it out with your muslin.
Do you add 1/2 at ALL the seams, or just the seam where the top portion of the cup attaches to the bottom portion? Also, do you have any pointers for adding support for the well endowed?
Post a Comment