Showing posts with label pin-up. Show all posts

Thursday, March 1, 2012

Ohh La La Pin Up Sew Along... Everything in One Place.


If you're participating in the Ooh La La Pin-Up Sew-Along then it might be a good idea to bookmark this page. Below are links to each how-to post so far and I'll keep updating to this page as well after each new post.
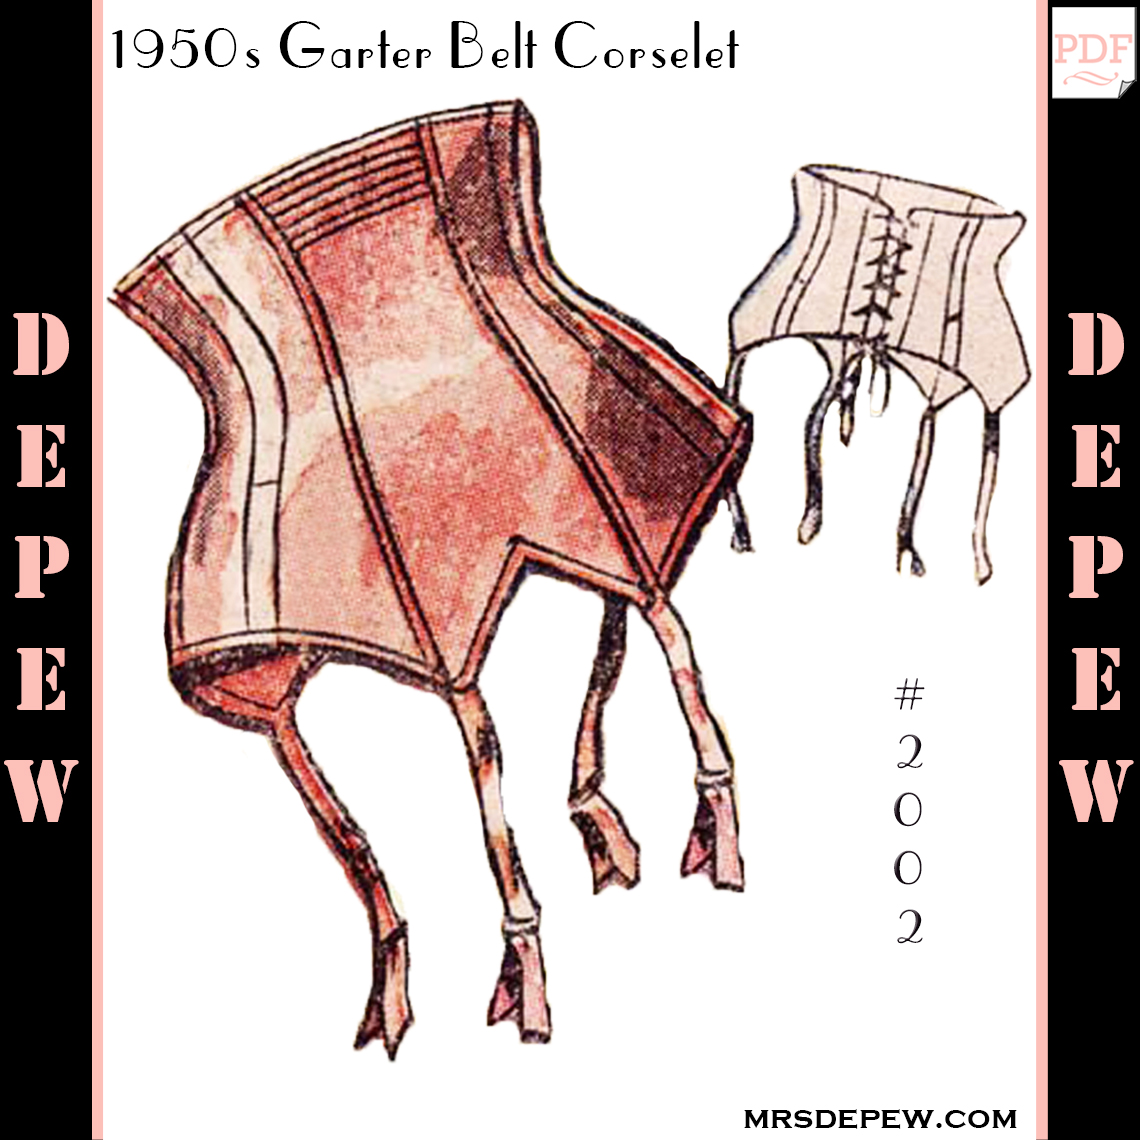
1950s French Corset/ Garter Belt #2002 vintage sewing pattern available for download here.

Part 1, Corset:
1. Introduction.
2. What you'll need.
3. Printing the pattern.
4. Corset boning and why you need it.
5. Grading your pattern up or down.
6. Sewing your muslin.
7. Lace overlay is pretty... and optional.
8. Sewing your French seams.
Ohhh Lulu: Contrasting bone casings.
Ohhh Lulu: Preparing your center back pieces- Eyelet version.
9. Adding your boning.
10. Back hook and Eye Closure.
Ohhh Lulu: Applying your eyelets.
11. Binding your edges.
12. Bias binding: sewing an inverted corner.
Ohhh Lulu: Satin-covered garter straps.
13. Attaching garter straps.
Ohhh Lulu: Adding Bows 
14: Adding rosettes, and the finished corset!

1950s French Bra pattern available for download here.
Part 2, Bra:
1. What you need to start your bra ~ Courtesy of Ohhh Lulu.
2. Making a muslin of Version 1 and how to adjust for a smaller cup size.
3. Making a muslin of Version 2 ~ Courtesy of Ohhh Lulu.
Long-line Version: Important adjustments if you're a larger cup size ~ Courtesy of Ohhh Lulu.
4. Cutting your Fabric ~ Courtesy of Ohhh Lulu.
5. Darts and lining.
6. Sewing your bra seams.
Long-line Version: Cups and corselet assembly ~ Courtesy of Ohhh Lulu.
Long-line Version: Adding a little extra support ~ Courtesy of Ohhh Lulu.
7. Attaching your lining. 
8. Cheating nature a bit... or padding your bra.
9. Bra Back Closure.
10. Binding the raw edges.
11.Sewing on your bra straps and the finished product.
12: Sewing adjustable bra straps ~ Courtesy of Ohhh Lulu. 

Part 3, Super Fancy Extended Edition; Betty High Waist Panties:
Where you can find the panties pattern. 

1. What you will need to sew the panties. ~ Courtesy of Ohhh Lulu.
2. Sarah: Sewing your muslin. ~ Courtesy of Ohhh Lulu.
3. Anna's Muslin.
4. Cutting your fabric and sewing your vertical seams. ~ Courtesy of Ohhh Lulu.
5. Sewing in the crotch lining.  ~ Courtesy of Ohhh Lulu.
6. Finishing the leg and waist openings with elastic.  ~ Courtesy of Ohhh Lulu.
7. Anna's Finished High Waist Panties.

Wednesday, February 22, 2012

Ooh la la Pin Up Sew-Along... Grading Your Pattern Up Or Down.


The pattern we're using...
For those of you that don't fit into the size range of people I had available to test the corset pattern on, then you're in luck because I am at your disposal!


First I will show you how to grade to a smaller size, then I'll show you how to grade to a larger size, though they are very similar.

Keep in mind that you should really make a muslin of this pattern, and you should REALLY make a muslin if you've made adjustments like these.

Today we're going to use reader "E's" 25" waist as our starting point.
The smallest size on the pattern is a 29" waist. (29"-25"=4").
We'll need to grade the pattern down 4" to make it her size.

 I like to use centimeters for this (don't worry, there are centimeters on every ruler and yardstick out there) not because I live in Europe right now, but because it's just easier than doing a bunch of fractional math all the time.

4" is 10 cm. (roughly) Now luckily there are only 5 pattern pieces so we know that we need to distribute the 10 cm we're removing from the pattern at 2 cm per piece.
(4"=10 cm) and (10cm/ 5 pieces = 2 cm per piece)
But wait! These pattern pieces are cut double, 2 of each, so it gets easier! We're just removing 1 cm from each pattern piece.
Technically there's just one of the center piece and it's cut on the fold, but we can still distribute changes the same, as both ends of the piece will reflect the change.

Now we get to the cutting! I'm just going to show you how we'll do this with pieces 1 and 2 but you'll do the same with all of them.


Start by cutting the pieces vertically right down the center.


Measure the amount that you want to remove, in this case it's 1 cm.
Note: if you are removing more than 1 cm form each piece, I know it's more work but you'll get better results if you split the pattern pieces into thirds and remove a bit from the inside of each. The same goes for grading the pattern larger than 1 cm per piece.


Next, trim off the amount to be removed from the piece you marked and tape the two pieces back together lining up the top.


At the bottom, you will have a little bit of jagged edge where the pieces don't quite match up.


This end is a straight line so just line up a ruler between the tip of the pattern piece to the inside where it should match, mark, and then trim.


 Do the same with each pattern piece.


To grade the pattern piece larger is a really similar process.

Reader "A" has a 37" waist and also asked this question. That's lucky because it's another 4" difference between the size she needs and the largest size on the pattern.

Using the same math from above, we know that we need to add 1 cm to each pattern piece.
(4"=10 cm) and (10 cm/ 5 pattern pieces = 2 cm per pattern piece, cut double, = a 1 cm adjustment)

I'm going to use piece # 5 to illustrate.


As with grading down, to grade up we split the pattern piece vertically down the center.


When I cut out a digital pattern, I always keep a handful of my paper trimmings from taping them together on hand for alterations like this.


 I have measured and cut a strip 1 cm wide.


Place the piece in between your split pattern pieces and tape it back together.


Trim smooth the jagged edges and you're ready to do it to the other 4 pieces.


Voila! Any questions?

Sunday, February 19, 2012

Ooh la la Pin Up Sew-Along... What will you need?

I'm so excited by the overwhelming number of you who want to participate in the sew along! The most important thing I want you to take away from this experience is the knowledge that sewing lingerie is NOT SCARY!
"Blue Eyed Monster" Hugh J. Ward, 1930
I started sewing my own lingerie when I was just a novice. No one told me it would be hard so I started with a vintage tap pants pattern and it was still one of the easiest things I've ever sewn!
Think about it... most vintage lingerie is really just a bunch of small pattern pieces, quickly cut out, quickly sewn together and finished off with a buttonhole or two!

There are three simple things I recommend if you're new to sewing lingerie: