
(UPDATE: if you want me to keep you posted with what's going on during the sew-along, you can go to A Few Threads Loose on Facebook and follow along that way. )
Thus it begins...
Did you pre-wash your fabric yet? When I first started sewing this went totally over my head. Then I got better and better, and realized that if I was going to all this trouble of making something for myself, it would really suck if I wore it once, washed it, and could never wear it again.
PREEEEEEEEEEEEEEEEEE - WAAAAAAAAAAAAAAASH!
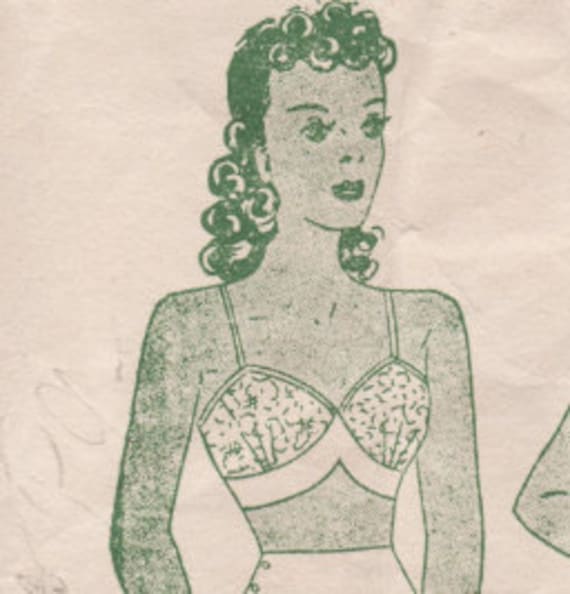
That said, have you printed out your pattern yet? When you do MAKE SURE that when you print, your printer is set to scale the pages at 100% size. Otherwise, you might end up with a bra for an 8-year-old.

Once you have printed, you should have four sheets and you can begin getting it all put together.

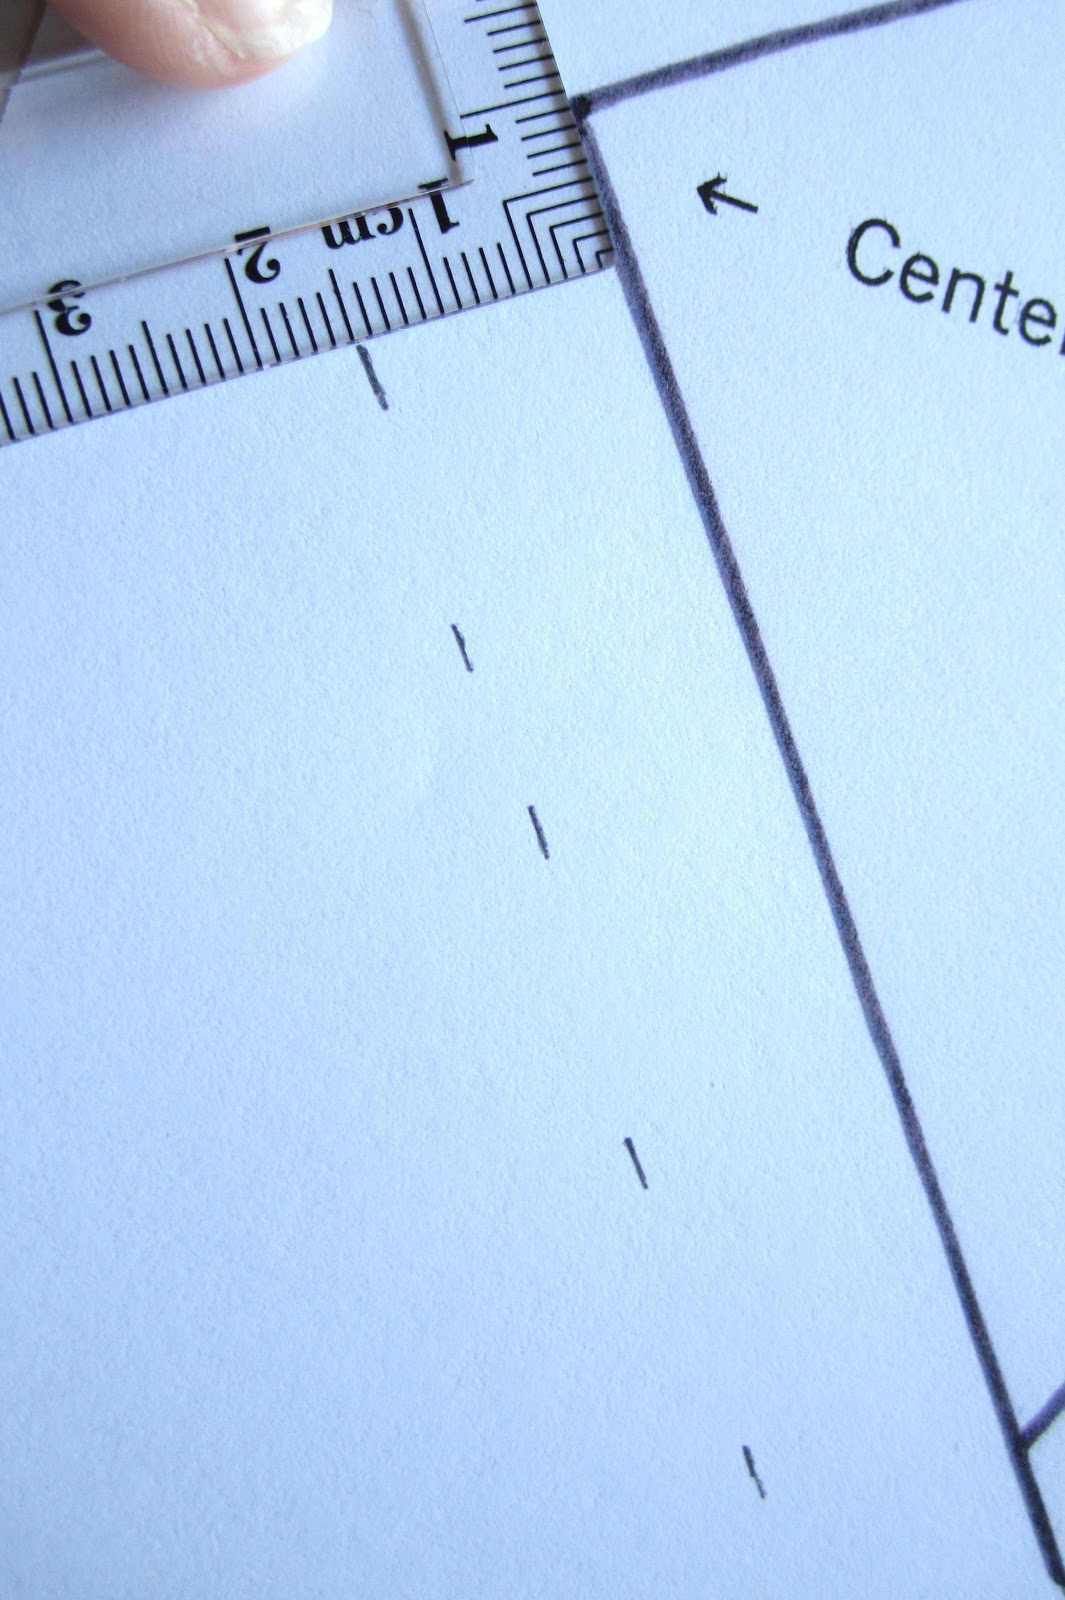
Before you cut them out, you'll want to add your seam allowance. I thought about adding the seam allowance to the pattern but I wanted to keep it as original as possible, to make is nearly like the experience of the 1940's seamstress who would have sewn this.

I added 1.5 cm or 1/2" to the BOTTOM ONLY. The top will be bound and the side and front do not get sewn into anything so we'll leave those alone for now.
A clear ruler can really come in handy if you have one.
 |
| Don't judge my nails, a manicure is like $60 here in Norway. Lame. |
Every 1/2" or so I just keep measuring my seam allowance out. I don't bother to draw it all in, I just cut on the dotted line that I have created when I'm cutting it all out.

For the bra band, cut it out and tape together without adding any seam allowance.

This will make it easier to get a better fit. If you're not a 34" bust, you can trace a new one, add seam allowance, and any added inches to the bust that you might need (cup size is another story entirely).
 |
| Pardon my wrinkly scrap of tracing paper. Waste not, don't have to run to the store in your pj's for more. |

Make sure that you get your seam allowance at the right kind of point at the bra band. You won't need to add any allowance to the center where it's marked 'fold', just to the one side with the notch cut in.
Now with any new bra pattern, what I like to do as an insurance policy against any fit issues, is to add a 2" extension to the back of the bra band. This is especially helpful when you have a vintage pattern that includes no instruction whatsoever for closure options. If you want to add a button closure, hook and eye, or anything else to the back, it's better to have enough fabric to do it, rather than have to add some unsightly sewn on extension later.
Here I have just traced out an extension on the bottom of my instruction sheet using the end of the bra band as my guide.


And there you have it. You're ready to try that baby on and see how much room you'll have in it before you cut it out. For the bra cup piece, I recommend tracing it out again on lighter-weight paper like tracing or tissue paper, then pinning the darts and see how it fits your cup size.
I'm off to pull my fabric out of the dryer. Next we'll cut out our pattern pieces and discuss a bit about fabric marking, darts, and whatnot.
If you have any questions or something to add, let's hear them. That's what a sew-along is for!
Part 2 of Lingerie Sew-Along: Resizing, Layout and Cutting your bra.
Part 3 of Lingerie Sew Along: Darts, Pressing, and Attaching the Bra Band
4 comments:
I'm not sure if I will jump in with the bra, but I will be participating in this sew along. I have a questions - do you happen to have any of these made up? I would love to see what they look before deciding what all I want to make. But, if you are diving into these patterns for the first time, that's okay too.
Could you be more precise on what to do if the bra cup is too small? Or any alterations to the bra cup whatsoever. Also: Why isn't the bra band curved like it is on all other bras?
hi there. i just popped over here out of curiosity from the post on sew retro. I'm more of a corset gal than a bra gal but I had to comment because, well, thankyouthankyouthankyou for admonishing people to **prewash.** It's soooo frustrating to read *really* accomplished bloggers post about superb sewing techniques & then say "I never prewash." really?? Anyway, have fun with your bra sew-along. I'm going to go poke around in the rest of your posts & see what else fun u have done... ^_^
oh my gosh. this is great.
- rach.
www.so--hi.blogspot.com
Post a Comment