
One commenter asked "Could you be more precise on what to do if the bra cup is too small? Or any alterations to the bra cup whatsoever. Also: Why isn't the bra band curved like it is on all other bras?"
Thanks for your question. First I'll address the bra band question. I'll talk about sizing the bra cup in this post as well. The bra band is cut at an angle from the fold of the fabric, giving it a natural curve shape that matches the lower curve of the bra cup. The back is a bit curved naturally but this comes from the bra band being cut on the bias and therefore having a bit of stretch. You should also keep in mind that not all bras are created equal, or in the same era for that matter. Some don't have bra bands at all, and those that do aren't always curved.
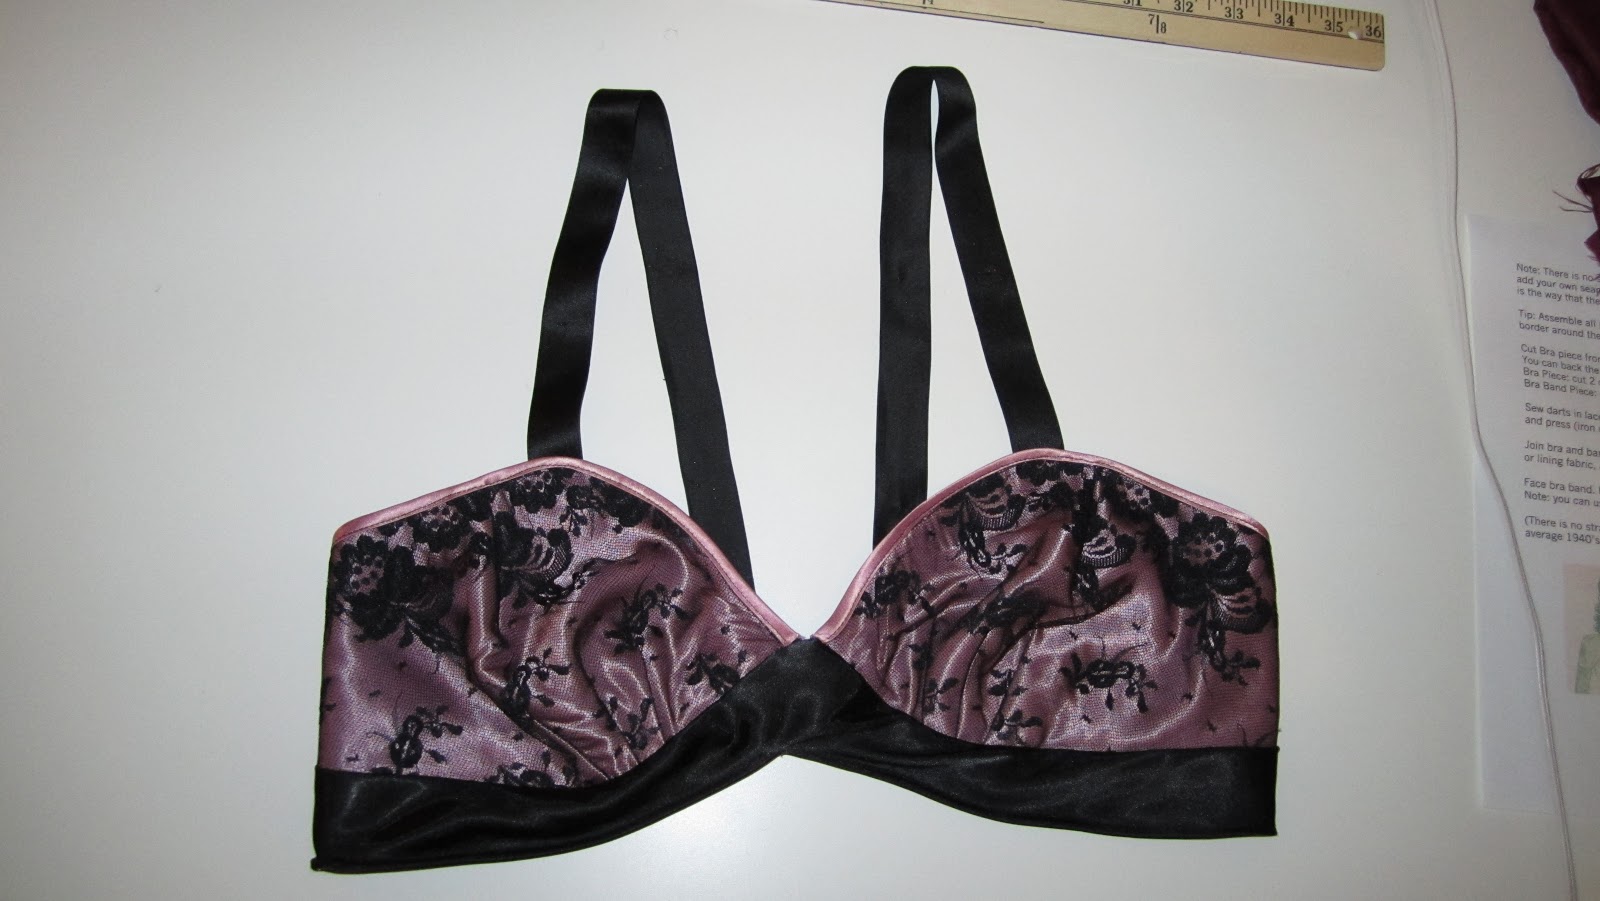
And Annabelle commented that she wanted to see one of these made up. Good idea!
Here is a picture of a lace and satin version of this bra that I made recently.
Once we have covered the basics of this pattern, I'll also be teaching you how to make variations on the original, as well as a tutorial for a lace version.
Lets get started with sizing, shall we? It's not the easiest sewing trick to make a bra cup larger, especially if it has 4 freaking darts to throw you off. This won't be an exact science either because every girl's "girls" are shaped differently. Here is the basic idea for you.
1. Tape your original bra pattern pieces together so that you have the original as shown in our last post.
Do NOT add your seam allowance to this yet.
2. Cut out the bra piece and have a large piece of paper ready.
3. You will want to cut the pattern piece as shown below:


This should add room for another cup size. If your bust is say an A or B cup, you should be ok in the original pattern. If you're truly blessed in that department, then you might need to add another 1" or so to the top line of the bra, as if you were adding a seam allowance to that end.
This pattern is a 34" bust, and if you're say a 36 B, you can just add another 1" to the back of your bra band. The above is an approximation and you might have to give it a couple of adjustments to make it fit you properly.
Now on to cutting layout. For this version, I cut out 4 bra pieces from my plaid flannel and 2 bra bands from my contrast fabric. My contrast fabric is an old scrap from a vintage slip that I've had in my scraps bin for ages. Waste not, want not!
Starting with the bra band:

The angled end goes on a fold. As you can see, I have my "just in case" extension there on the back end of the bra band. At this angle, the band is cut on the bias and will have a bit of stretch and curve to it.

You can simply cut out a second right next to the first bra band.
Next I have my super soft, light weight flannel folded on one end. You can cut two bra pieces from your outer fabric and another two from a lining fabric or scraps.

I have just cut out all four from the same fabric. When I'm done, my bra will look the same on the inside as the outside.

When you're done, you should have these:

Tomorrow we'll go over darts and sewing our bra pieces together.
Any questions?
Post # 1, Printing the pattern, and adding seam allowance.
9 comments:
That satin bra is beautiful! Thanks for the sizing help. I would not have thought to slash the pattern in that many places, so I'm glad you demonstrated.
What do you suggest for the grain line? I just used the edges of the paper where they were taped together as a guide for laying the pieces on grain. Or does it matter?
@Katrina Blanchalle Katrina, you have the right idea. the center front to center back should be with the grain as much as possible. As you can see from my picture, plaid is great for that because you can just center over the stripes.
Oh my gosh, Anna that lace and satin number is gorgeous - I am sold, I need to make this bra!
Gorgeous. I have problems buying the right size bra which looks feminine I am a 40h UK size. Is it possible to make one following this pattern or is it an alteration too far?
Hi Ann,
Thanks for your question. I'm sorry, I'm not quite sure what a 40h translates into for American sizing. What is your bust circumference in cm?
Hi, I have the pattern for the long line bra #2012. Could I use this method to make that pattern bigger as well? I know I'd have to adjust the other piece to match.
hi anna, i just came across this bra and would love to give it a go. im 44" across full bust and was wondering if grading up would work. thx
hi anna, i just came across this bra and would love to give it a go. im 44" across full bust and was wondering if grading up would work. thx
Great post! I love how Plus size lingerie celebrates body positivity. Your guide on selecting flattering cuts and fabrics is so helpful. Every person deserves to feel confident, stylish, and empowered in their intimate wear.
Post a Comment