
 |
| Photo from By Gum, By Golly. |
This is a great question! Xye, your top dart is in just the right place! Good job! The back sounds about right too. On mine it is about 2 1/2" from the center back, but this will vary a bit depending on whether or not you extended the back, and how much stretch your bra band fabric has on the bias.
And now on to binding the top of the bra:

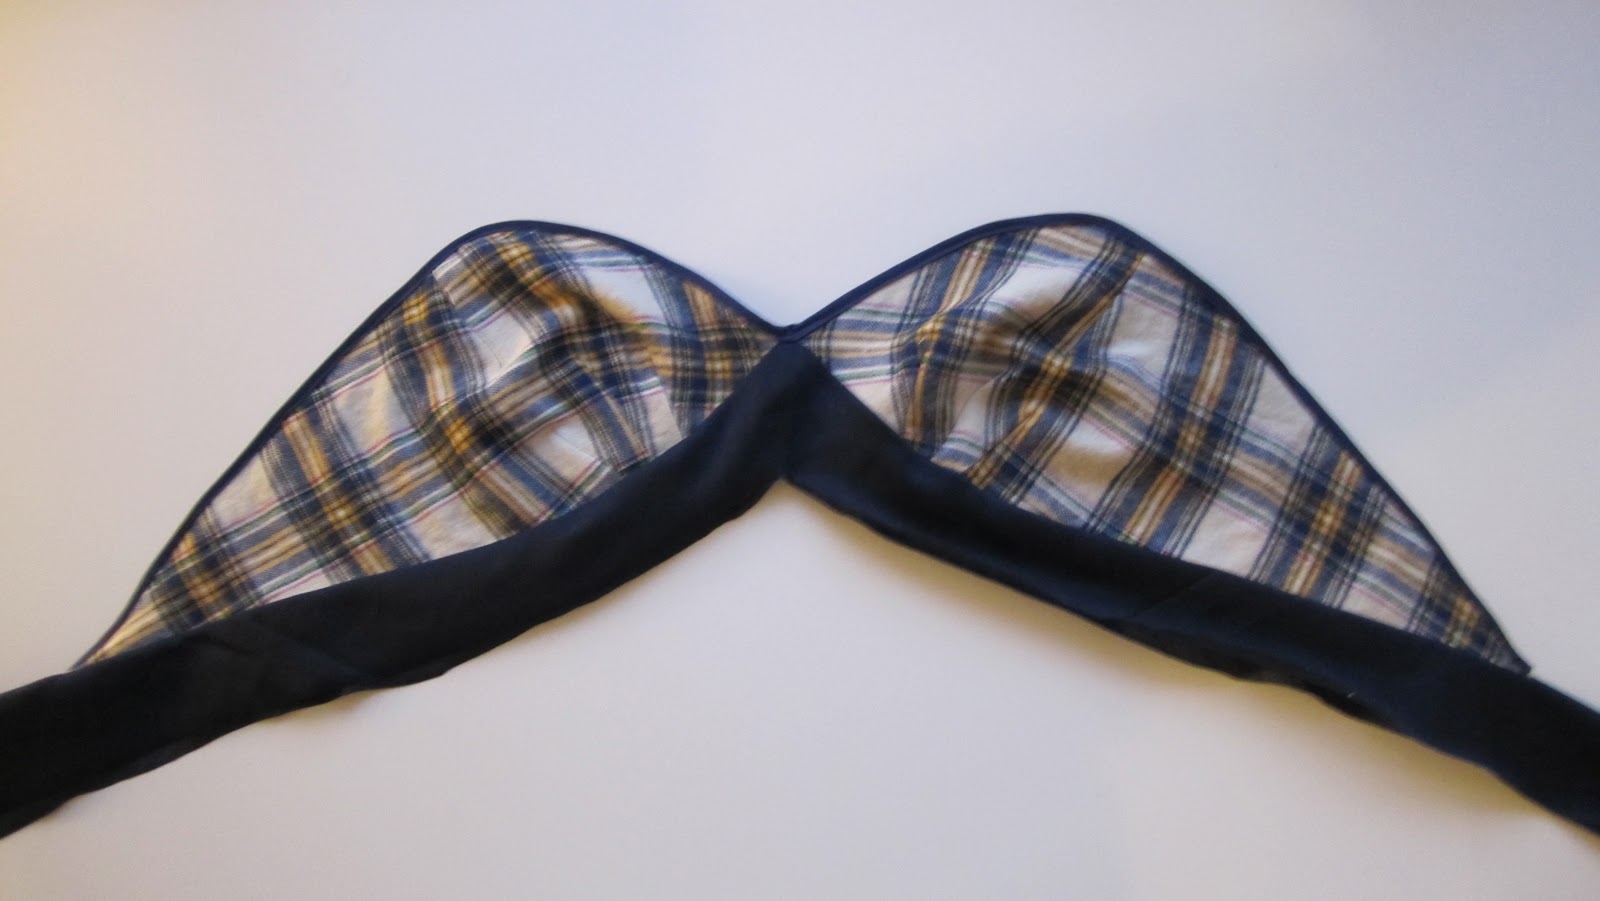
When last we left off, we had just finished creating a separate outer and lining. Place the outer and lining pieces WRONG sides together.
 | |
| Outer and Lining Wrong sides together. |
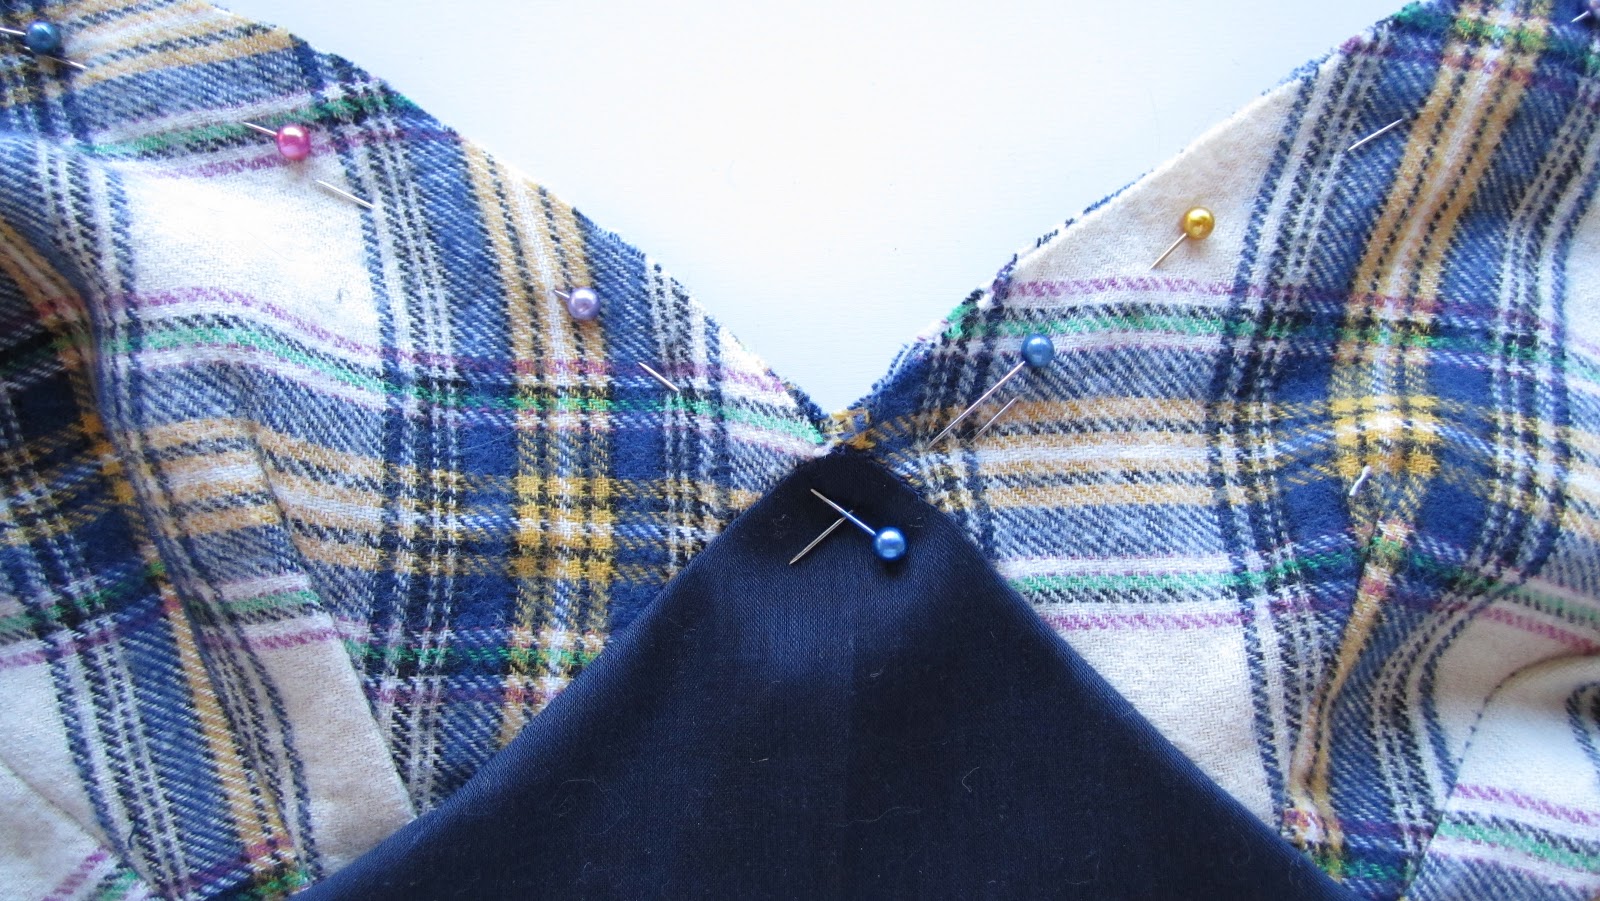 |
| Pin the center front of outer and lining WRONG sides together. |
Then go to the outer edge just where the bra cup back joins the bra band. Pin the back ends of the bra pieces together, just stopping where the bra cup joins the bra band.
 | |
| Bra back | . |
In order to avoid some odd corner back there, we're going to trim the bra back down just a bit to get a straight line.
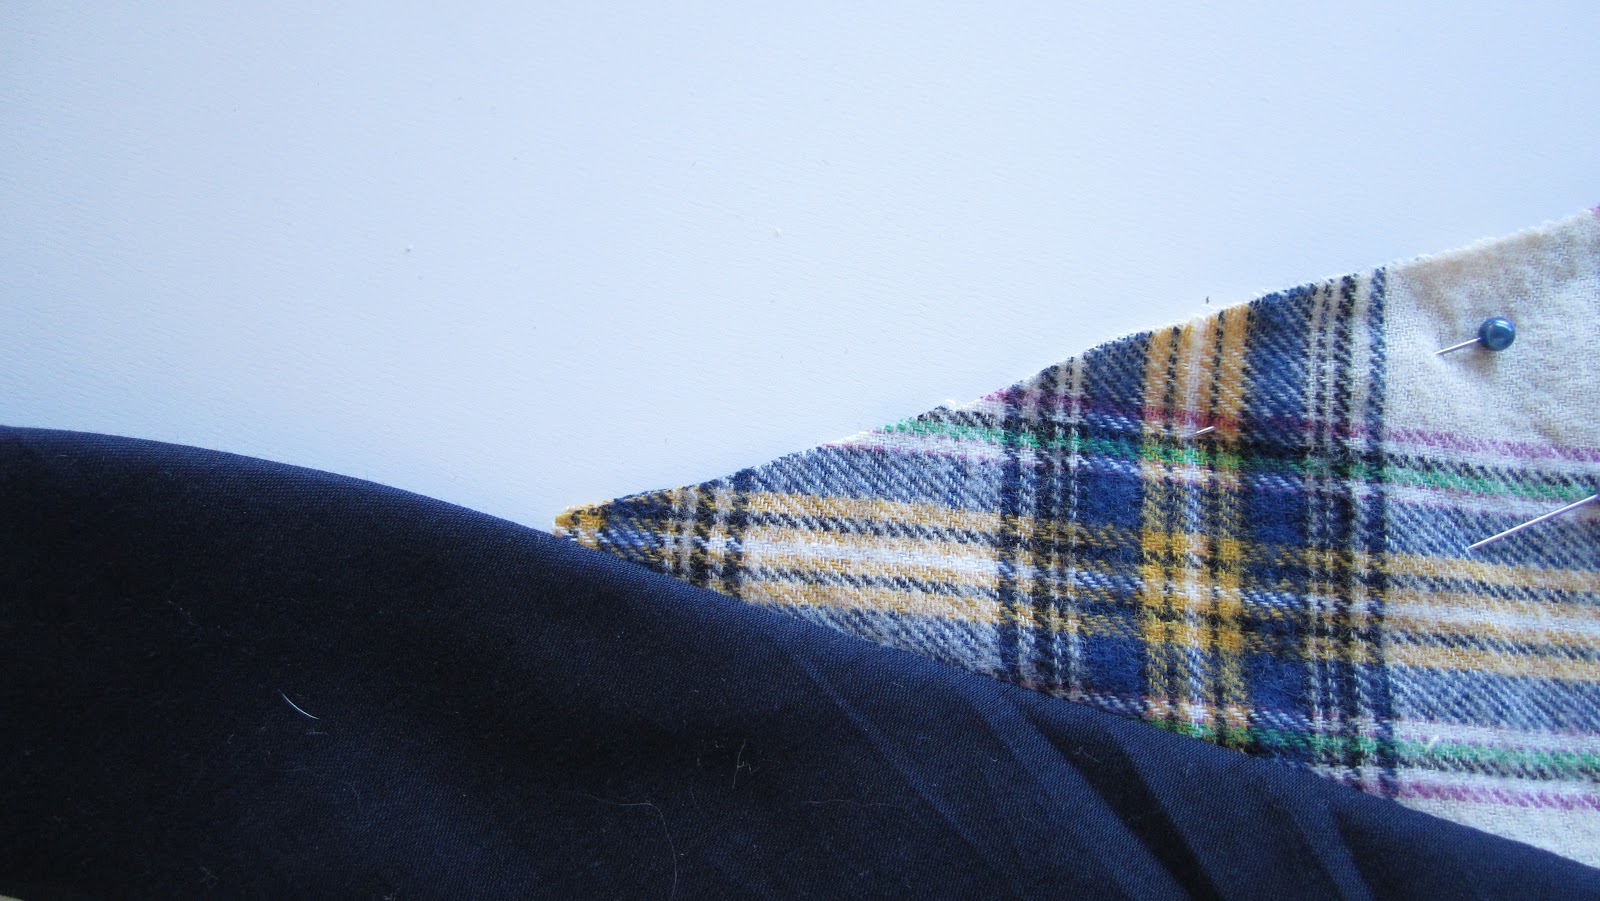 | |
| The bra back trimmed. |

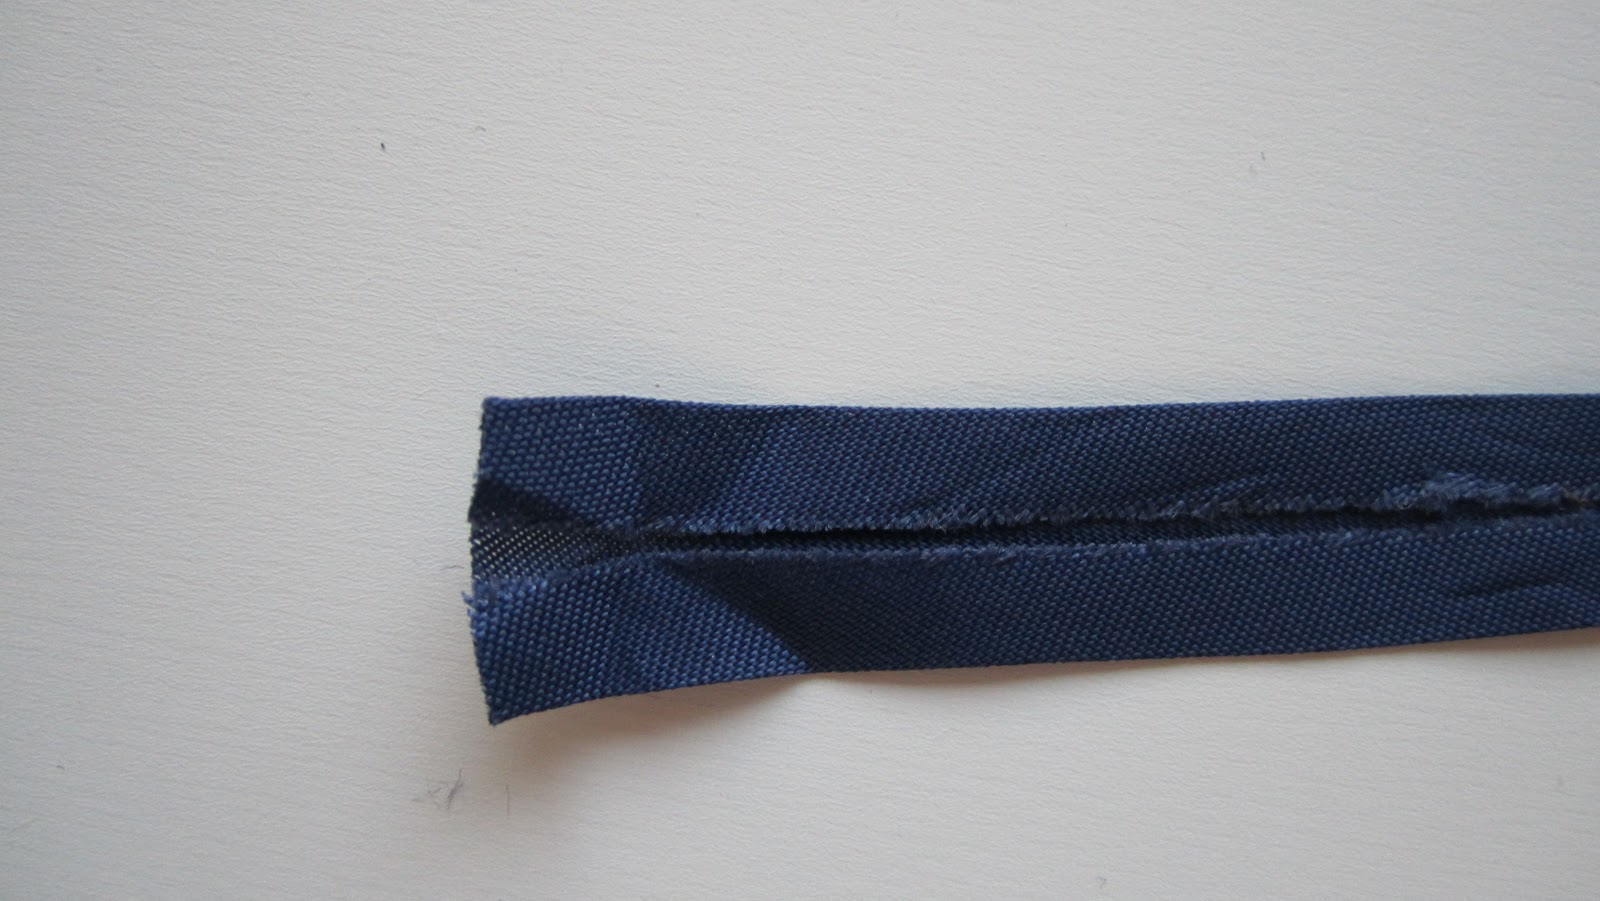
Now the bra is ready for the top to be bound with bias tape.
For beginners, I recommend that you use a bias tape that is wider rather than thinner. Here I have used double fold, at 1/4" wide when finished. It's a total nightmare for even experienced seamstresses but it's the only color I had on hand that matched my fabric.

Then I folded the outer corners in at an angle. The easiest way to keep it folded that way is to just quickly baste it that way by hand. (Let's all ignore the fact that I badly need a manicure, I'll get one in the U.S. next week where it won't cost $60.) :)


Pin your open bias tape to the inside (the lining side, now to be referred to as the wrong side).

Continue to pin your open bias tape the entire length of the top of the bra, stopping at the bra band.
As you go, you'll need to trim the pointed end of the top of the bust where the bra strap will join.
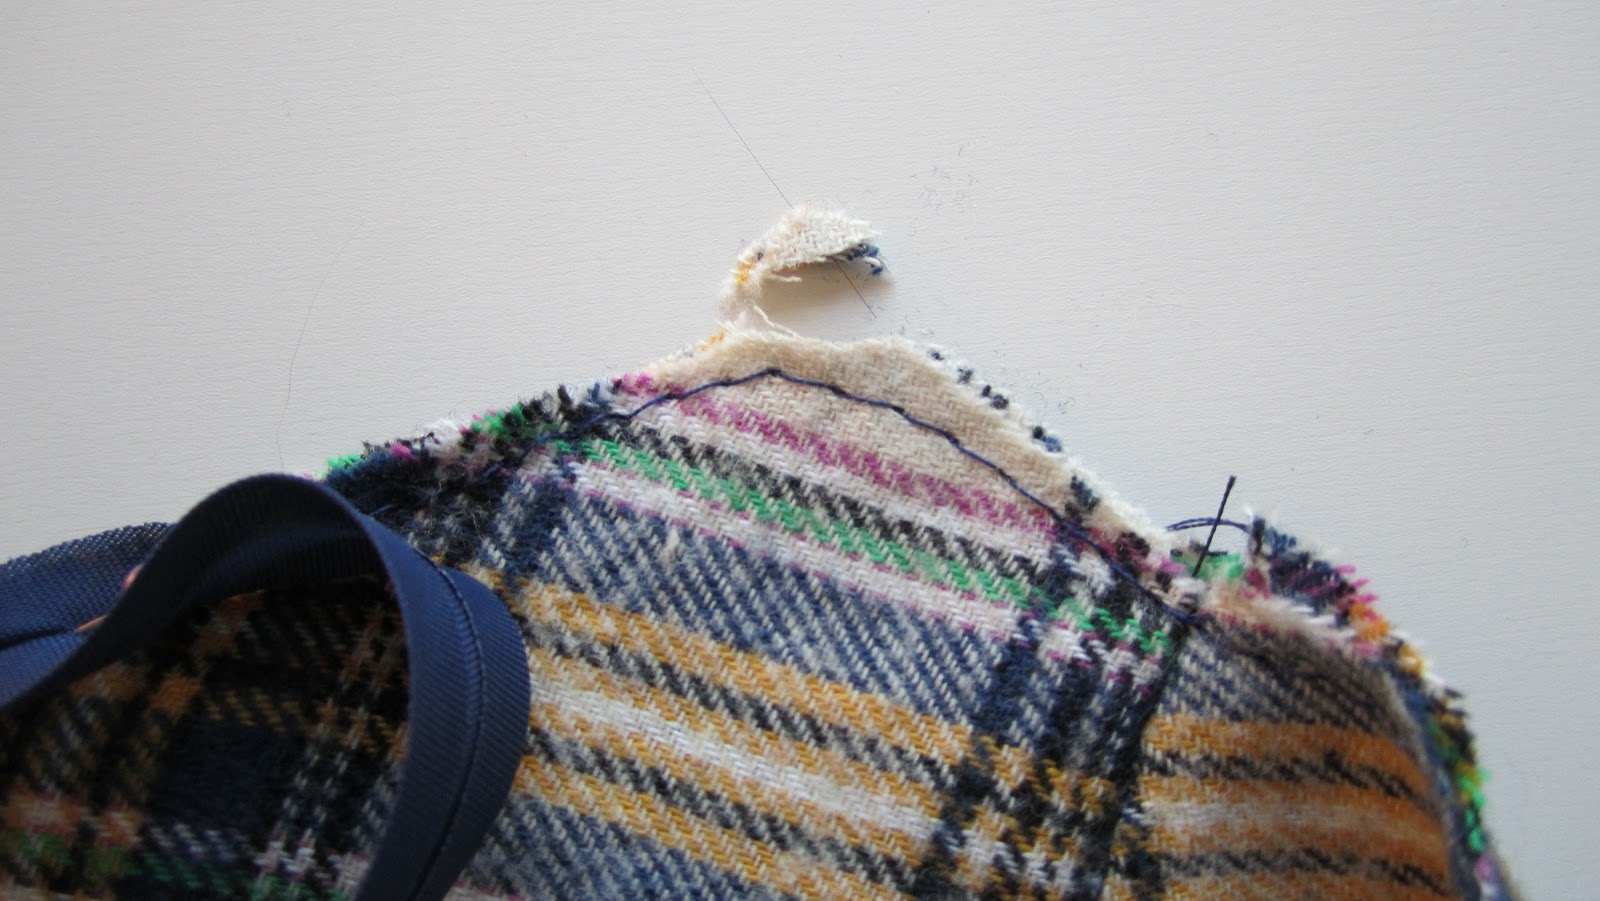 |
| trimming the top |
 |
| Center front, Right side, with the bias tape at the back on the WRONG side. |
 |
| Center front on the Right side. |
 |
| Finishing up the raw edge of the bias binding on the opposite side, still on the WRONG side. |

 |
| Bias bound bra. |
 |
| Bias binding on the RIGHT side of the bra. |
 |
| The pointed bias tape corner at the back. |
 |
| Bra band pieces. |

Flip right sides out.

Any questions?
Up next, sewing the facing bra bands together.
Part 3 of Lingerie Sew-Along: Darts, Pressing, and Attaching the Bra Band
Part 2 of Lingerie Sew-Along: Resizing, Layout and Cutting your bra
Part 1 of Lingerie Sew Along: Printing the pattern, and adding seam allowance
2 comments:
Lingerie used to be so romantic and pretty. I love the shapes of these bras.
hugs (^.^) hope to hear from you *
amyflyingakite.com
This bra in the plaid flannel is turning out to be the cutest thing ever! I can't wait to see it finished.
That post about the 1940s bra sillhouette took a long time to get through but it is absolutely fascinating. I am seriously re-thinking my bra shape now.
Post a Comment