Showing posts with label bra pattern. Show all posts

Sunday, October 25, 2015

1940's Bra Sew-Along: Where to get your supplies...


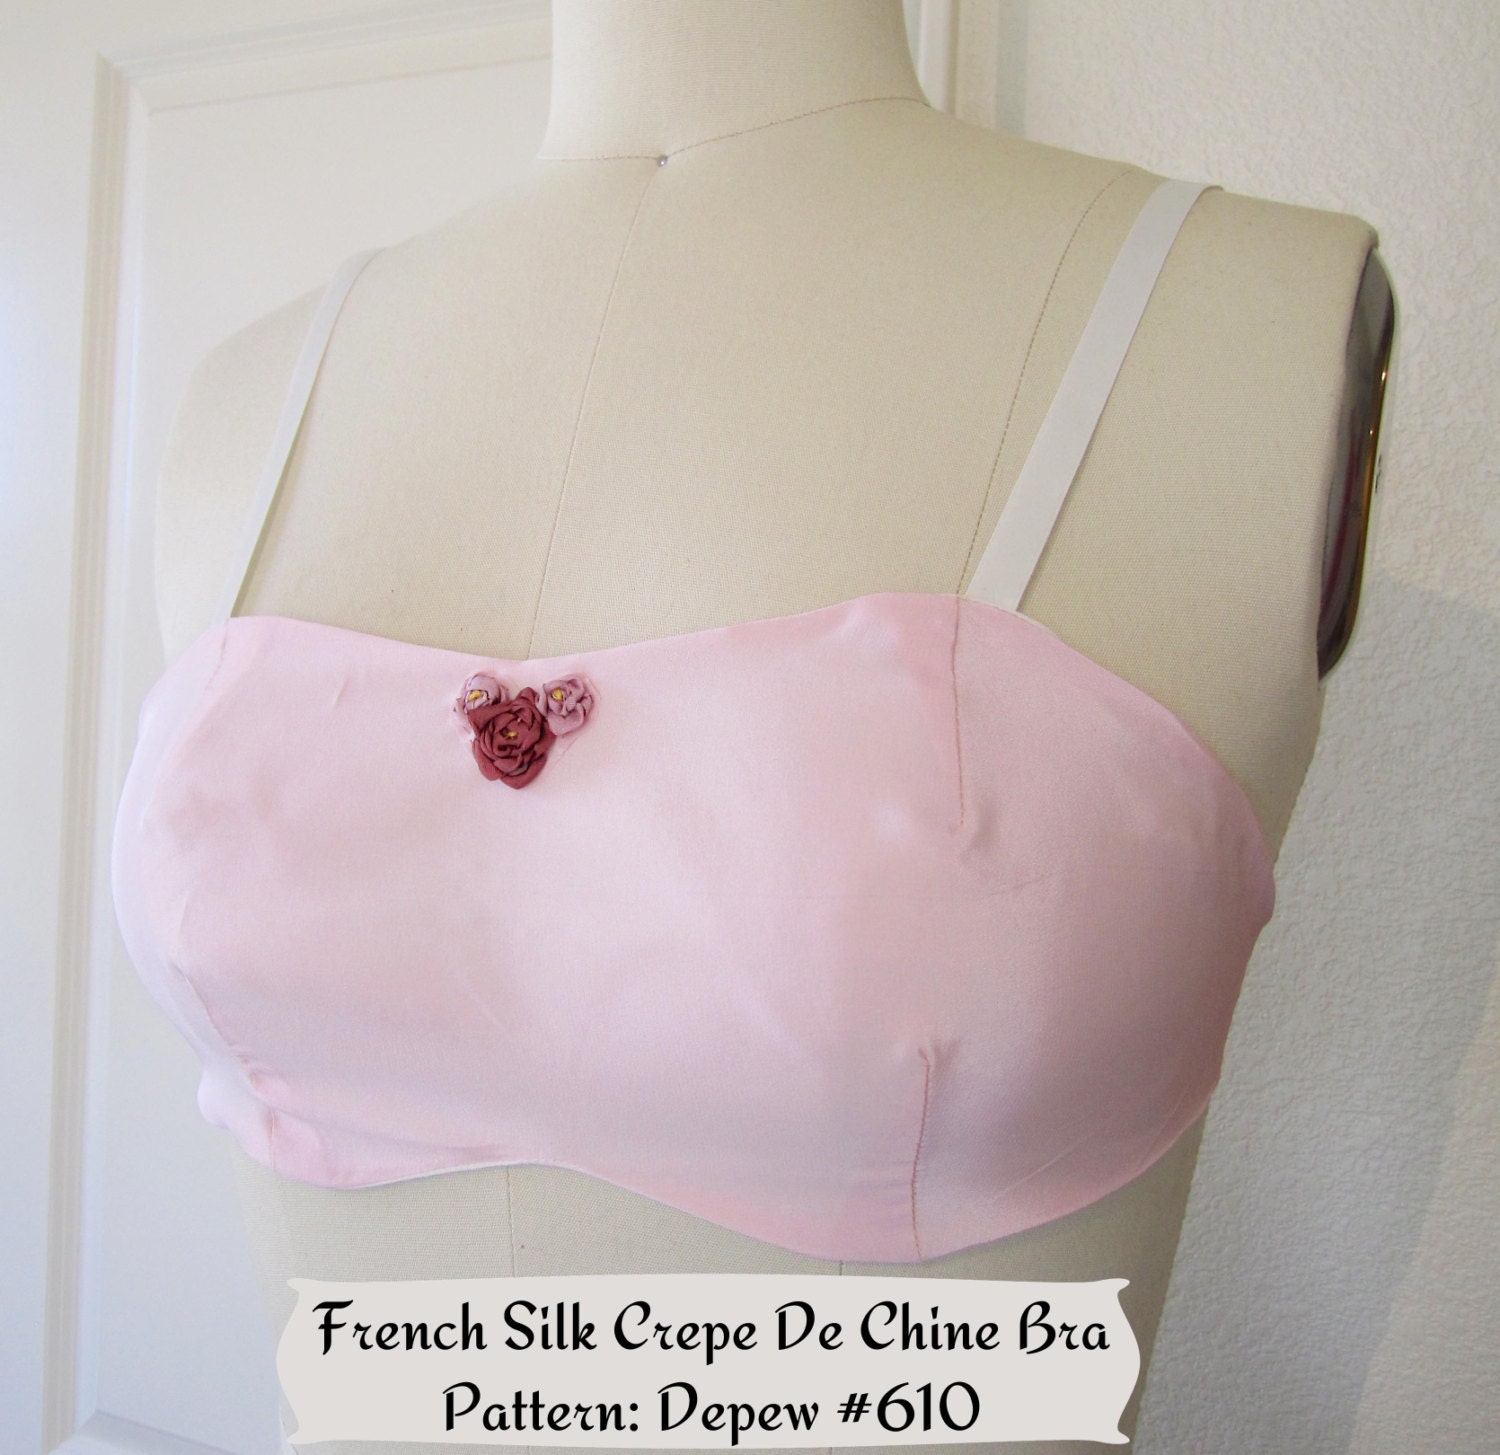
Alright then, my dears, it's time to collect our bra-making materials!
Since this is a vintage-inspired bra pattern, the materials won't be quite too hard to find. No need to hunt down underwires or anything like that.

So, here is a list of what you'll need:
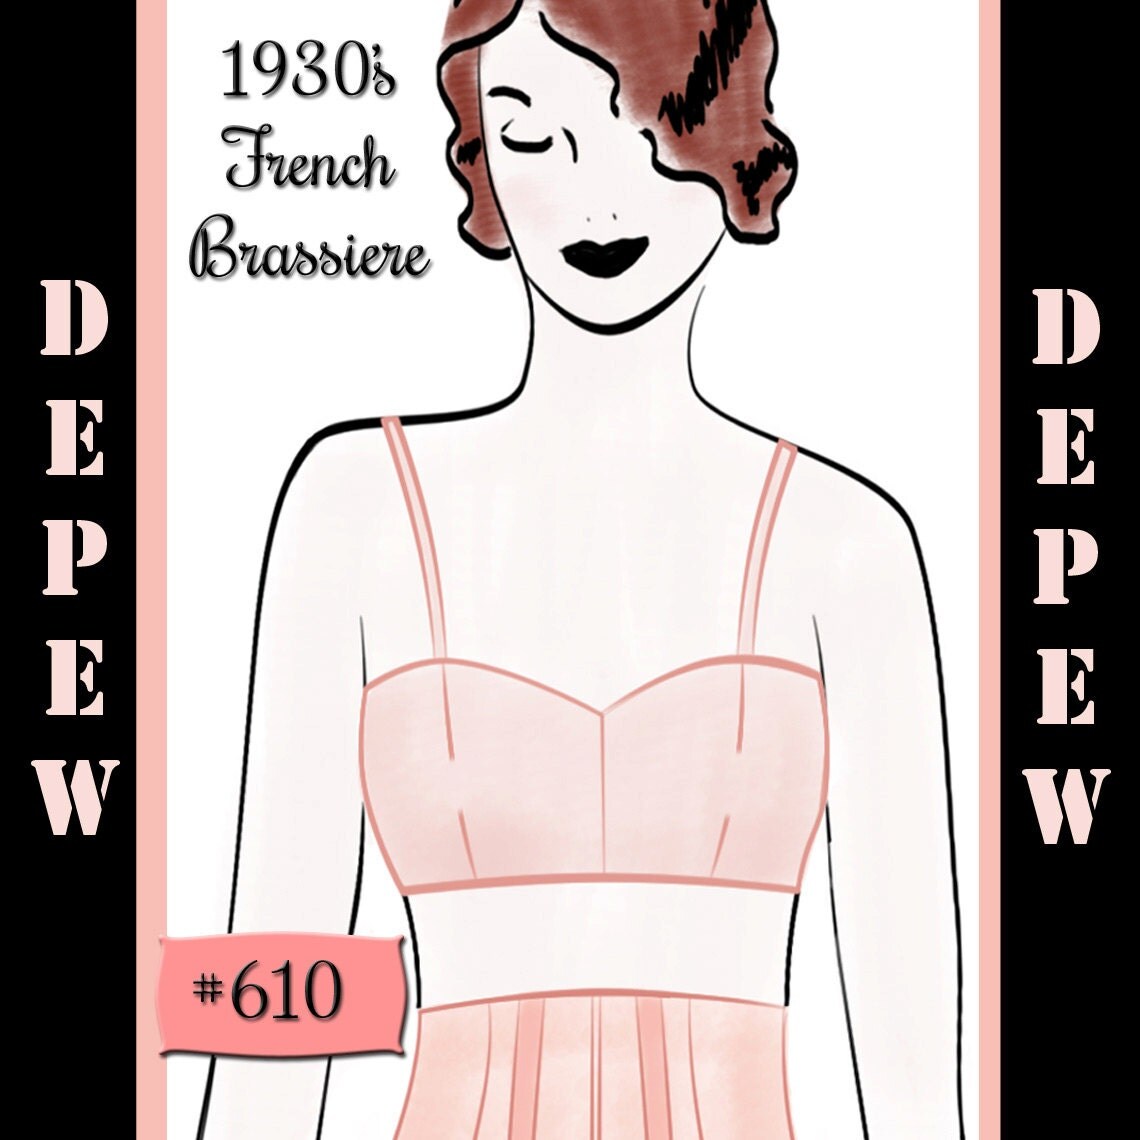
1. The pattern. 
2. 1/2 yard of 35" or wider muslin fabric for testing the fit.
3. 1/2 yard of 35" or wider light to medium weight woven (non-stretch) fabric for the outer. I recommend soft cotton or lawn, satin, silk or rayon crepe, or even charmeuse.
4. 1/2 yard of lining fabric (if you choose to line, that is.) I recommend lightweight woven (non-stretch) cotton lawn but the general rule of thumb is, if you don't want it touching your girls, don't line a bra with it.
5. Purchased bra straps. You can use medium to heavy weight ribbon, but adjustable straps are so easy to just sew in.
6. 1/4 yard of plush-backed hook and eye tape, preferably adjustable with at least 2 sets of eyes.
7. Matching thread.


The kit includes enough fabric to test, sew and line your bra, straps, closures, thread, and the pattern.

But if you're not up for white satin, here are a few places I recommend:
Bra Maker's Supply (great for straps and closures).
Sew Sassy Fabrics (great for fabrics and notions).
Etsy.com (great for fabrics and notions).


Once you've got your materials, just leave a comment on this post to let me know you're ready to get started. Keep in mind that sew-alongs don't need to have deadlines, and if you're busy now, or if you need at 2 week break in the middle, the posts will ALWAYS be here on A Few Threads Loose and you can follow along to sew your bra any time that works for your schedule!
Don't forget that you can always leave comments if you have a question about anything - materials, tips, tricks, posts etc. - I'm here to help and there is no such thing as a stupid question here!

This Sew Along is now complete. Click below for each post.

Happy sewing,


Sunday, July 20, 2014

Sewing #610... Intro to a mini sew-along!


Happy weekend, my lovely readers! Recently, you might remember, I sewed a 1930's bra for myself using one of the draft-at-home patterns from my shop, Depew #610.
Many readers wrote that they were curious about my process and wanted to see more so I decided to turn the project into a mini sew-along.


While sewing this bra, I took a lot of photos, but since this was more of a "getting back into sewing therapy" project for me, I didn't take nearly enough photos of nearly enough steps so I thought, why not do it all again for a mini sew-along?

I loved this bra so much that I have no reservations at all about sewing about a dozen more of them so I'll be starting from the beginning and posting as I sew.

You're welcome to join in with me and post questions as I go. The more, the merrier!
If you'd like to follow along, here is what you'll need:

1. The pattern comes in two different versions Digital (if you want to print at home) or Print (if you'd rather get goodies in the mail).

The 1930's bra pattern I'll be using.

2. Fabric: You'll need about 1/2 yard of 36" or wider fabric, plus the same for an optional lining (I used light weight silk so I lined mine). You'll also want about 1/2 yard of muslin for a test version.
This is a great pattern to use up fabric scraps, or the great vintage silk scarves you scored at the thrift shop and then never wore.

Tip: I got my lovely silk fabric, and the silk ribbon I used for the straps online at Farmhouse Fabrics for a really great price!

3. Notions: I recommend a purchased bra back for this project but you can also use hooks and eyes or buttons. For mine, I used a French bra back closure - It's the only bra back closure I think I'll ever use on my bras, it's just so comfortable! You'll also want about 1 yard of ribbon, bra strap elastic, or purchased bra straps.

4. Drafting tools. You most likely have these on hand already bust just in case, you'll need the following:
Pencil with eraser
Large paper (I use tracing paper but you can also use a paper bag or pattern making paper).
Paper scissors
Ruler
Tape
1 thumb tack
French curve (optional).

In the next post, I'll be going over how to draft out the pattern to your size and how to make adjustments to the pattern to make sure that it's accurate and easy to sew.

If you're curious how the draft-at-home patterns work, you can check out this blog post. It really takes something a bit intimidating and makes it quite easy!

I hope you'll join me!

Happy sewing,


Update: Here is a list of the posts!

Saturday, February 18, 2012

Ooh la la Pin Up Sew-Along... with a giveaway, of course!

Ladies, I present the Ooh la la Pin-Up Sew-Along:


I've been talking for a while with a fellow blogger about doing a joint sew-along and now it's finally happening! The lovely and talented Sarah from Ohh Lulu is even more interested in lingerie than I am, if that's possible. And she's good at it too, enough to open a lovely shop of her own on etsy.

Sarah and I have decided to start with the French Pin-Up Corset Garter Belt pattern that I just recently finished.


If all goes according to plan, we'll also follow up with the French Pin-Up Bra Corselet.


And of course I would never do a Sew-Along without a coupon code! Take 15% off using the code "OOHLALA". Make sure that you click on the "Apply shop coupon code" link to add the code, otherwise etsy will charge you the full amount.

Sarah and I are working as we speak on our corset garter belts and we'll start posting soon, but not before you have a chance to gather some of the things you might need. I'll be working with a vintage peach satin for my corset and bra, and so far here's what you might need depending on what version you make:

I've got about 2 1/2 yards of fabric for both corset and bra.
4 garter clips,  (optional) vintage or otherwise. I recommend removable ones if you can find them.
eyelet and eyelet punch or 1/2 yard hook and eye tape
corset boning (optional)
3 yards of matching bias binding or ribbon for edges
2 yards ribbon or cord for corset lacing (eyelet version only)
1/2 yard ribbon or plush elastic for attaching garter clips
3 bottles of wine

Naturally, there's also a giveaway attached! One of you will be chosen at random to win BOTH of these patterns!
To enter the giveaway you can do any or all of the following, just leave a comment for each entry to get your name in the hat!
1. Leave a comment telling me what your absolute favorite piece of lingerie is.

2. Become a follower of A Few Threads Loose on Twitter, Google, or Bloglovin'.

3. Like A Few Threads Loose on Facebook.

4. Like Mrs. Depew Vintage on Facebook.

5. Mention the Sew-Along on your blog.

I'll announce the winner this Tuesday the 21st.
Good luck!

Friday, December 16, 2011

Introducting a New Bra Pattern

For a long time now I have been meaning to get a vintage bra pdf put together for my more well endowed (lucky girl!) followers. I finally found the right pattern in a roomy size and got it into the works.
Ladies, meet the 1950's Long Line Bra PDF.


Nice to meet you.
The bra is for a 42" bust, and can easily be sized up or down by a couple of inches.

View A stops just short of the waistline and View B rests right at the top of the hips.
The pattern can be made using 1 1/4 yard of 35" fabric.

I'll be giving one pattern away to one lucky commenter. To enter, just leave me a comment below with what kind of pattern pdf you would like me to develop next.

For an extra entry, you can like A Few Threads Loose on Facebook, if you haven't already or become a follower of the blog.

I hope you all have a lovely weekend!

(Also, if you haven't already, check out the giveaway I have going on to win a $20 gift certificate. Last chance to enter is this coming Sunday )

Saturday, October 15, 2011

Lingerie Sew-Along: Closure, Straps and Finishing Touches, Part 6

It's time to finish up our bra, ladies. Are you ready? I chose this lovely set of vintage flower buttons for the closure of my bra (and later my tap pants).
(You can scroll down to see the finished bra if you just can't wait.)


To catch my buttons I'm going to make a simple loop with ribbon. I deplore button holes in lingerie, and they just get worse if you use silk or satin. Slippery fabric + button hole = lots of swearing on my part.

Here is just made a simple loop with a line of stitches to make it lie flat.


Before you sew your ribbon on to your bra, make sure that the button will fit through snugly.


 Before I sew my ribbon loop to the bra band though, I want to cover up the raw edges of the ribbon. Below is the raw edges just sewn together to keep them from spreading out. They are not sewn on to the bra band yet, they are just there for me to get an idea of where to place them.


Below I just wrapped the loose ends of my ribbon in another length of ribbon, hiding my raw ends on the back side