

A few of you have already commented on our last post to say that you've gotten your pattern and materials so now is a good time to get started in time for some weekend sewing. Shall we discuss sewing our muslin? This is probably the most important part of bra sewing. Making sure that you have the best fit possible will make all of the work you'll put in worth your while. Every body is different, and breasts themselves have wonderful variations that can make bra sewing a bit of a challenge.
This is why we need a couple of good test versions to perfect any issues before you cut into your good fabric.
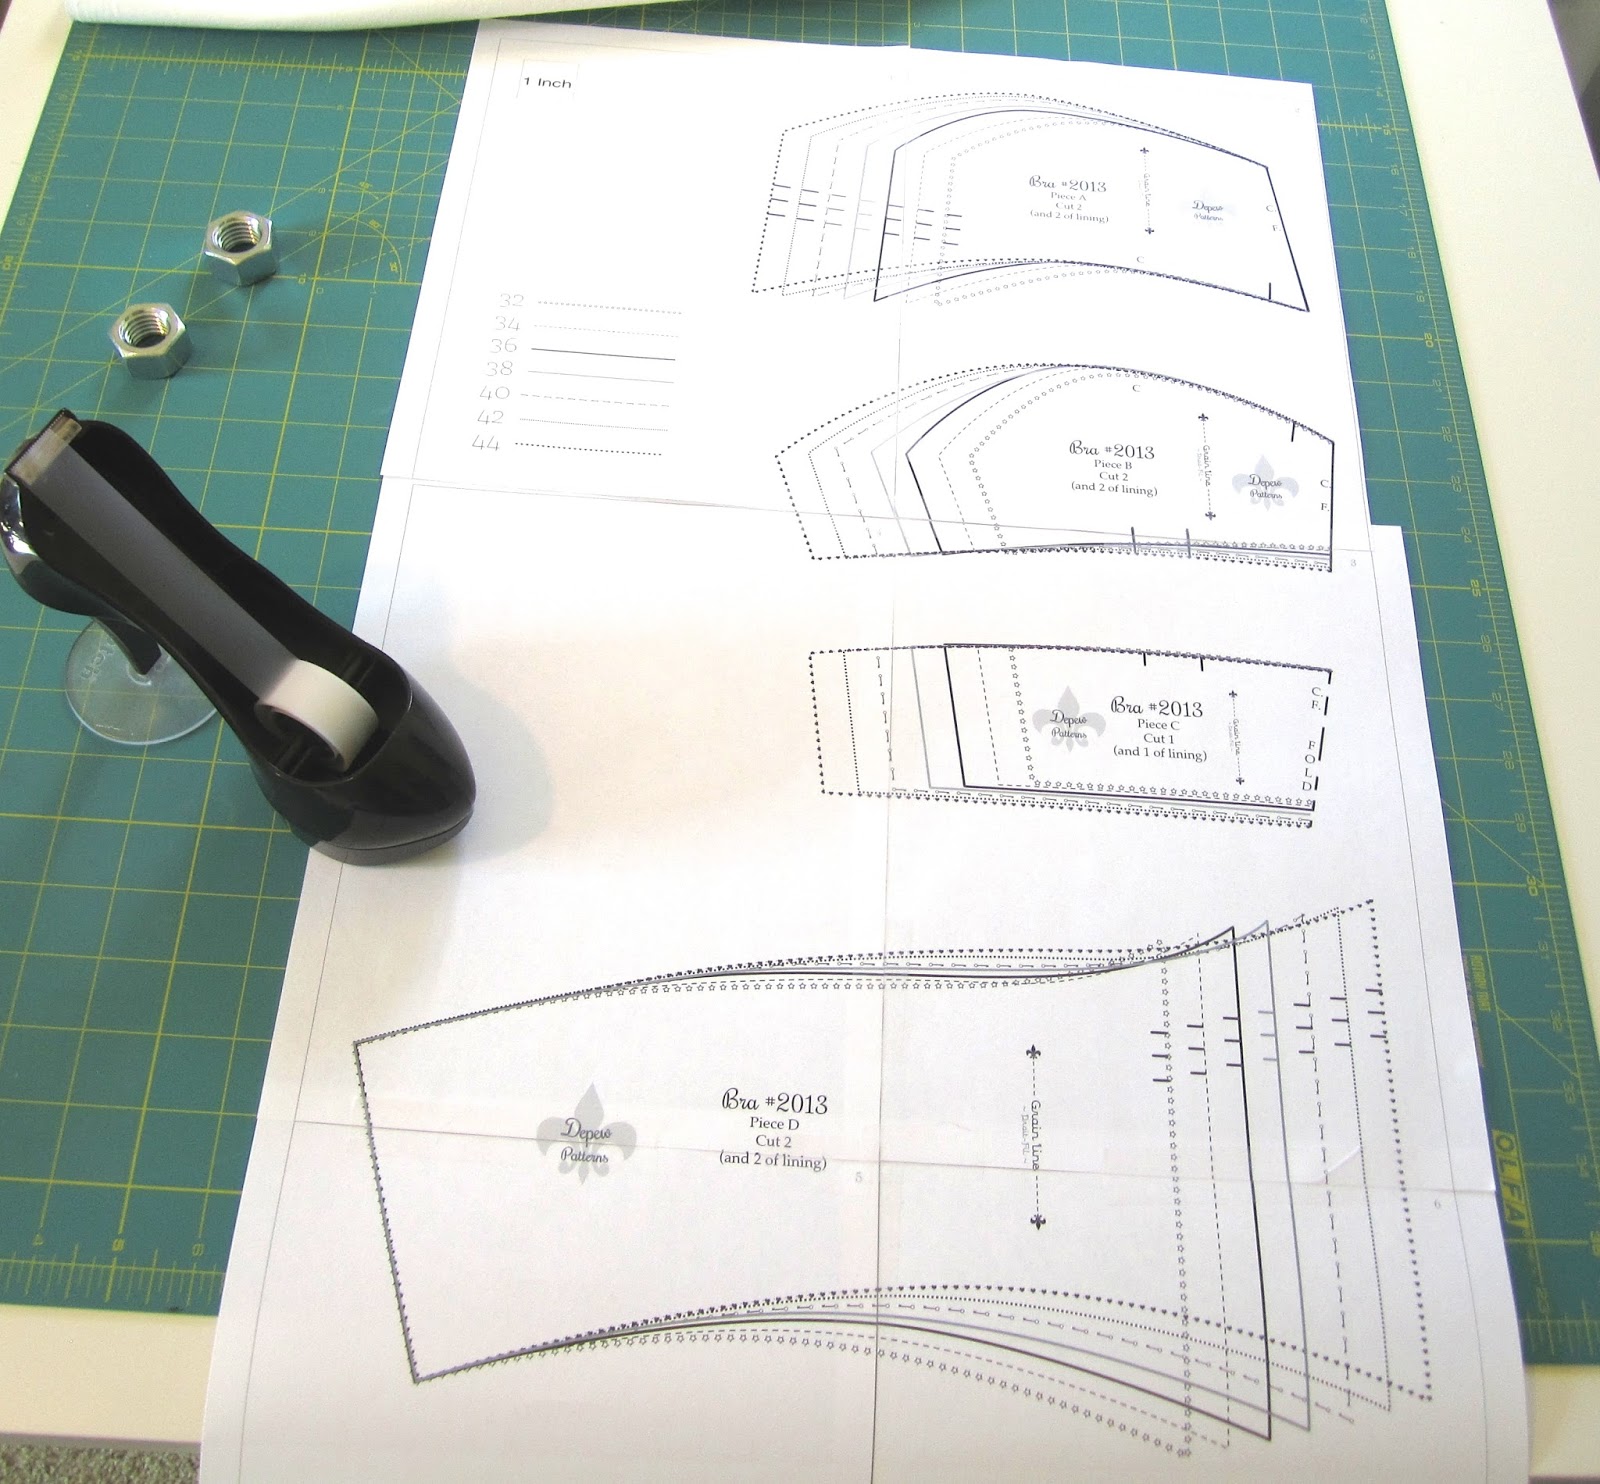
To get started, print your pattern out to 100% scale on your home printer. Tape the pieces together and then choose your desired size.
The pattern comes with several sizes included from a 34"- 44" Bust. For this measurement, we're talking about the circumference of the chest, level with the tip of your bust.

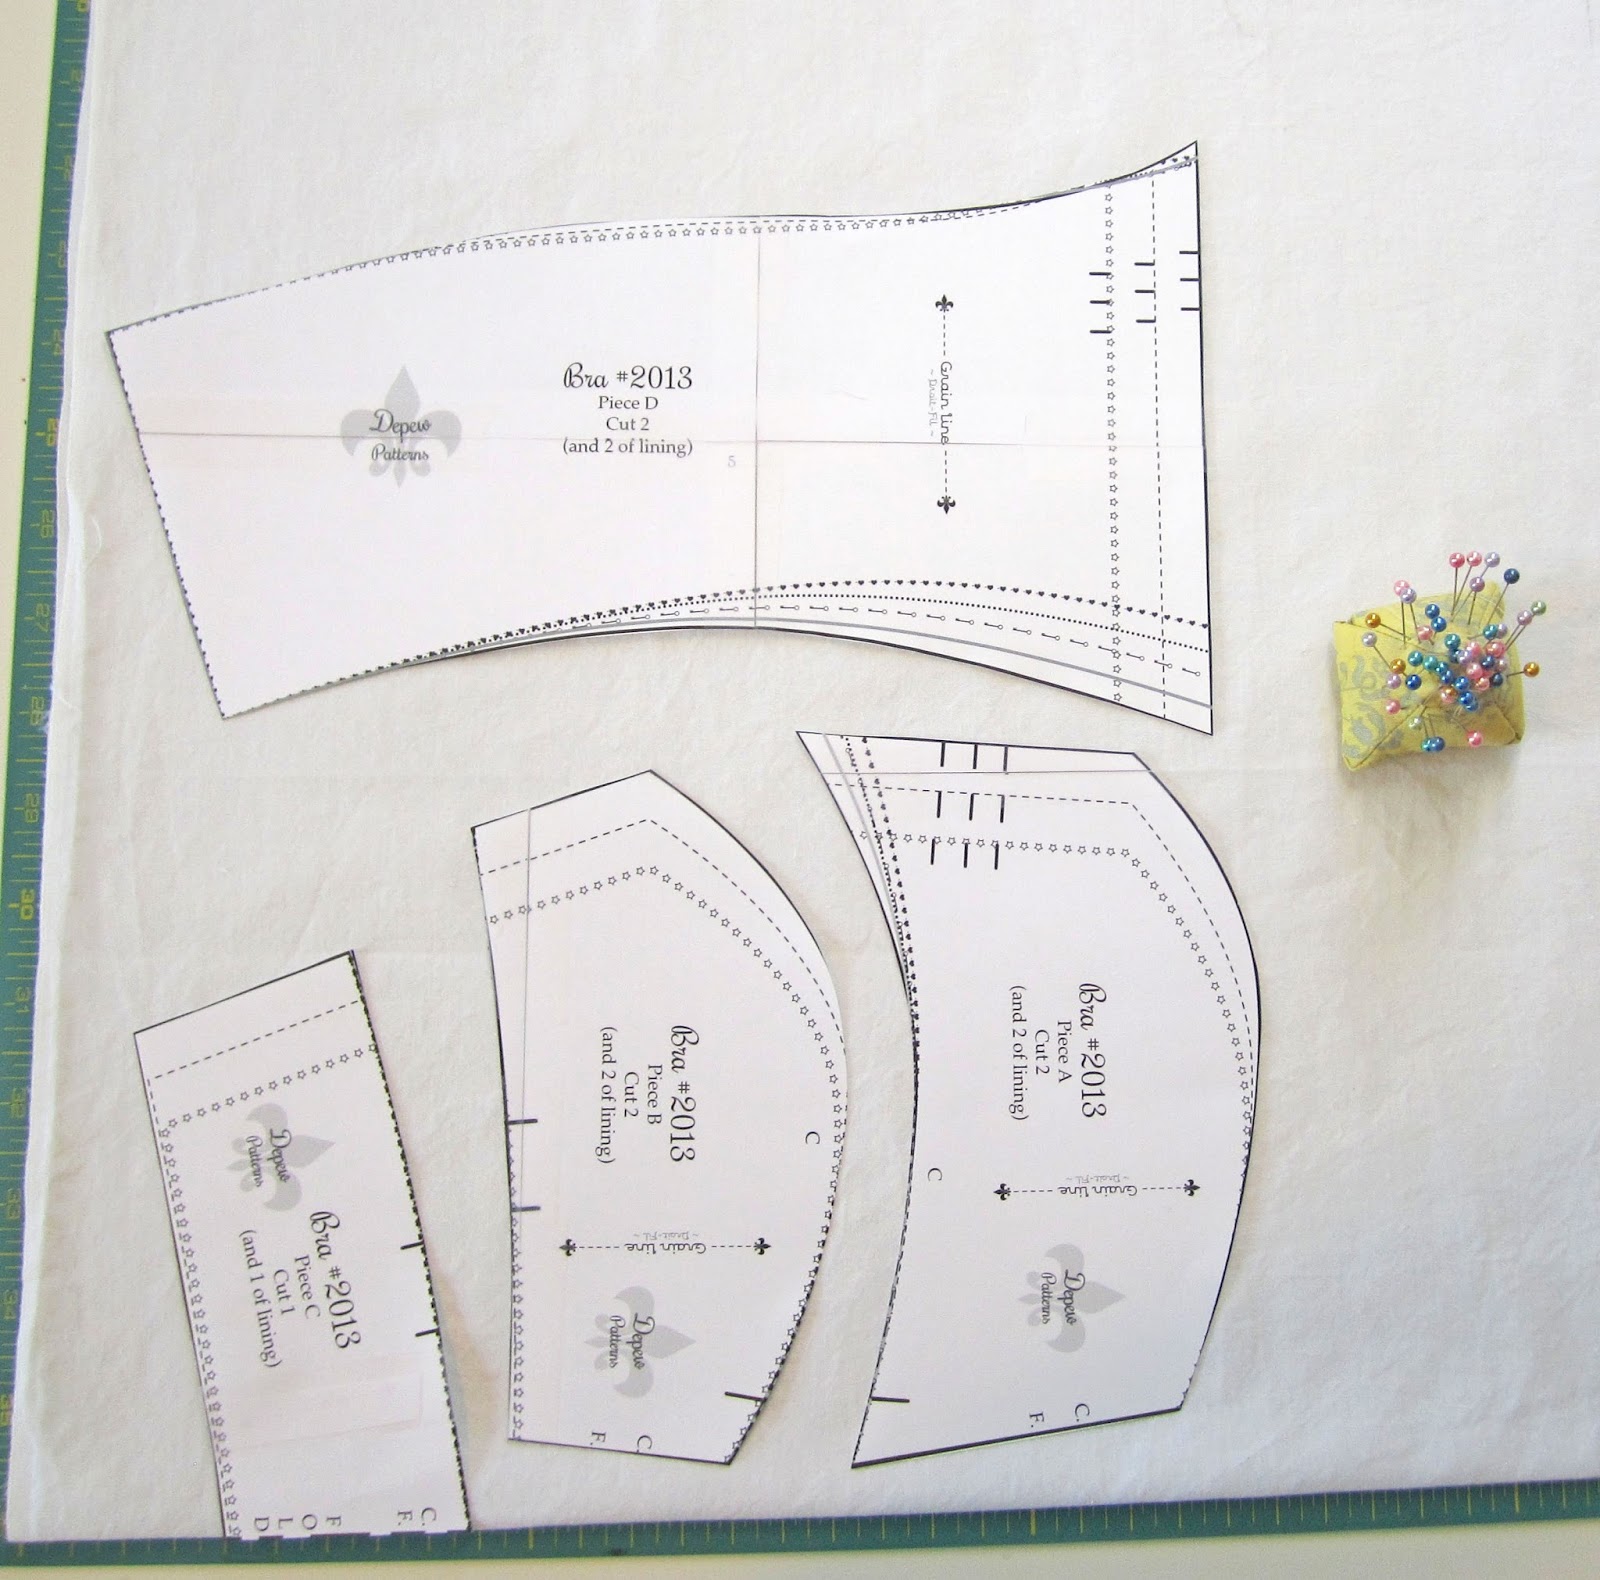

It's also a good idea to mark your center front (marked C.F.) edges with a pin. These pieces can get easily mixed up.
Or, since you're using test muslin, you can always just pencil your pattern notes right onto your fabric.
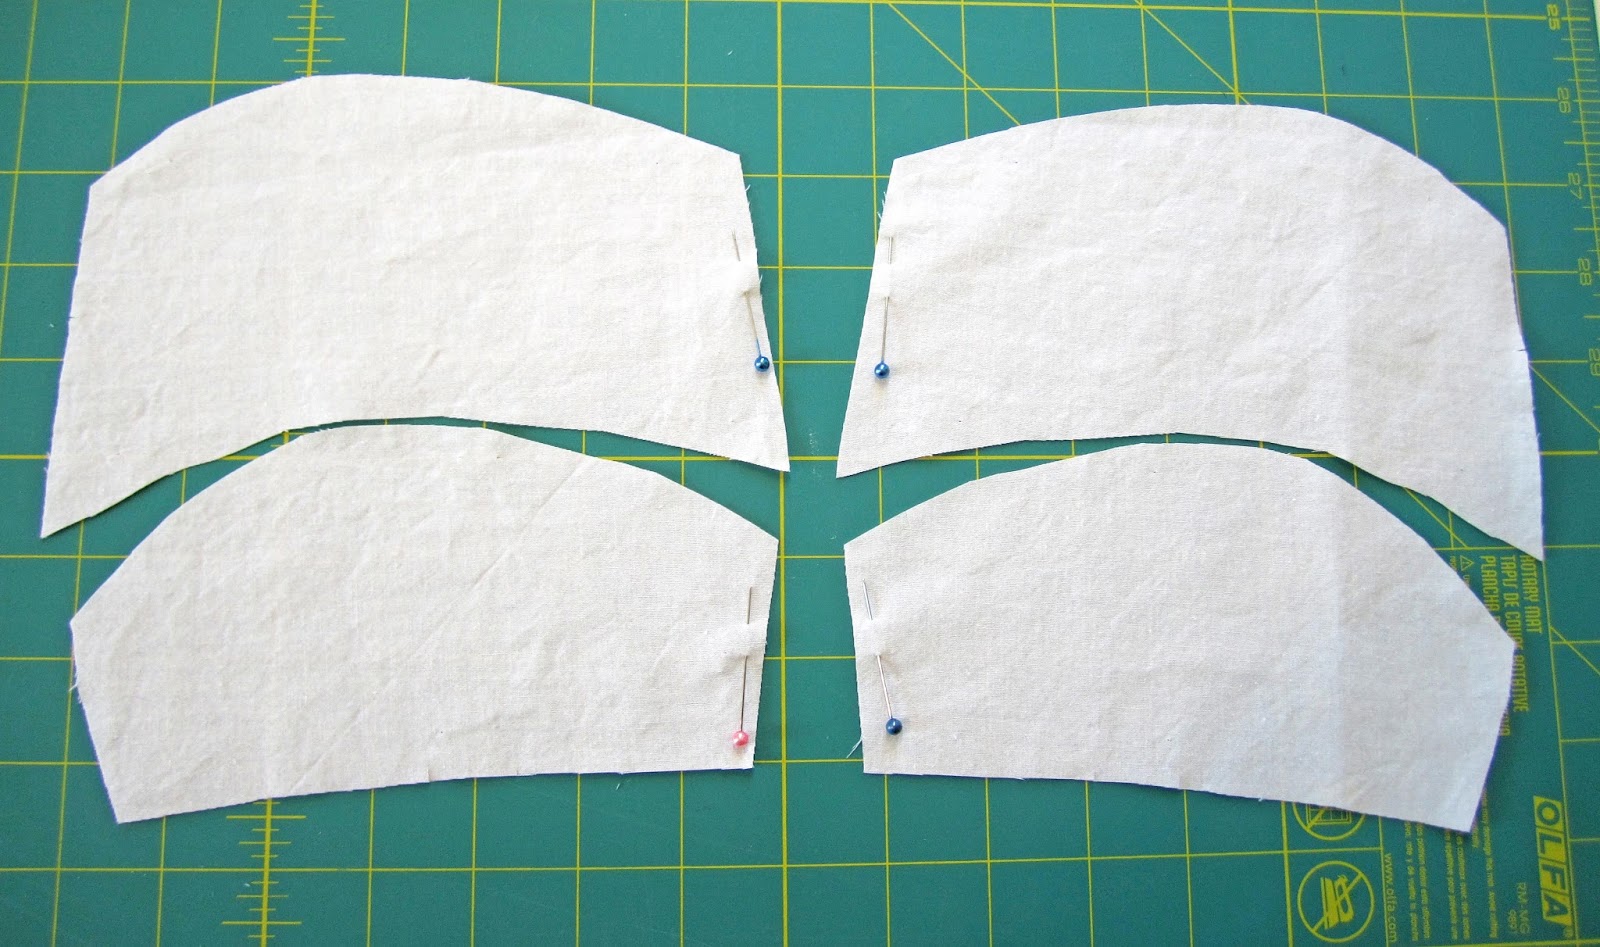 |
| Pieces A and B. |
 |
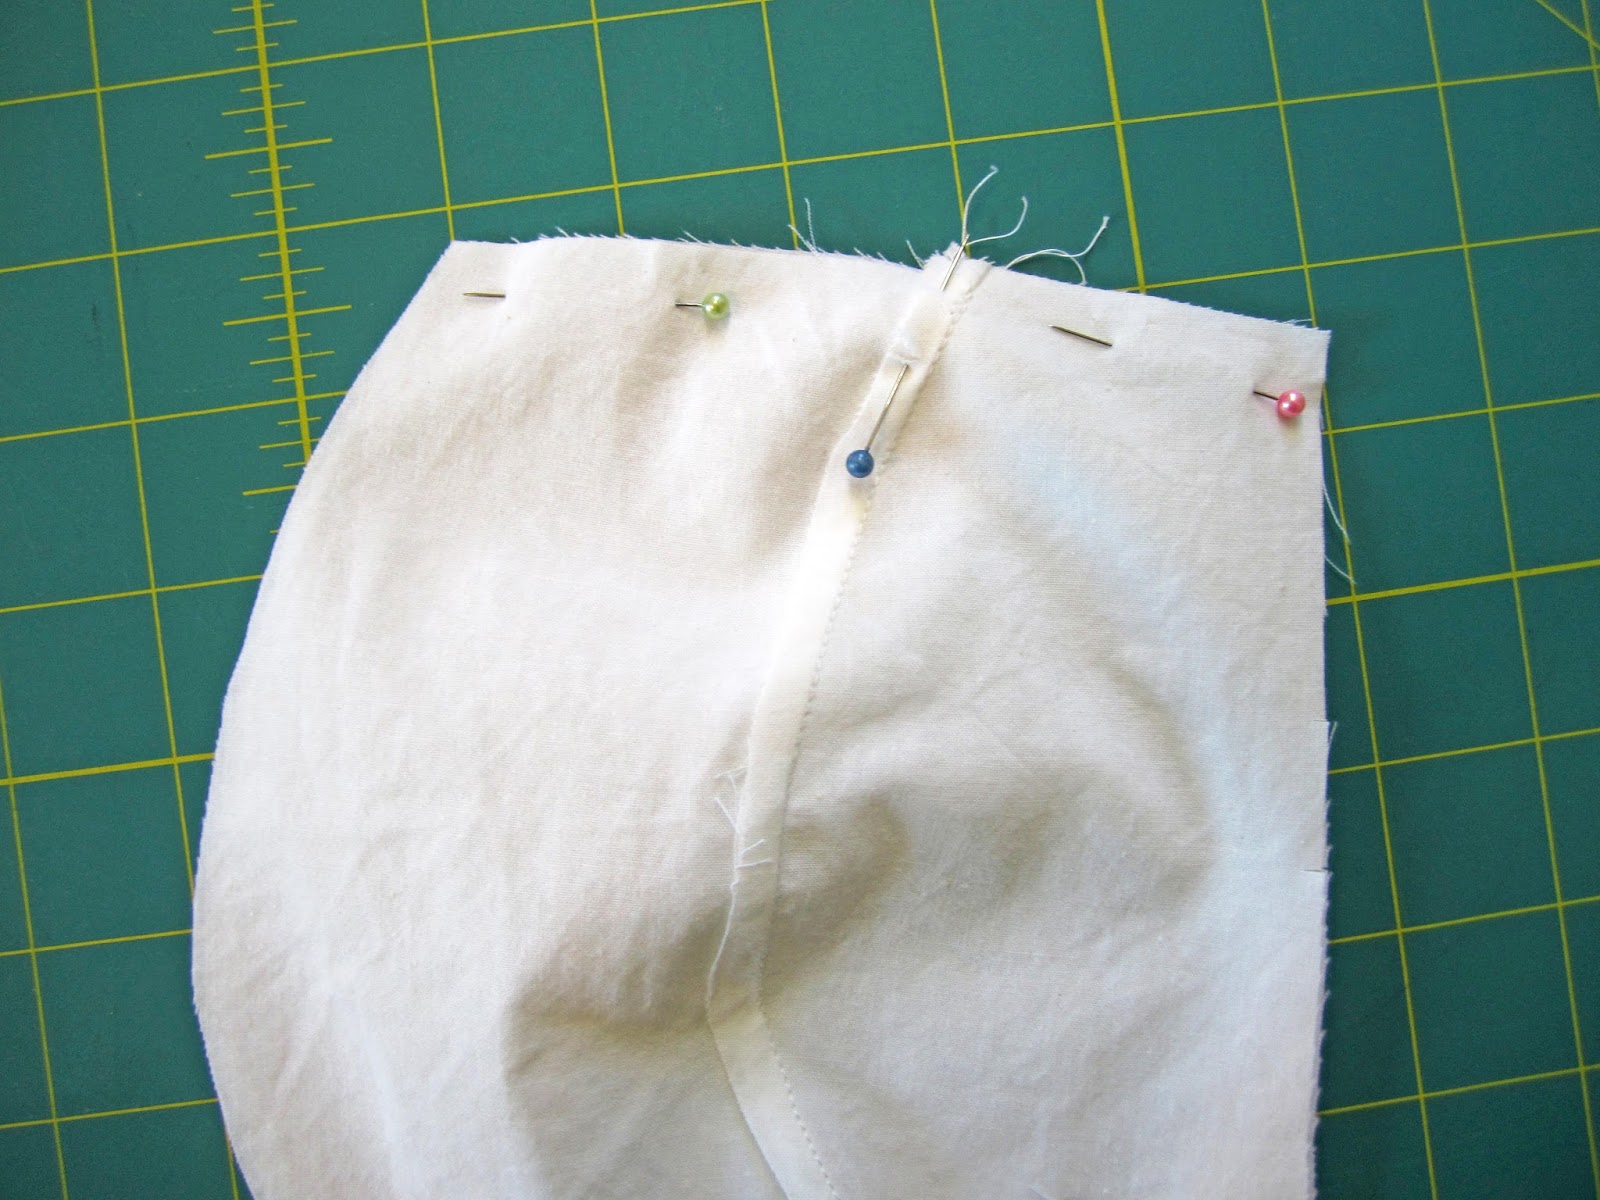
| A and B, ready to sew the curve. |

When you sew this curve, it can be really helpful to use three fingers spread out to secure the curve flat and keep the ease from slipping around too much. If this kind of curve makes you nervous, try basting the pieces together by hand first. Don't forget, your seam allowances is 3/8".
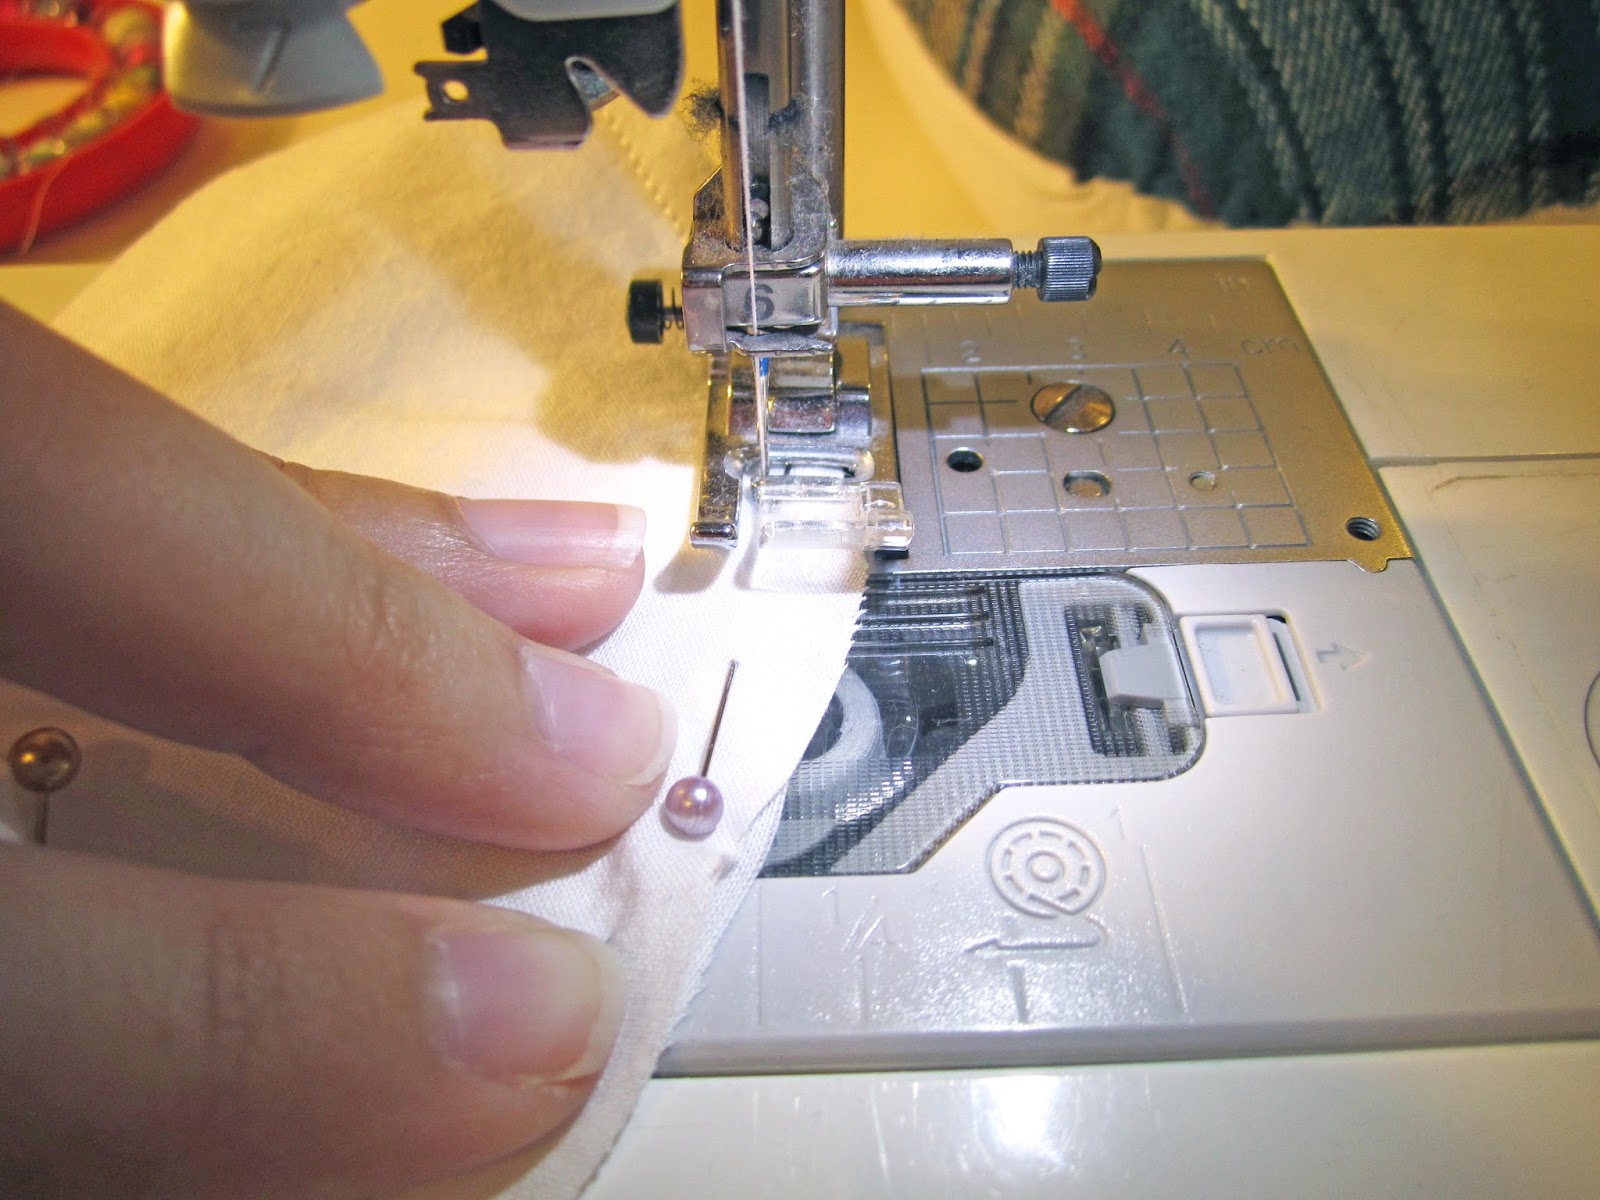 |
| Keeping three fingers spread along the length of the seam while sewing can stabilize and control the curve as you sew. |
 |
| A and B, sewn together and pressed smooth. |


Then press the seam downwards onto piece C. Now you can sew pieces D to the front of the bra at each side (ABC). Press these seams towards the back of the bra.

 |
| My muslin doesn't quite fit Lusty Lulu as well as it fits me... |
2. Is there room for the bra to close at the center back (i.e. about 1/2" on each end of piece D for closures to be sewn)?
3. Does piece C rest smoothly under your bust?
In our next post, we'll go over making some adjustments to cup depth if you need more or less room there.
Happy sewing,

4 comments:
Hi Anna,
So I have sewn my muslin, and boy am I glad I did! I sewed a size 36 pattern, the underbust sits nicely with lots of room to do up in the back, but there is definitely not enough room for the girls in A/B area. I'm thinking of printing out the pattern and using the size up cups, then tapering the side pieces down to my original C if that makes any sense? Any tips to make sure the cups don't gather when sewing the curve? Just really use the three finger spread? Thank you!!
So I tried my idea with a cup size up, and it does fit better than before. But now I am wondering if I should some width to the cups pattern either on the side or front, something like a triangle shape, so it keeps in size with the bottom band? Looking forward to your next post! Will try to sleep tonight but I know my brain will be whirling with ideas of how to make this fit, :D
I have the pattern printed but have not cut my muslin. Hoping to do this tonight! I have some really lovely silk I want to use for the final bra! So excited! :)
-Emily
Hi Brooke,
I've just gone over this in a new post - happy sewing!
http://afewthreadsloose.blogspot.com/2015/11/1940s-bra-sew-along-adjusting-bra-cups.html
Post a Comment