Showing posts with label tutorials. Show all posts

Saturday, February 14, 2015

Dressmaking: Modish Draperies, Flounces and Panels from 1928


Today, my dear readers, I have a real treat. From Fashion Service of 1928, I bring you lessons in draping flounces and panels! This is a fantastic technique that you can use in both historical dressmaking as well as modern. It's a wonderful way to personalize a basic pattern with your own flare. In the examples that follow, picture playing with contrasting fabrics, the combination of prints and solids, or added panels of lace for a more luxurious look.

Without further ado, here is the original article:


The ease with which the modish draperies of the season may be achieved is here illustrated. On a foundation dress that may be new or one of a previous season that you wish to refurbish, straight lengths of material are draped in smart but simple ways to produce the soft, fluttering effects so prominent in the feminine mode that sponsors the "dressmaker" type of dress.

To drape effectively, use soft muslin for trial material and plenty of pins. Follow the diagrams accurately and always mark the center front and center back. When the drape runs over the waist line, cut out slightly as shown.
Finish the edges of the dress fabric with picoting, binding, facing. or tiny rolled hems, as the effect may require, having first determined the size in muslin.

Rippling Cascade Panel - Picture adding this in a bright, contrasting color...

Handkerchief Drapes - Imagine these in alternating colors...

Hip Flounces - These would be a good way to add a bit of length to a dress that's a bit too short!

Minaret Flounces - You could add these if you have a narrow figure to add the illusion of fuller hips.

Diagonal Side Drape - Did you get a wine stain on the skirt of your dress? A diagonal drape is a great way to save the dress if the stain won't come out!

We briefly explored draping in my most recent pattern drafting class and I became quite interested in the topic. I found that since the class didn't expound as much as I would have liked (due to time constraints) that my collection of Fashion Service magazines were actually a rather useful supplement.


I had one very fun draping assignment in the class - draping around a motif shape - that led to some fun experimenting that I would love to explore further some day... maybe for the next Air Force ball (she said wistfully, knowing that her husband has begged not to be dragged to any more of them...).

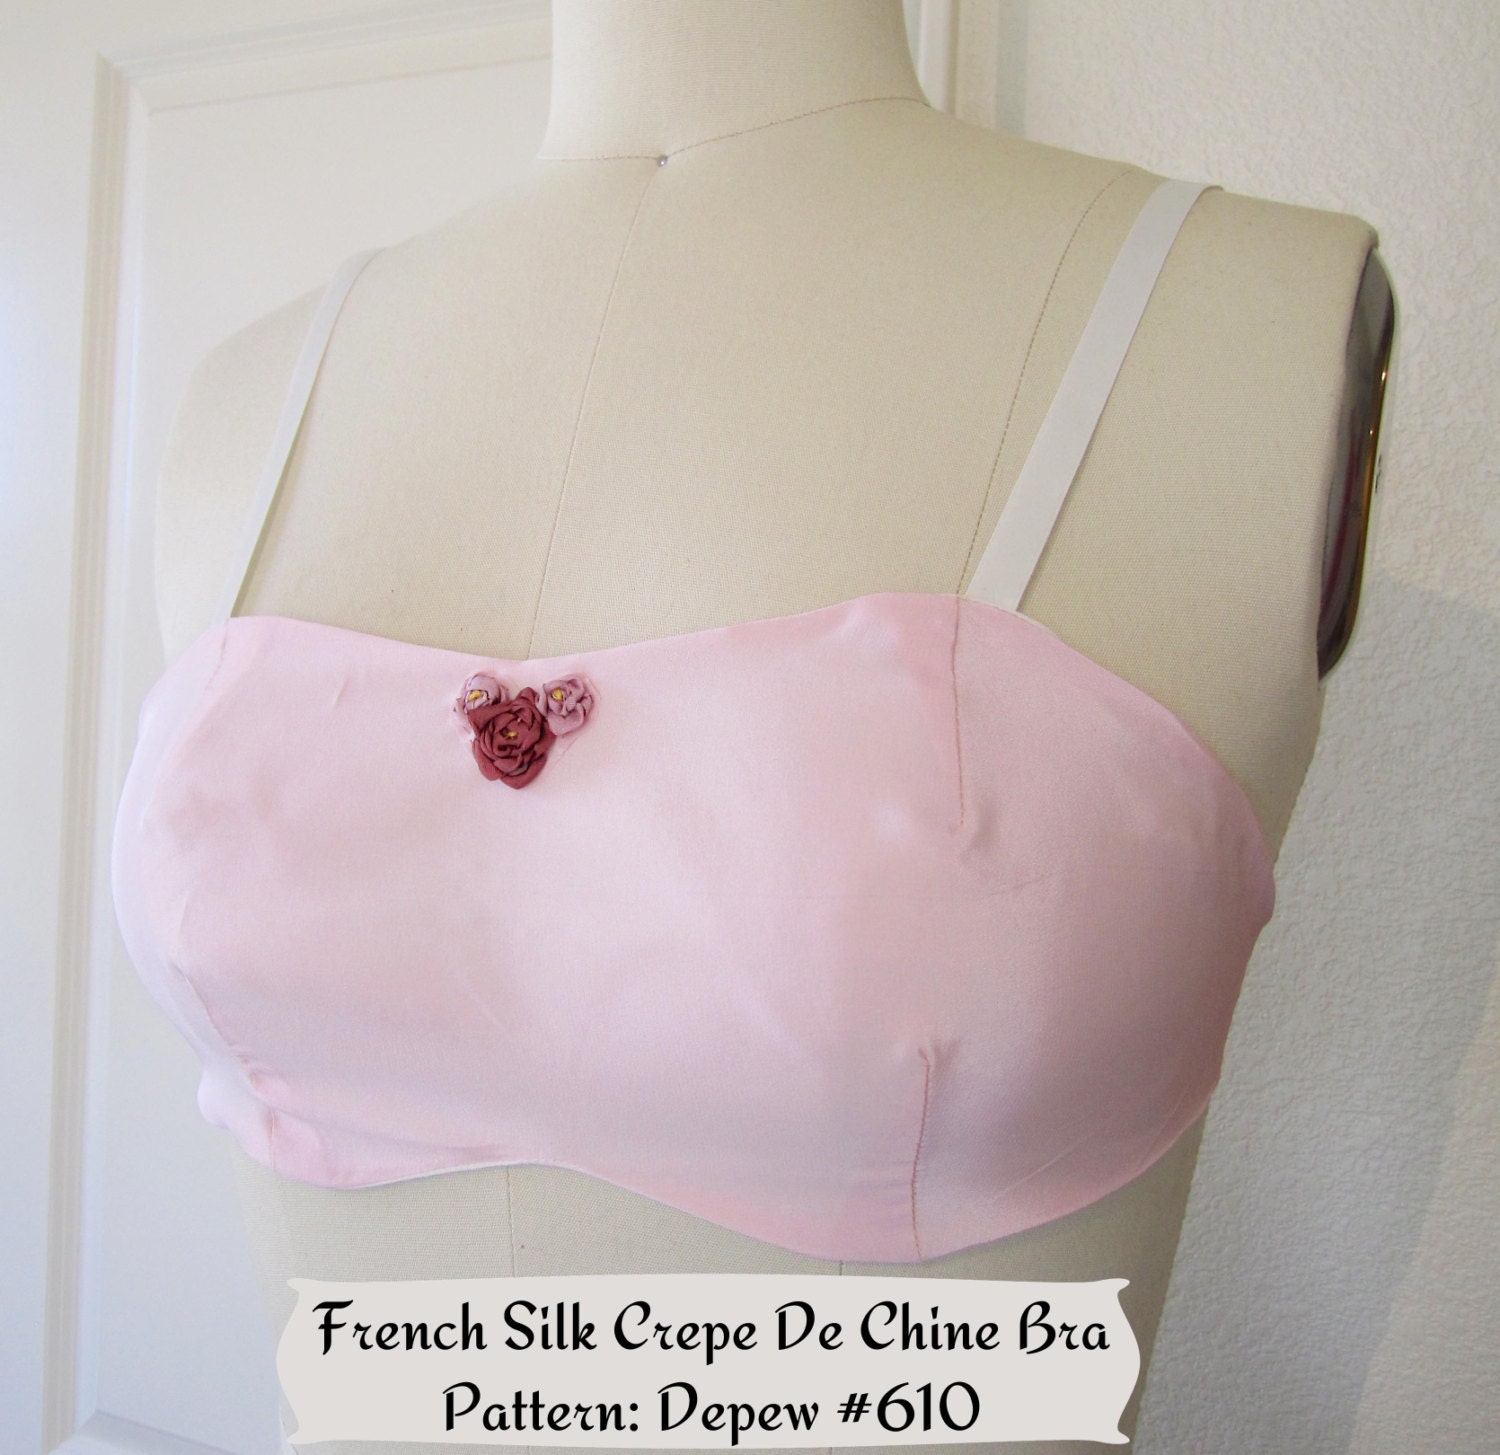
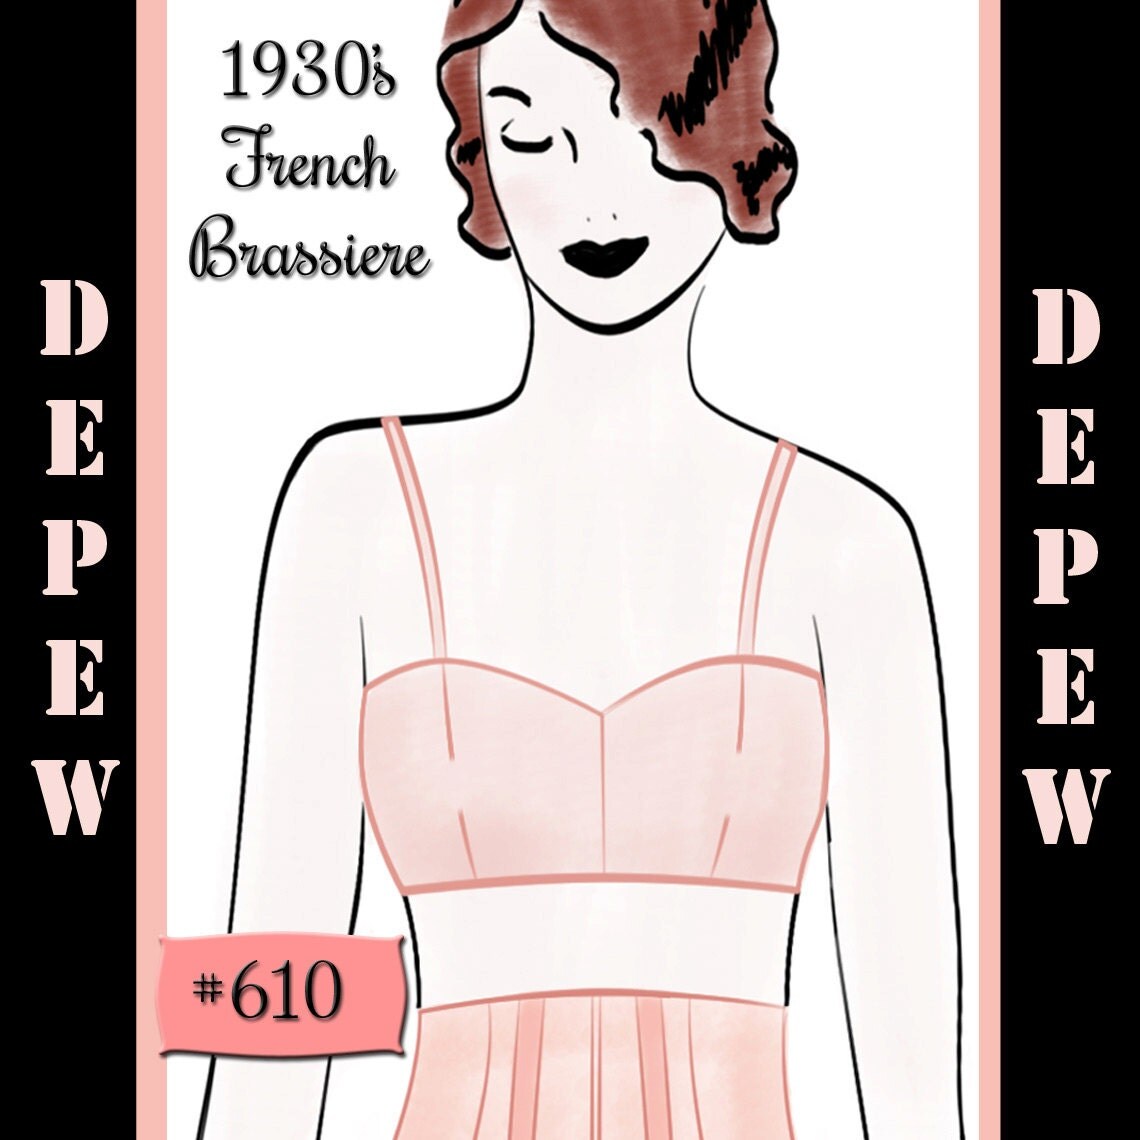
Oh, and in other news, I'm delighted to announce that one of my longest running patterns, Depew #3007 Draped French Blouse, is now available in multiple sizes (including 34"-41" bust sizes) in both paper and digital forms!

Available in both digital and paper versions at MrsDepew.com.

How about you? Have you ever done any draping? Do you have any favorite draping books or resources that I might enjoy obsessing over?

Happy sewing,


Tuesday, August 12, 2014

Sewing 610... Spiderweb Silk Rosettes


And we're back with the next installment of Sewing 610!
I'm sorry that our quick break lasted a bit longer than the week I was in Nebraska. The trip back was not as painful as I had expected, but I found that I still needed at least a week of sleep, tea, and Downton Abbey to recover what's left of my peace of mind and get back to work.

So today, peace of mind in place, I'm going to show you how to make spiderweb silk rosettes.

These were added as an afterthought to my first bra.
If you decide to sew one of these bras, your options are really endless as to how you can add embellishments. Me though? I'm a bit of a stickler for historical accuracy, and just about every piece of vintage lingerie I have from the 1930's has some sort of delicate silk rosette on it.

Case in point: a gorgeous 1930's lace bra from my collection.
You'll want to make the rosette on the right side of your bra before you've sewn the bra and the lining together. If you don't, you'll have the ends of ribbons and thread knots tickling your cleavage all day long. Have you ever had a stray hair slip down into your shirt? It's like that - and it should be avoided for the sanity of all involved.

Here is what you'll need:
  • a ridiculously small embroidery hoop - mine is about 2 /12" in circumference.
  • about 12" of 7mm or 4mm wide silk ribbon. I bought my 7mm here and am thrilled with it.
  • sewing or embroidery thread in similar color to your ribbon.
  • 1 sewing needle
  • 1 large (size 22) chenille needle (or a really massive embroidery needle, if you have one.
  • a small button
  • scissors
I highly recommend that if you haven't made these before, do a practice version first. I've gotten a lot of practice at this and I still do a test rosette nearly every time.

To keep the top of your bra from getting a bit deformed during this process, it's a good idea to run a simple line of stay-stitching across the top. Then mark a small dot where you want your rosette centered.

Place your bra (or practice scrap) in your embroidery hoop, but do so loosely and gently. It doesn't need to be drum-tight for this.


Place a small button or other round object the size of your desired rosette centered over where you marked. Holding the button in place, gently stencil a circle around it using a pencil or tailor's chalk.


Next, thread your small needle and using a straight stitch, sew 5 evenly spaced spokes radiating out from the center.


Thread your large needle with the ribbon, knot one end, and bring the needle up through the fabric very close to the center.


Give your needle a twist to curl your ribbon a bit, then draw the needle carefully first over, then under each spoke, repeating and twisting the ribbon as necessary.


Tip: to avoid piercing or snagging your fabric, use the dull end of the needle to do the threading, keeping the pointed end towards your hand.


Finally, when your rosette is as full as you wish (you'd be surprised how much ribbon you can jam into those spokes) simply bring your ribbon and needle through to the other side (piercing slightly in and under your rosette to hide it), gently knot your ribbon, and you're done!


If you wish to have a contrasting bit of stamen or pollen in the center of your rosette, you can do the following:

Bring a yellow thread, knotted at the end, up through the wrong side of your fabric and into the center of your rosette.

Moving on to the rosette on my bra now...
I used a small French knot for my stamen. To make a French knot, wrap your thread around the tip of your needle about 3 times, holding it all very firmly.

Pardon my nails, I'm in need of a bit of a spa day.
While still holding your thread securely wrapped, pierce back into the rosette almost exactly where your thread comes out to start with. Using the tip of your finger, keep the wrapped thread, slowly forming into a knot at this point, pressed down as you very carefully pull your thread all the way through to the other side.


Then simply knot off your thread on the wrong side and voila! A lovely little silk rosette!


I'll be back with more Sewing #610 when my much awaited, and much belated silk fabric comes in the mail. The fabric that I had chosen to line this fine little beauty with turned out to have snags and runs galore (a fit of epic proportion and duration was thrown) so I'm in holding pattern mode at the moment.

Happy sewing,


Sunday, July 20, 2014

Sewing #610... Intro to a mini sew-along!


Happy weekend, my lovely readers! Recently, you might remember, I sewed a 1930's bra for myself using one of the draft-at-home patterns from my shop, Depew #610.
Many readers wrote that they were curious about my process and wanted to see more so I decided to turn the project into a mini sew-along.


While sewing this bra, I took a lot of photos, but since this was more of a "getting back into sewing therapy" project for me, I didn't take nearly enough photos of nearly enough steps so I thought, why not do it all again for a mini sew-along?

I loved this bra so much that I have no reservations at all about sewing about a dozen more of them so I'll be starting from the beginning and posting as I sew.

You're welcome to join in with me and post questions as I go. The more, the merrier!
If you'd like to follow along, here is what you'll need:

1. The pattern comes in two different versions Digital (if you want to print at home) or Print (if you'd rather get goodies in the mail).

The 1930's bra pattern I'll be using.

2. Fabric: You'll need about 1/2 yard of 36" or wider fabric, plus the same for an optional lining (I used light weight silk so I lined mine). You'll also want about 1/2 yard of muslin for a test version.
This is a great pattern to use up fabric scraps, or the great vintage silk scarves you scored at the thrift shop and then never wore.

Tip: I got my lovely silk fabric, and the silk ribbon I used for the straps online at Farmhouse Fabrics for a really great price!

3. Notions: I recommend a purchased bra back for this project but you can also use hooks and eyes or buttons. For mine, I used a French bra back closure - It's the only bra back closure I think I'll ever use on my bras, it's just so comfortable! You'll also want about 1 yard of ribbon, bra strap elastic, or purchased bra straps.

4. Drafting tools. You most likely have these on hand already bust just in case, you'll need the following:
Pencil with eraser
Large paper (I use tracing paper but you can also use a paper bag or pattern making paper).
Paper scissors
Ruler
Tape
1 thumb tack
French curve (optional).

In the next post, I'll be going over how to draft out the pattern to your size and how to make adjustments to the pattern to make sure that it's accurate and easy to sew.

If you're curious how the draft-at-home patterns work, you can check out this blog post. It really takes something a bit intimidating and makes it quite easy!

I hope you'll join me!

Happy sewing,


Update: Here is a list of the posts!

Tuesday, May 13, 2014

Adding Cut-Work to your Next Lingerie Project

Recently I was the happy recipient of a handful of lingerie patterns from the 1970's - 1980's. I was so delighted to find that folded up inside one of the slip patterns were a couple of pages from a magazine, I'm guessing late 70's or early 80's, and the bit featured was how to add cut-work to a slip. And it included a pattern!
I have no information on which magazine these were from, but the motif/ pattern given is meant to be resized much larger - but I think it would look amazing in just the size it is, for a more delicate look.

So without further ado, here is this great cut-work tutorial and pattern!


And here are a few slip patterns you might try adding it to! The pattern called for in the original tutorial is Kwik Sew 941, and there are plenty of affordable copies online.


It's ok as far as lingerie patterns go but my copy of this article was actually found tucked inside Sew Lovely S701... and though I didn't see it executed, I like where the idea was going...


The following pattern, available here, would also look amazing with bits and pieces of this motif scattered about the skirt or hem.


Or the motif sized down a bit would look endlessly sexy on the bust of this slip pattern, available here.


How about you? Have you ever used cut-work in any of your sewing?

In other news - I have just discovered an ant crawling along the edge of my desk here and now I must re-home him. Here's a tip: Don't eat Reese's peanut butter cups in your office.


Tuesday, May 7, 2013

French Knickers Sew-Along... Everything in one place.


The time has come to wrap up my knickers sewing! I've only got 3 weeks until our things get packed up to be shipped back overseas and while that may seem like a lot of time, for an overseas move, it's just a moment.
Below I have summed up a list of the sew-along posts so that if you try the sew-along later (there's never any expiration date, I'm always here to answer your questions!) you have everything in one place.
  1. Getting started.
  2. Choosing your fabric. (With tips for stretch fabrics.)
  3. Where do I buy my fabric?
  4. Your first seams.
  5. Ribbon trimming the leg openings.
  6. Adding elastic to the waist.
  7. Adding "Le Crotch" insert.
  8. Trimming the legs with lace.
  9. Embroidered Touches
  • For those of you who have asked about sewing the knickers with a drawstring... keep in mind that they will be a bit bulky for undies after that, but that they would make great sleep shorts. To make these with a drawstring, simply add a 1" allowance to the top of the waist before cutting it out. Sew two small buttonholes in the center front, 1" apart on either side of the seam. Then sew the extra inch allowance into a casing and stitch down. Thread your ribbon or tie string through and voila!
  • To add a lace inset, check out this older tutorial for the Pauline Sew-Along.
  • For adding the perfect bow, check out this great tutorial by Sarah from Ohhh Lulu.
French knickers sewing seams.
A Map to your Knickers!
 And of course, here are some of my finished knickers!

French Knickers in Tencil Knit Jersey
French Knickers in tencil knit jersey.
French Knickers in silk twill with ribbon trimmed legs.
French Knickers in lace
French Knickers with lace trim.
How about you? For those of you who have had the time, how have your knickers turned out? What fabrics and trimmings have you used? Tried any neat variations I haven't mentioned here?

Thursday, January 10, 2013

Draft at Home Patterns: A How - To

A draft-at-home blouse pattern like the ones available in our shop.

Today I have an interesting tutorial on draft at home patterns for you. One of the questions I get the most often about these patterns from my shop is, "I thought I understood how these patterns work but now that I look at the files you've sent, I just don't see how the little pattern becomes a bigger one."

This question is referring to the draft-at-home patterns that use a ruler to scale a tiny pattern up to a full-sized one, similar to the Lutterloh system.

This is a concept much easier to explain with pictures so should you decide to try one of these patterns, to make your lives easier I have put together a tutorial for you.

What you will need:
Your bust measurement,
Paper ( I use a roll of tracing paper that is 36" wide),
A thumb tack or push pin,
A small piece of cardboard,
A pencil,
A ruler or yardstick,
And tape.

A French curve will also come in handy but isn't a requirement.


First, you'll want to print out everything. You should have your pattern and your measuring bands printed and ready to go. (Make sure that you print your measuring bands at 100% scale.) Once you've taped your measuring band pages together, you need to choose the measuring band that is closest to your bust measurement.  If you're working with a pattern marked with an H, use your hip measurement.

These patterns come from a 1930s French system so it uses centimeters. (Here is a link to an easy conversion calculator.)

For this example I'm using my bust measurement, which is about 36" and I have chosen to use the largest size closest to that, 92 cm. If you're off by a fraction, round up to the nearest size.
Once you've chosen your measuring band, cut it out. Make sure that you cut close to the edge of the outer lines of the band. This will help make your pattern as accurate as possible later.

The end of my measuring band, trimmed close to the edge on the size I plan on using.

Next tape your piece of cardboard to the edge of your table, making sure you have plenty of room on both sides for you to draft later. Think about how large your pattern pieces might be once full-sized and take that into account.

The piece of cardboard, about 2" square, is used to stick your push pin into, so you don't ruin your table.

Next you'll want to position your paper at the edge of your table, just over the cardboard piece. Then place your printed pattern centered over your cardboard. Tape it in place and use something like tape or weights to keep your drafting paper from moving round as you work.


Next you need to pin your ruler to your pattern. Start by finding the small cross on the pattern piece closest to your drafting paper.

Pierce your ruler with the push pin right at the little dot on the end of the ruler. If you're using the 92 band, put the pin through the end that says 92 on it. Then push the pin into the cross for the pattern piece you'll be drafting first. In this instance it's the one marked as 'Back'.


Now the ruler is free to swivel on the pin in any direction and you're ready to start drawing.


Grab your pencil and starting at one end of the pattern, find the first number given on the design. You can see above that the first number on the left is 27. Line up the edge of your ruler with the line above your number and then find the matching number on your ruler.


Make your mark on your paper and then move on to the next number. The X's marked are the main corners and edges of the patterns. The O's usually indicate the edge of a curve. If you find a number like 32 1/2, just estimate where it would be as there are no fractions given on the bands.


Keep moving along and mark off each number until you have a bunch of dots that roughly outline the pattern shape.
Now you get to play connect-the-dots! Using your ruler or french curve, just outline the curved and straight lines until you have a full sized fully drafted pattern piece.


The dots that outline my pattern edges, before they are connected.

A French curve comes in handy for drawing a smooth line along the curves of armholes and waistlines.

The full sized pattern piece after the dots have been connected.


Now all that's left to do is add the seam allowance. Seam allowances are usually not included in these patterns and this one is no exception.

Repeat the same process for each pattern piece, using a new piece of paper each time to draft your pattern onto. Make sure that as you draft each new pattern piece, your desired pattern piece is on the same side as your drafting paper.

Things to remember:
  • Your pattern pieces may need to be lengthened to your height requirements. For instance, trousers and skirt pattern pieces might look a bit short until you lengthen them.
  • These patterns don't have sewing instructions and were intended for at least intermediate-level sewers. However, the pattern pieces are usually laid out in their boxes in relation to how they're to be put together. 
  • These patterns also don't usually include things like facings and pocket pieces. It was assumed that the average seamstress knew how to draft these things on her own. Here is a quick and easy tutorial by Colette Patterns on drafting a facing.
  • Though this system can be pretty accurate, there are sometimes discrepancies in vintage patterns. There is also human error to take into account. Always make a muslin of these patterns before using your intended fabric to make sure the fit is right.
  • I highly recommend using tracing paper to draft these patterns. Once your pieces are drafted, it's easy to lay them out over each other and get an idea of how seams will fit together. (FYI, I buy my tracing paper by the roll here.)
  • You can find all of our draft-at-home patterns and measuring bands at Mrs. Depew Vintage.

Any questions?