Sunday, February 26, 2012

Ohh La La Pin Up Sew Along... Sewing your French seams.


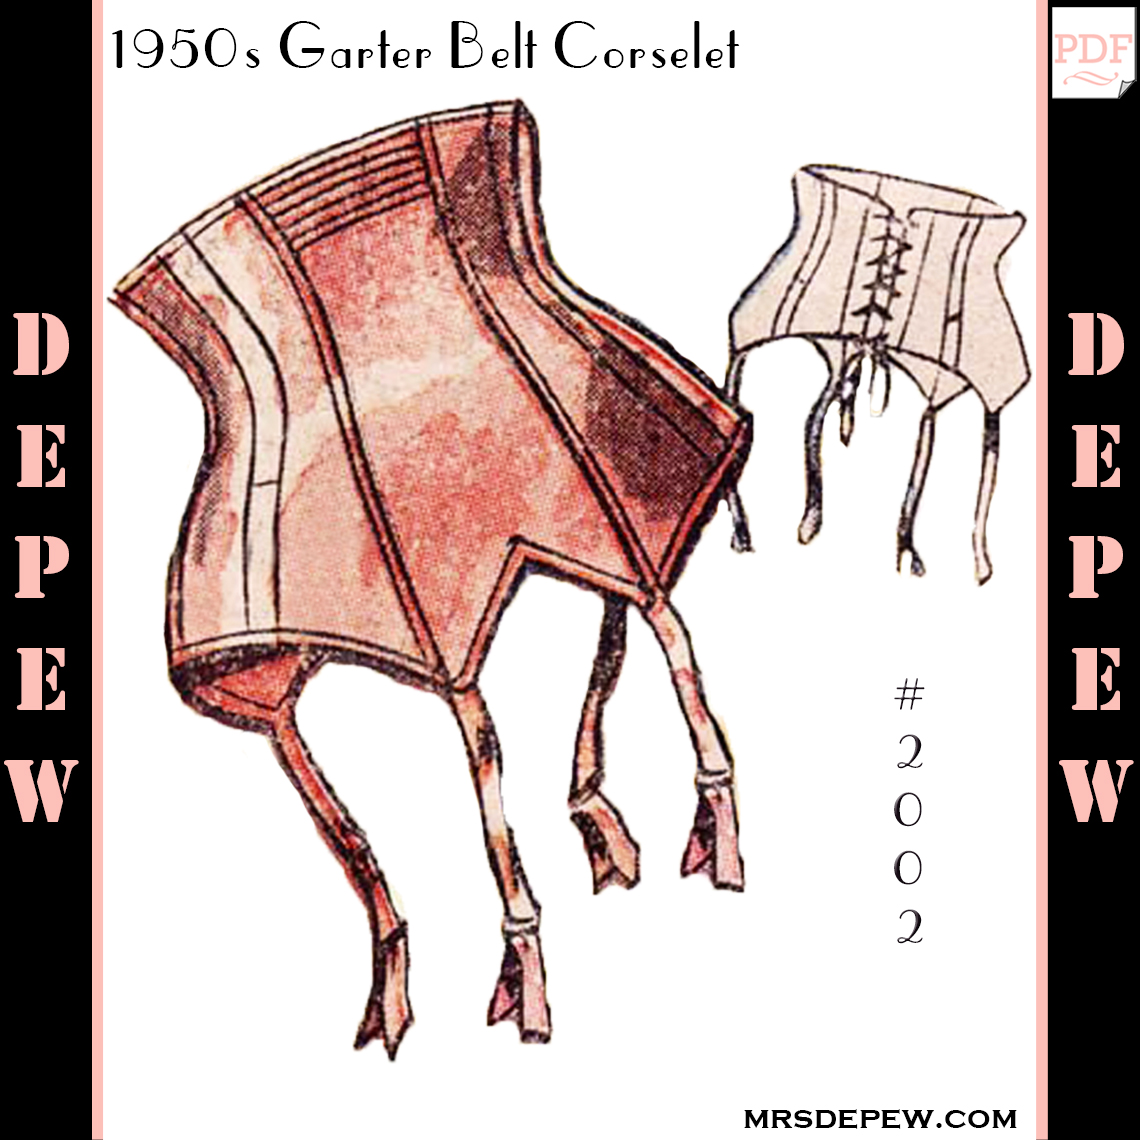
The pattern we're using...

Today for the sew-along we'll sew all our side seams together. Unlike the regular seams we used to cobble our muslins together, we'll be using French seams, stitched flat to encase our boning.
But first, since this pattern has seam numbers instead of notches, how will you tell your pattern pieces apart? You can always mark with chalk or fading fabric pen but I prefer to make a key.

I'm not sure why I went up to five instead of four here, must've been the wine.
To tell my many pattern pieces apart since I used pattern weights instead of pins when cutting, I like to color code my seams with pins.


So for example, blue is seam #3, green is seam #4, and instead of matching notches, I match up the pins.

Now for our French seams. Remember, Wrong sides together, then Right. Sarah and I have both added a 5/8" seam allowance to our pattern pieces.

Friday, February 24, 2012

Ohh La La Pin Up Sew Along... Lace overlay is pretty... and optional.


The pattern we're using...

Today I'm going to show you how to do a lace overlay on your corset. This is an optional embellishment; I'm using it to overlay only three panels in the corset for contrast, pattern piece 1 and 3.


First cut out your main fabric just like you normally would. I'm using some vintage satin I've had waiting for a pretty lingerie project like this and less than 1/2 yard of 5" wide cream vintage lace.


I found another random pattern weight option. Money, or more particularly, heavy 5, 10, and 20 kroner coins. They weigh roughly the same as euro coins and silver dollars and they work great!


 For the front panel, piece #1, open it up and lay your lace over it. If you have a pattern that you want to center, do that and then pin the lace in place to your bottom fabric, smoothing but not stretching the lace.
Cut out your lace.

Thursday, February 23, 2012

Ohh La La Pin Up Sew Along... Sewing your Muslin.


We've reached that point in the sew-along where we have to roll up our sleeves and sew a muslin. I know, it seems like a waste of time, and I know a lot of you don't have a ton of time to sew as it is. But trust me, you don't want to waste your valuable sewing time making something only to find out it doesn't fit properly. So take an hour (yeah, it will go quickly) and get your muslin started.

The pattern we're using...

When I cut out my muslin I like to do it on my cutting mat, with my nifty seam allowance guide stuck to my rotary cutter, and I can blast through it in minutes.

Yes, Yes I do use spools of thread as pattern weights.
You won't be binding any edges, sewing on any garter clips or any of that nonsense. This is just to make sure that your corset closes, and isn't too small or large, or short, or tall, or hot or cold.

My big stroke of brilliance with my last muslin was to write my seam number on my seam allowances. What? I know! Happy thought, right? Who hasn't wanted to just take a marker and scribble markings on their fabric so they won't smudge or disappear. Muslin graffiti.


What I'm listening to while I sew:


Sarah from Ohh Lu Lu has put together an excellent post on what you need to do to get your muslin ready.  You can read all about it here.

Or Below:

I have to admit... I can be a lazy sewist, when I am sewing for myself, but lingerie muslins take no time to sew, because they are so small! No need to worry about interfacings or linings for your mock-up -You just need something to test your fit!

Wednesday, February 22, 2012

Ooh la la Pin Up Sew-Along... Grading Your Pattern Up Or Down.


The pattern we're using...
For those of you that don't fit into the size range of people I had available to test the corset pattern on, then you're in luck because I am at your disposal!


First I will show you how to grade to a smaller size, then I'll show you how to grade to a larger size, though they are very similar.

Keep in mind that you should really make a muslin of this pattern, and you should REALLY make a muslin if you've made adjustments like these.

Today we're going to use reader "E's" 25" waist as our starting point.
The smallest size on the pattern is a 29" waist. (29"-25"=4").
We'll need to grade the pattern down 4" to make it her size.

 I like to use centimeters for this (don't worry, there are centimeters on every ruler and yardstick out there) not because I live in Europe right now, but because it's just easier than doing a bunch of fractional math all the time.

4" is 10 cm. (roughly) Now luckily there are only 5 pattern pieces so we know that we need to distribute the 10 cm we're removing from the pattern at 2 cm per piece.
(4"=10 cm) and (10cm/ 5 pieces = 2 cm per piece)
But wait! These pattern pieces are cut double, 2 of each, so it gets easier! We're just removing 1 cm from each pattern piece.
Technically there's just one of the center piece and it's cut on the fold, but we can still distribute changes the same, as both ends of the piece will reflect the change.

Now we get to the cutting! I'm just going to show you how we'll do this with pieces 1 and 2 but you'll do the same with all of them.


Start by cutting the pieces vertically right down the center.


Measure the amount that you want to remove, in this case it's 1 cm.
Note: if you are removing more than 1 cm form each piece, I know it's more work but you'll get better results if you split the pattern pieces into thirds and remove a bit from the inside of each. The same goes for grading the pattern larger than 1 cm per piece.


Next, trim off the amount to be removed from the piece you marked and tape the two pieces back together lining up the top.


At the bottom, you will have a little bit of jagged edge where the pieces don't quite match up.


This end is a straight line so just line up a ruler between the tip of the pattern piece to the inside where it should match, mark, and then trim.


 Do the same with each pattern piece.


To grade the pattern piece larger is a really similar process.

Reader "A" has a 37" waist and also asked this question. That's lucky because it's another 4" difference between the size she needs and the largest size on the pattern.

Using the same math from above, we know that we need to add 1 cm to each pattern piece.
(4"=10 cm) and (10 cm/ 5 pattern pieces = 2 cm per pattern piece, cut double, = a 1 cm adjustment)

I'm going to use piece # 5 to illustrate.


As with grading down, to grade up we split the pattern piece vertically down the center.


When I cut out a digital pattern, I always keep a handful of my paper trimmings from taping them together on hand for alterations like this.


 I have measured and cut a strip 1 cm wide.


Place the piece in between your split pattern pieces and tape it back together.


Trim smooth the jagged edges and you're ready to do it to the other 4 pieces.


Voila! Any questions?

Tuesday, February 21, 2012

And The winner is...

Hello lovely readers. I'm about to make some eggs Benedict with fresh avocado and tomatoes for supper but first I'm going to announce the lucky winner of the Ooh La La Pin-Up Sew-Along Giveaway!


We had 112 comments from you all and as chosen by Random.org, the winner is #94, Tina Cosgrove of Down The Retro Rabbit Hole!
Tina, you can email your contact info to me at afewthreadsloose@gmail.com.

Tina wins the entire Sew-Along Kit which includes the Corset Garter belt pattern, the matching Bra pattern, and a copy of Pretty Pretties" a 1940's lingerie sewing handbook.

Thanks to all of you who entered the giveaway and who are joining Sarah and I for the sew-along!
We'll both post more tomorrow on the importance of making a muslin of the corset pattern.

Ooh la la Pin Up Sew-Along... Corset boning and why you need it.

 
When to Use Boning, and What Kind
The question is, are you wearing it to the bedroom or the boardroom?
Boning your corset is always best, to be honest. In my experience, unless it’s hiding under a dress, bedroom lingerie has a shelf life of about 2.5 minutes before it lands on the floor. That 2.5 minutes doesn’t require too much support. The main point of the side boning in this corset is to keep it from folding and bunching up on you when you bend over.
(I’m sorry, I’m immature, and I’m giggling at all the double entendres as I write this.)

There are several kinds of boning that you can use both new and vintage.


Vintage Notions:
My mother, the fantastic vintage dealer and former custom corset-maker literally has buildings full of vintage clothing, patterns, ribbon, fabric, notions and a million other things. Last summer on a visit home she and I dug through boxes and boxes and I stumbled across more than one large box that was overflowing with old bias tape, rick rack, needles, ribbons, spools of thread, and to my delight, a box of Warren’s Featherbone.


Needless to say, I bought an extra suitcase to drag the contents of the box home with me.


Monday, February 20, 2012

Ooh la la Pin Up Sew-Along... Printing Your Pattern and Adding Seam Allowance


Let's get started, shall we? By now most of you should have your pattern unless you're waiting to see if you win the giveaway which will be announced tomorrow.


Sarah from Ohh Lulu will be posting a very similar post to this one with a few small adjustments for those of you who will be sewing eyelets at the corset back. If you are, it's a must read.

I know I said this in the email but it's important so I'll say it again. Make sure your printer scales the image to 100%.

I don't know why but my printer always wants to print my patterns at 90% and I have to change it. Once I spent 3 hours trying to figure out how I had made an entire pattern too small in my design process before I figured out it was my printer's fault. Grrr.