Showing posts with label lingerie sewing. Show all posts

Tuesday, November 10, 2015

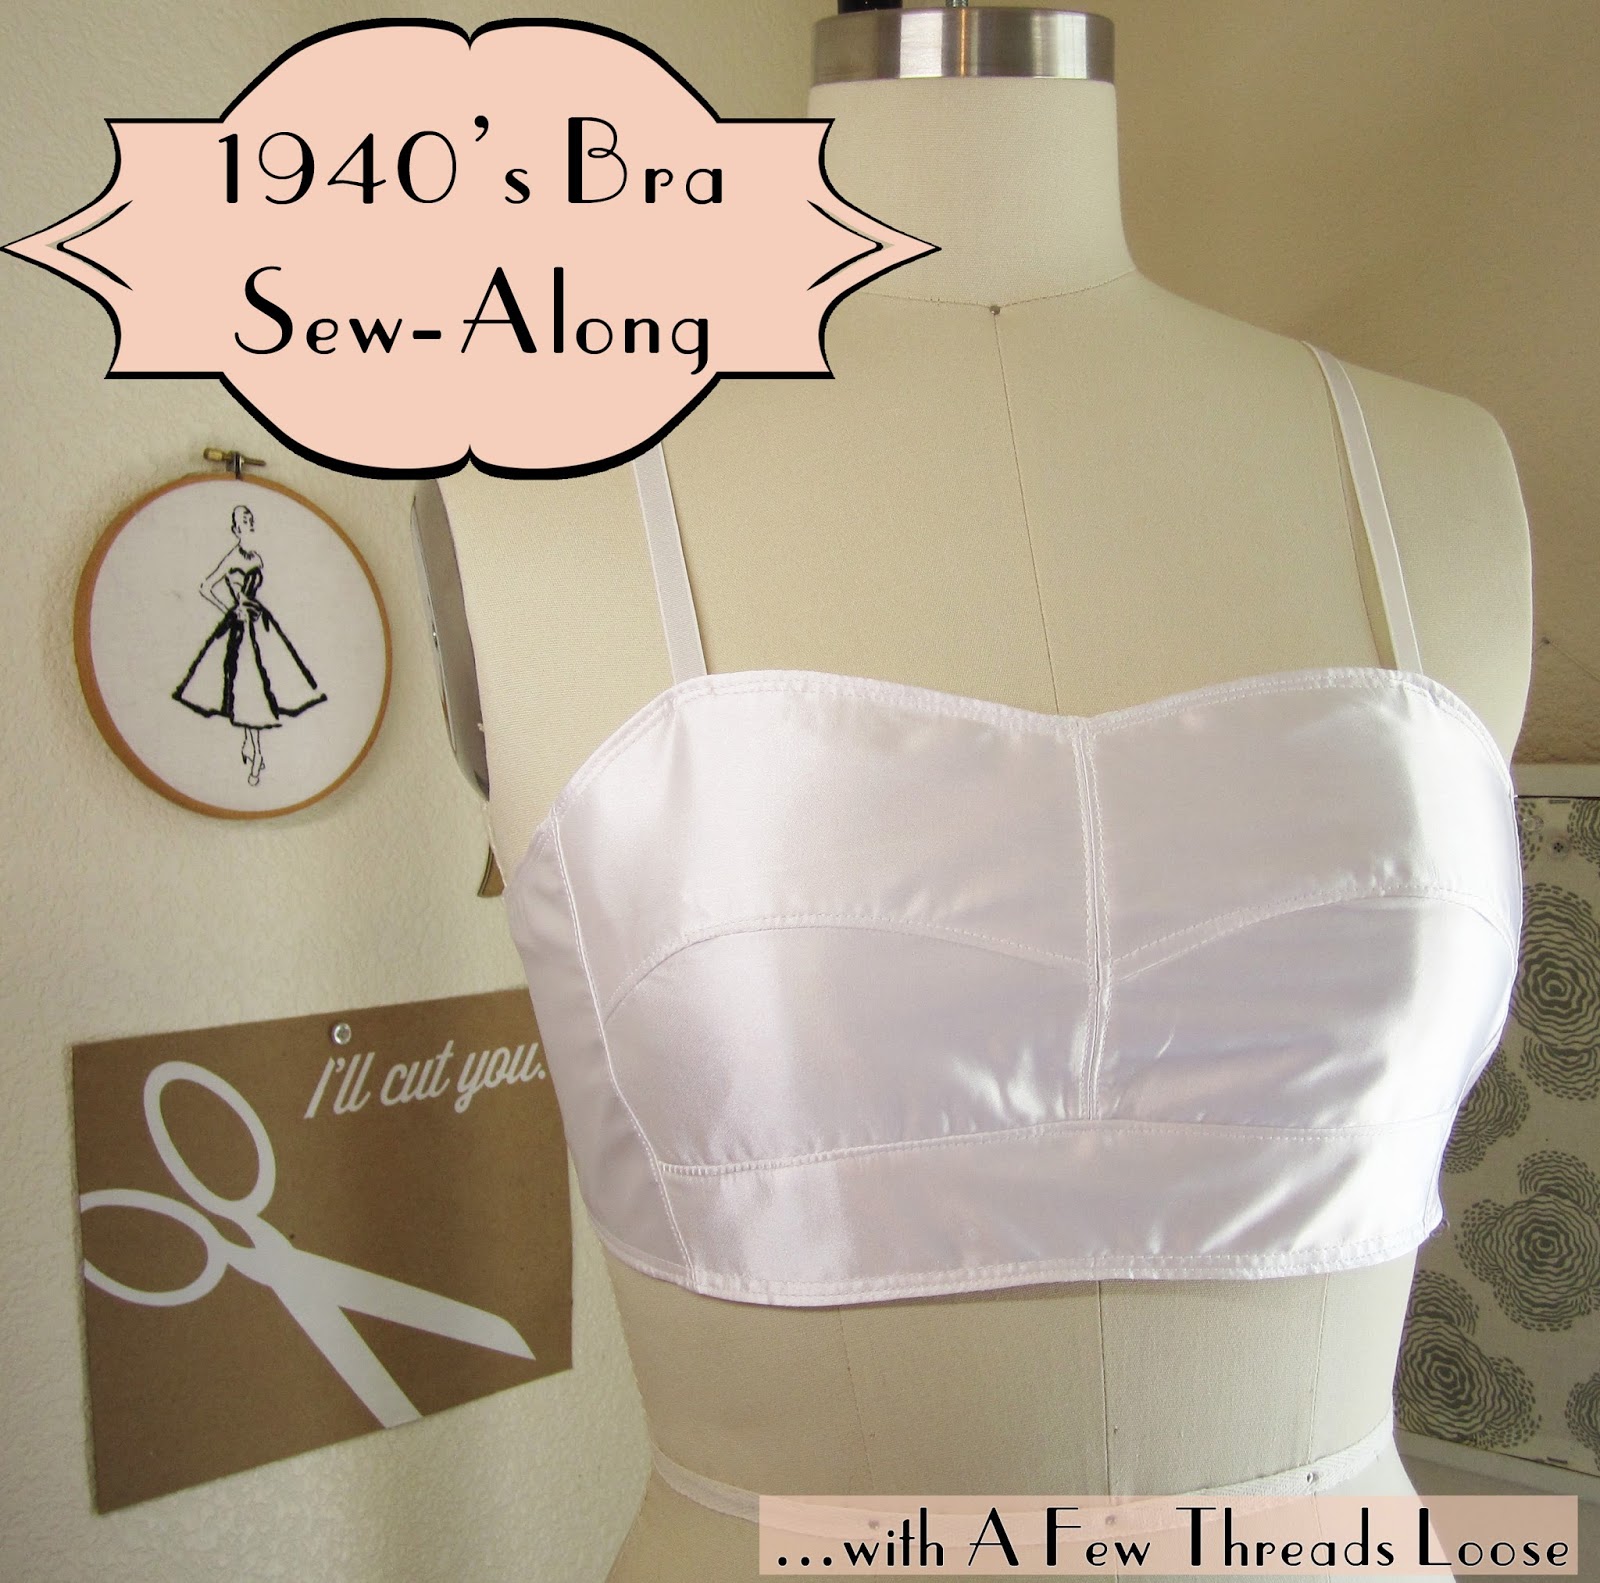
1940's Bra Sew-Along - Sewing the real thing.


Hi there lovely readers. I hope I'm posting at an o.k. rate for you. It's been a strange week and I've been unfortunate enough to have a headache for 5 days now. I went to the doctor today just to be on the safe side and everything is fine - I'm just one unlucky girl this week...
For today's post we're going to sew our actual bra together now! In our last post, we went over lining and facing options. Now that we've squared that away, and you've faced your pattern pieces (if you so chose) we'll put together our bra in the exact same order we put together the test muslin.


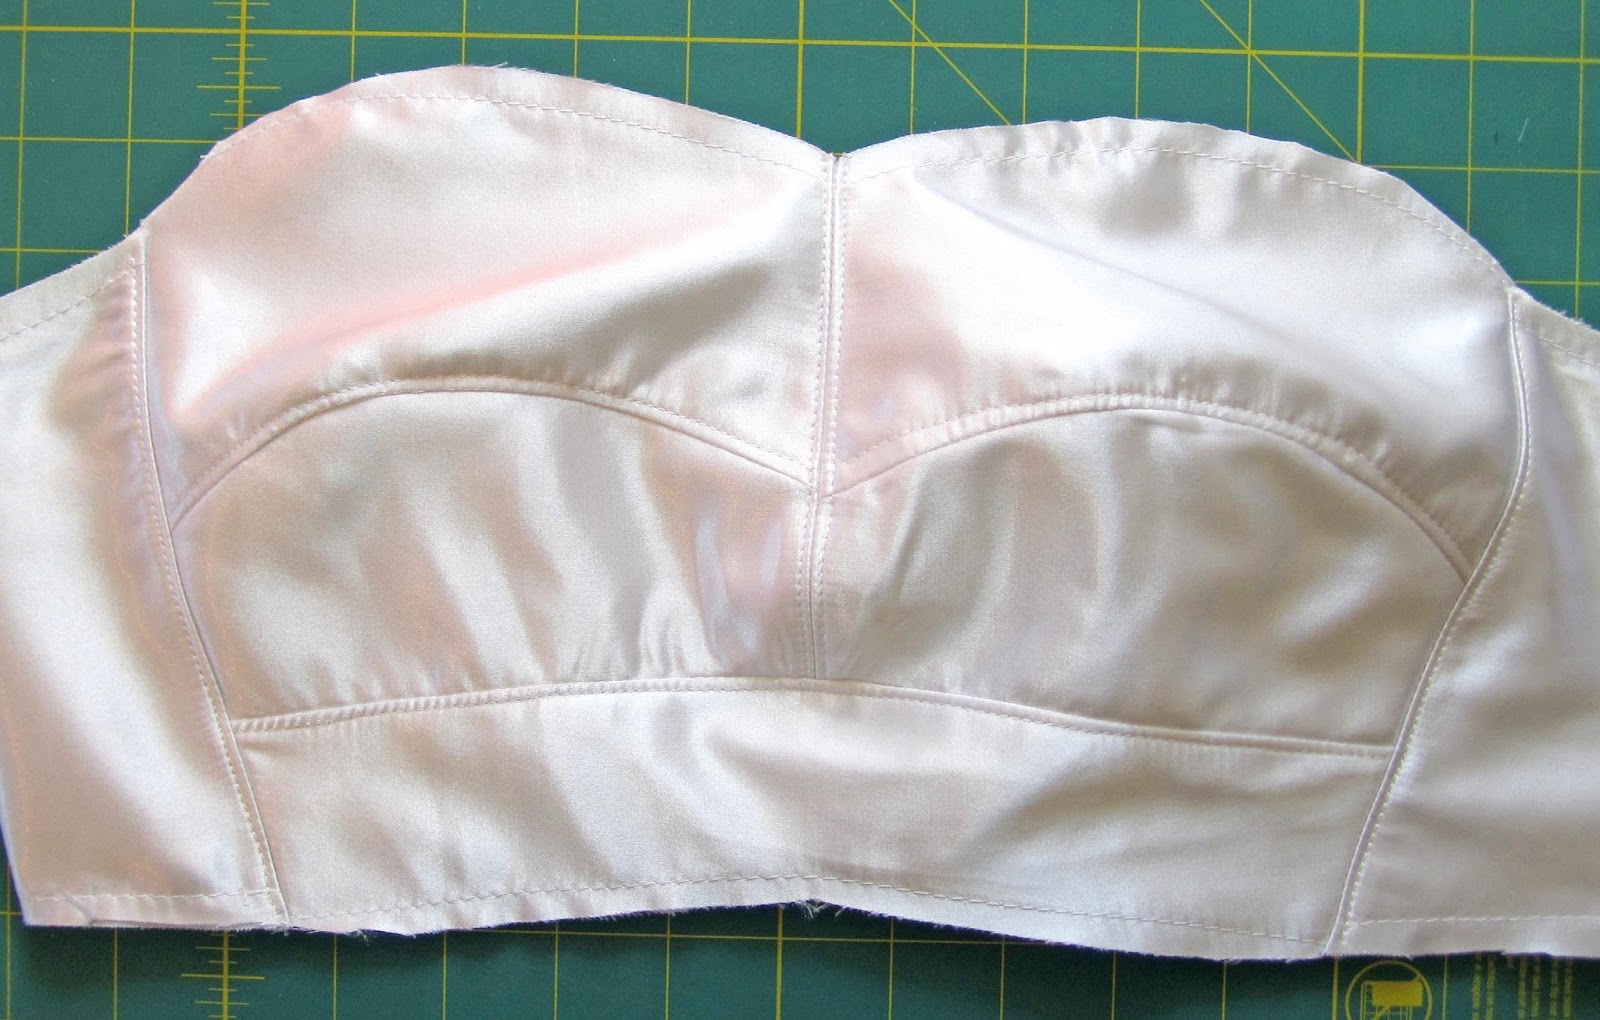
This time though, as we sew each individual seam, we're going to stop and press the seam allowance a certain way, then top stitch it in place. This will give us that lovely 1940's look, as well as securing our raw edges.


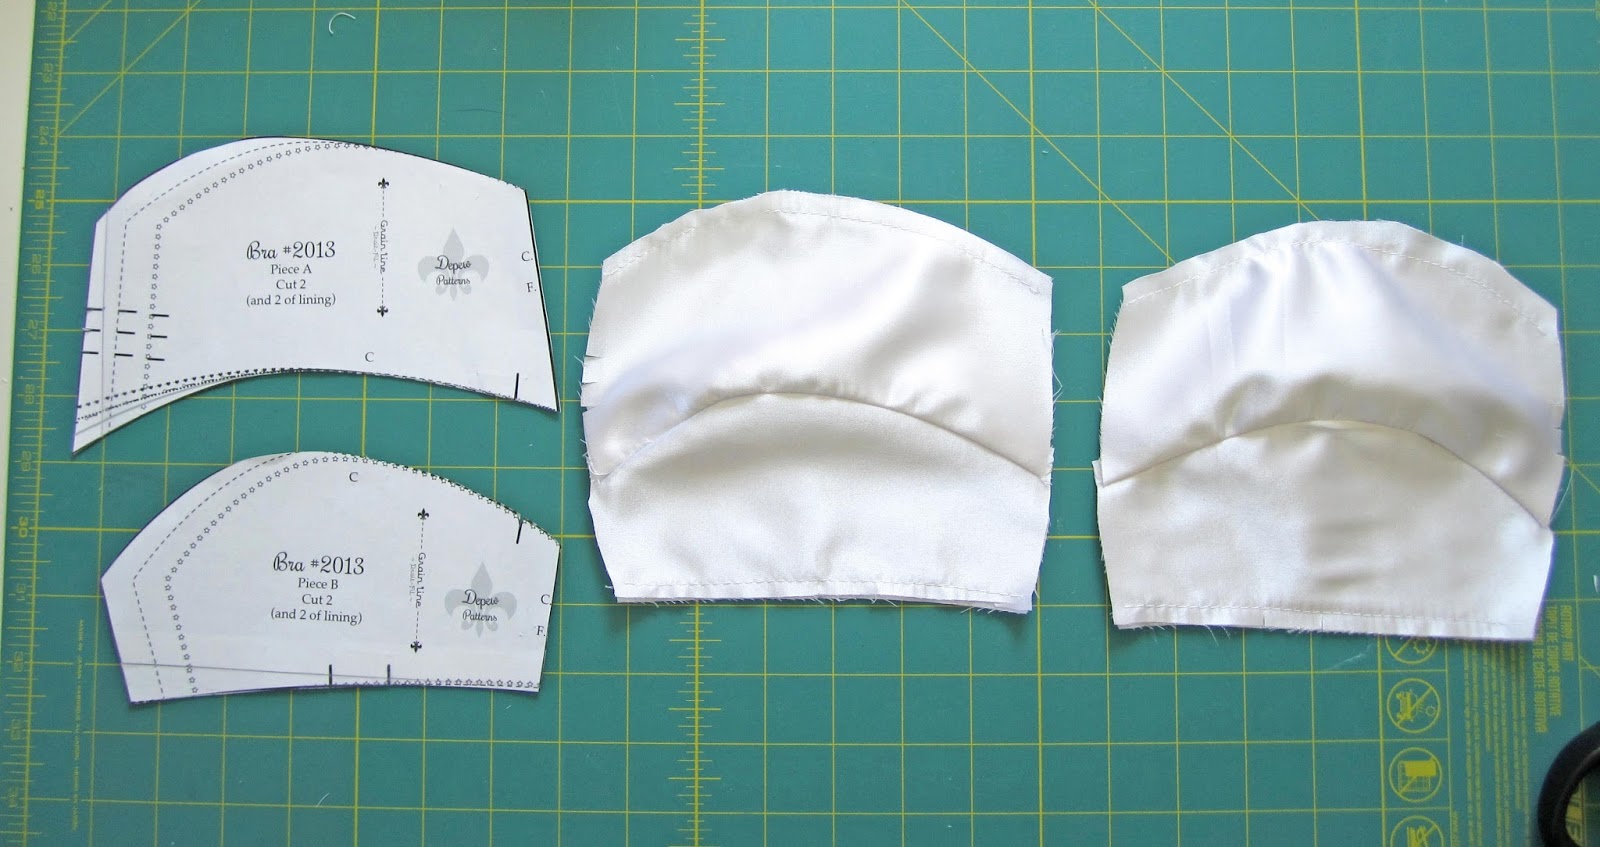
So we start by sewing pieces A and B together along that tricky curved seam, and then press the stitches as sewn without opening them up. This will set the stitches. Then open pieces A and B, and press the seam allowance UP onto piece A.
Now you're ready to very neatly top-stitch 1/8" from the seam on piece A, as done below.


Now stitch both center front pieces together and press that seam open.


Top stitch again 1/8" from the center front seam on EACH side.

Then sew piece C to the lower edge of pieces B, press the seam allowance DOWN, and top-stitch 1/8" from the edge on piece C.


Now you're ready to attach the back of the bra, pieces D, to the side seams.


Once you have, press the seam allowances outwards to piece D, and top-stitch again.


And voila! You have the lion's share of the sewing done! Next, we'll talk finishing edges and adding straps.

Happy sewing,


Saturday, July 26, 2014

Sewing #610... Drafting your pattern.


Hello lovely readers,  I'm so glad to hear that a few of you will be following along with me for our mini sew-along!

The pattern we're using is what I call a draft-at-home pattern. It means that you have a very small pattern with a series of numbers on it, and it is enlarged to your measurements using the measuring bands/ special rulers that come with it.

My pattern and measuring band, ready to be drafted to my size.

To draft your pattern, you can use the instructions included along with your pattern, or you can see how it's done in this photo tutorial. Please don't be intimidated by this, it will only take you a few minutes to draw out your pattern!

You can also check out my draft-at-home pattern F.A.Q. page if you need any quick answers while working with  your pattern.

Below I have my drafted pattern using the 92 cm band. This is my full over-bust measurement in centimeters.

Here is my pattern before I have connected the dots.
I am using a French curve to draw out my more rounded lines.

Once your pattern has been drafted, you'll want to do a few things to ensure that you have a good fit and an easier time sewing.

First, you want to make sure that your dart legs are the same length.

Measuring my dart legs.
If your dart legs are different lengths, measure down from the tip of the dart along the dart leg and mark the difference. If you have a difference, you'll want to divide that difference out between the two dart legs equally. (Example: if dart leg A measures 3" and dart leg B measures 3 1/4", then your difference is 1/4" and you will add 1/8" to dart leg A and shorten dart leg B by 1/8".

Adding the difference to one of my dart legs.
This is called truing your darts.

Re-drawing the curved line from my added dart let length to smooth it out.
It is also be a good idea to measure your dart intake (the distance between your dart legs) in case you need to make more adjustments later.
Once you've checked out your darts, you're almost ready to cut out your pattern. This pattern has a seam allowance included but you need to make sure that your darts have an allowance too. (You know how your darts are often slightly peaked at the pattern's edge? We need to make sure ours do that too.) This is easy, don't worry.

My bra pattern drafted out and my dart legs trued.
Starting with one of your darts, fold the pattern in half horizontally so that the tip of the dart is right on the fold line.
Folding your paper again along the dart leg closest to the center back, fold the dart leg over towards the other dart leg.
A horizontal fold with the dart tip at the fold.

Once your dart has been folded, it will resemble how it is to be sewn.
Pin both of your darts closed and then cut out the pattern. If your dart legs are trued properly, they should match perfectly when folded together. If not, you can just re-true them before cutting out, while the dart is still folded.

My pattern cut out, while the darts are still closed.

Now your darts automatically have those nice little peaks that will allow your dart to rest properly on your bust. Without doing this, it can make your darts pull and can cause some annoying fit issues.

At this point, it's a good idea to determine what manner of back closure you're using - if you want to simply add hooks and eyes instead of a French or purchased closure, you need to measure and make sure that the bra back reaches far enough for your needs before cutting it out. Or, you can always just tape an extension onto the back of the pattern piece if you need more room. 

It's also a good idea to put a tiny notch in the upper back end of the pattern. This can come in handy during test fitting, to help you tell top from bottom!

Cut one, center front on the fold.

Now your pattern is ready to be cut out of your muslin or practice fabric to be tested on yourself!

Any questions?

Happy sewing,


Monday, May 5, 2014

Finished UFO: My 1930's Silk Bra - Depew #610


Hello lovely readers. In our last post we talked about my getting back to sewing as a bit of therapy. I have been working with my hands for the last 4 days now and it has helped enormously! I finished a UFO project from before my mother passed away and also got started on a beautiful embroidery project. I'm feeling just a little bit more myself today.

The bra pattern that was sitting unfinished was about half done and was waiting for a fitting so that I could put my closure at the back. The bra is made using my any size draft-at-home pattern, Depew #610 and I'm so happy with how it came out. (Keep in mind that it fits me perfectly, though it's a bit off on Lusty Lulu - she's a bit more symmetrical than I am).


I used silk crepe de chine for the main fabric, and I re-purposed a soft silk vintage scarf (cutting around a few pinholes) for the lining.

Friday, October 12, 2012

An Interview with Sarah of Ohhh Lulu Lingerie and Apparel

Today for you, my dear readers, I have an interview that I'm really excited to share with you. You might remember Sarah of Ohh Lulu Lingerie and Apparel from our Ooh La La Pin-Up Sew-Along. Sarah is the most talented lingerie seamstress I've ever come across and I hope you'll take this chance to get to know her a bit better as I have so enjoyed doing.

Photo Courtesy of Ohhh Lulu: Three Soft Bras Made to Order.
~For those of you don't have time to read the whole article right now, be sure to check out her shop. She's having a sale to get ready for the holidays! Use Coupon Code Spooktacular2012 and receive 15% off all made to order lingerie.~

Sarah, for those of us who aren't familiar, how did Ohhh Lulu get started?


I started Ohhh Lulu in 2010.  I had just moved away from Toronto to a small town in southern Ontario to start a life with (my now) husband.  Moving up north was a big change. Unfortunately  when I moved up here, I realized I wasn't going to have the same career opportunities I had in the city. After working for years in the interior decorating and textile business, my new job as "front desk girl" at a local mechanics shop was not at all what I was used to.  It was incredibly boring, and I really started slipping into a slump.  I decided that if I couldn't find work I enjoyed, I would make work I enjoyed, and finally put my Fashion Design Diploma to work! I designed a few pieces, listed them on Etsy and quickly became obsessed! 
Where did the name Ohhh Lulu come from?

Ohhh Lulu started out as the name for my blog.  One of my childhood nicknames that has stuck around with me throughout my life is Lulu.  When I was trying to figure out the name of my blog, Dan came up with the name Ohhh Lulu... I loved it the minute I heard it! 
You and I are both lucky enough to have really supportive husbands. What is the most encouraging advice Dan has ever given you?

Where do I start? Dan encouraged me to start designing, after I had hid my sewing machine away for about a year, he's been there to celebrate my successes, and a shoulder to cry on when things don't go as planned.  Most of all, he's been absolutely unwavering in his confidence in me. Most recently, he's encouraged me to take time off work to focus on Ohhh Lulu, which I couldn't have done without his support.
You recently gave notice at your day job so you could pursue Ohhh Lulu full time. What did that feel like?

Exciting and terrifying!  I've been wanting to take my business full time for a while now, but the thought of not having a dependable pay check every two weeks is really scary.  I am absolutely thrilled at the idea of being able to focus solely on my business, but the thought of not having that dependable pay check is still frightening. 
What is it that you think sets Ohhh Lulu apart from other lingerie lines?
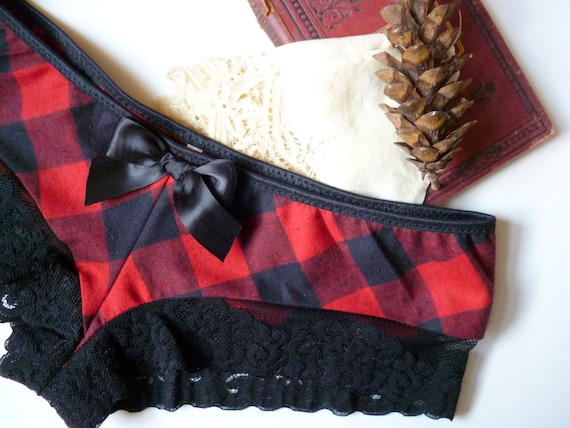
I think a lot of it comes from my fabric choices.  I like to use unexpected fabrics, like masculine plaids, flannels, or woven cotton prints, which aren't often used in lingerie.  I also love to embellish everything with little bows, rosettes, and ruffles.  I think those handmade details really set me apart. 

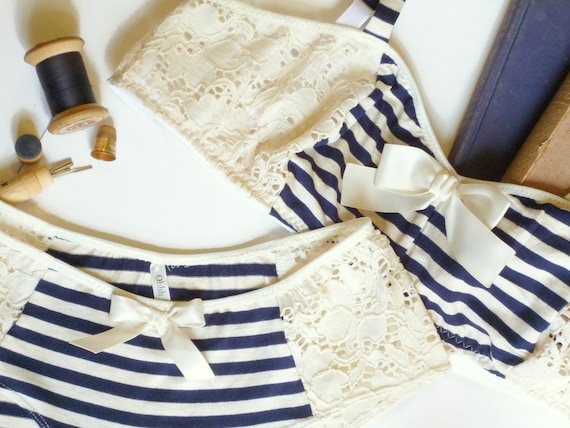
Image courtesy of Ohhh Lulu. Nautical Bon Voyage Set... *Swoon*

What is your absolute favorite sewing trick or tool?

I cannot express how much I love my pressing ham! It's an absolute must-have for pressing bra cups and hip seams.

A lot of us multitask while we sew; I like to drink tea like it's going out of style and listen to old episodes of Grey's Anatomy. What is your favorite thing to do while you're sewing?

I always have some kind of documentary playing in the background while I sew.  I'm a big history geek, but I also have a soft spot for Bigfoot and UFO documentaries.   Documentaries & herbal tea - that's what gets me through the day! 
If you could sum up your brand in 2 words, what would they be?

Romantic & Eclectic 
I'm really crazy about your lumberjack panties design and in fact, just bought a pair. What inspired you to design them?

The lumberjack panties are one of my favourite designs.  I was inspired first by the fabric - I love traditional prints, and I love the idea of using a masculine plaid on a such a feminine piece of clothing.   I also like to spend a lot of time outdoors, camping, hiking, so I wanted to design an undergarment that was sexy, but warm and comfortable - perfect for snuggling under a sleeping bag.

Image courtesy of Ohhh Lulu. Lumberjack French Knickers.

~I agree, there's nothing better than a little touch of feminine and sexy when you're off on a long camping trip. I'm about to be dragged go for a rather long, cold several day hike and a pair of comfy yet girly panties for the trip is a bit soothing.

A huge thanks to Sarah for taking the time to answer all of my questions. I'm sure I speak for all of my readers when I say that we're excited for you taking the plunge into pursuing your business full time, and even a little bit inspired ourselves!
Don't forget to check out Sarah's unforgettable lingerie shop on Etsy. The holiday sale ends the 14th so hurry! Also, if you're not already a follower, check out Sarah's blog and the Ohhh Lulu Facebook page.