Showing posts with label knickers. Show all posts

Monday, April 22, 2013

French Knickers Sew-Along... Adding "Le Crotch" Insert


Today for the French Knickers Sew-Along we're going to add a finishing touch to our French Knickers: "Le Crotch."  (I may as well just get used to saying it. )
This piece should be cut from cotton jersey fabric or something similar. Mine is tencil knit jersey. bamboo knit jersey is also wonderful. You can even cut this piece from an old t-shirt if you like!

"Le Crotch"

For certain fabrics you might consider finishing the edges of "le crotch" with an edge stitch. I didn't bother with this step because I know that the raw edges of the tencil knit jersey will not fray or be problematic.

The four points of the crotch piece are going to line up with your center front, center back, and crotch seam on the inside.


Line up the short center of the diamond with the crotch seams first, then align the two longer points with the center front/ back seam allowances.

Now just gently tack each point in place, just catching the seam allowances with your needle, without actually poking through to the outside of the knickers.


Just a few basting stitches should do the trick. 

I used thread that matches my fabric color perfectly so that it blends right in.

And voila! If you've gone with the ribbon edging like I did in this version then you're done! 


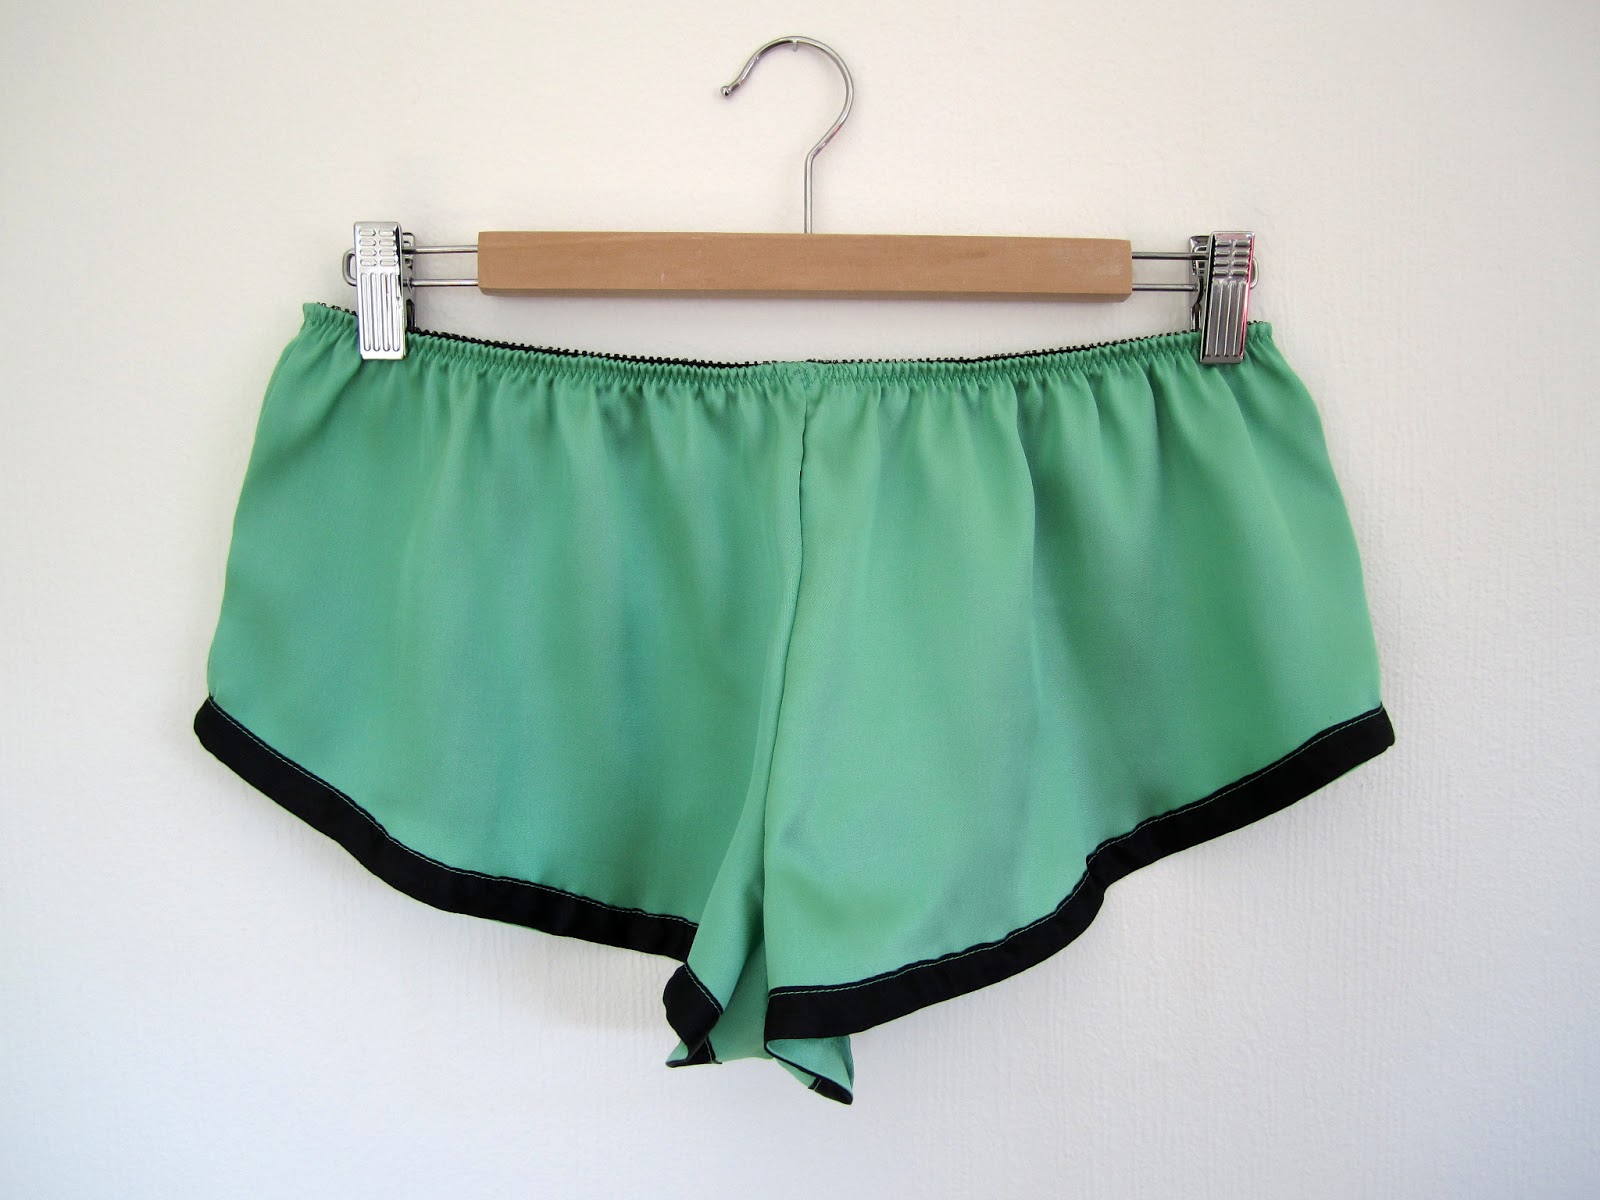
Here is my finished pair of French Knickers with ribbon edging. Pretty, no?

For our next post, I'll go over trimming the leg openings with lace instead of ribbon.

Any questions?

Wednesday, April 17, 2013

French Knickers Sew-Along... Adding Elastic to the Waist.


Hello lovely readers. Today for the French Knickers Sew-Along I'll show you how to add elastic to the waist of your knickers. First though, to my readers in Boston, know that you're in my thoughts and prayers. I have nothing but admiration for how Bostonians, first responders and civilians alike, have helped victims and their families in these last horrible few days.

It may seem silly to talk about sewing in light of how saddened we all are at such senseless violence, but for some of us, sewing is a form of therapy. For those of you who find comfort in the simple, reliable hum of your sewing machine, and the feel of fabric at your fingertips, here is the next step in our Sew-Along.

~Elastic~


For my knickers, I have chosen 3/8" picot elastic. It has a plush underside that is quite comfortable against one's skin.

First, follow the instructions in the pattern for measuring the length of elastic you'll need.
Lap one end of the elastic over the other and baste in place with a few stitches.


Before pinning your elastic to the waist, first measure your elastic in halves, and then quarters and mark these points with a pin. Pin these quarter points to the front, back and side seams of the knickers so that your elastic is equally distributed between these four points as you stitch.


Picot elastic, pinned plush side up to the RIGHT side of the fabric, and with the plain edge even with the knickers raw edge.

For picot elastic, first pin the elastic to the OUTSIDE of the knickers, with the plain edge of the elastic even with the raw edges at the waist.


Elastic pinned at the four major seams.

 Stitch close to the picot (ornamental) edge with a narrow zig-zag stitch, stretching the elastic gently as you sew and keeping the plain edge of the elastic even with the knickers raw edge.


Here I am keeping my elastic stretched evenly by gently pulling at the nearest seam until it is straight.

To help distribute the elastic evenly as you sew, pinch the waist and elastic at the nearest seam and gently keep it taught as you stitch.


The knickers waist after the first half of elastic stitching.


Now turn the elastic to the inside and carefully trim any excess fabric that peaks above the elastic edge.


The excess fabric trimmed away from the elastic.

Then fold elastic to the inside and stitch again, on the right side using a 3 step zig-zag stitch, again gently stretching the elastic as you go


The elastic stitched to the INSIDE now with a 3 point zig-zag stitch.


The waist after the elastic has been folded to the inside and stitched.


Pretty, no? In our next post we'll add the cotton crotch insert and then we'll go over more ideas for embellishing the knickers.

Any questions?

Saturday, March 30, 2013

Announcing the Ma Cherie French Knickers Sew Along!


Well, it turns out I did get the flu after taking care of my sick man, and now that I don't feel like dropping dead any longer, it's time for that sew-along we were talking about!

Underwear are so marvelously versatile and the Ma Cherie French Knickers are no different.


We're going to make some gorgeous underwear together! The plan is for me to sew a basic pair of French Knickers and walk you through the steps as explained in the pattern. Then I'll sew several other versions and demonstrate different techniques for finishing and embellishing them. We'll go over different fabrics you can use and elastic choices. If we have time, I'll show you how to trim them with ribbon facings, lace edging and insets, scallops, bows and even embroidery!

If there's something you'd like me to cover, please leave me a comment and I'll do my best to work it in.
Now for the pattern. Anyone who wishes to participate in the sew-along can now buy the digital version of the pattern at MrsDepew.com at a discounted price. This discount will be available until April 10th.
If you're printerless, don't worry, I have a paper version too! The paper version is available here.

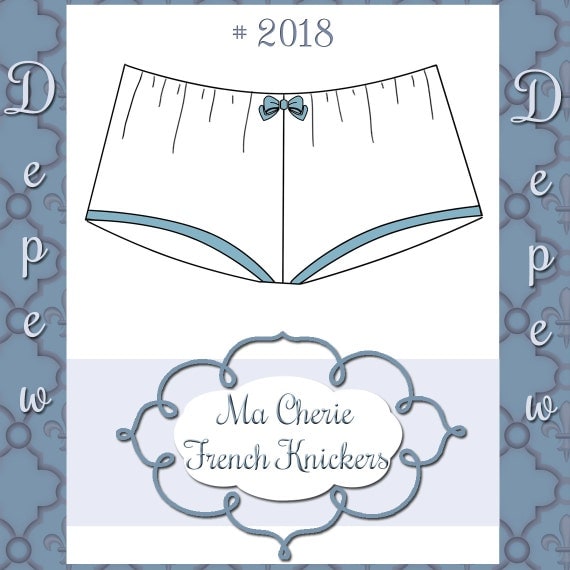
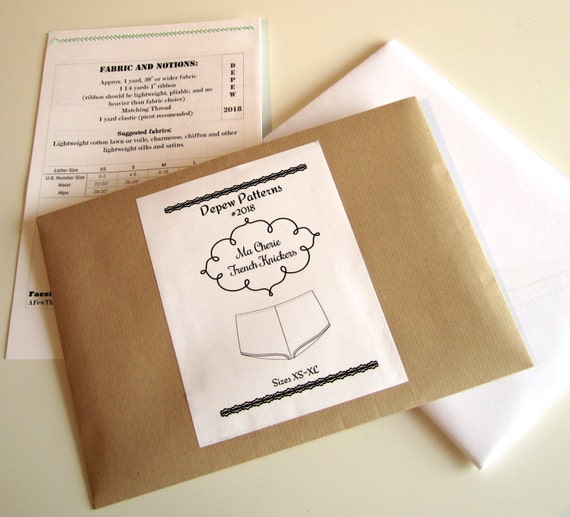
Depew 2018 Ma Cherie French Knickers Pattern
In my next post I'll talk about fabric and trim choices, and I'll give you links to some of my favorite places to find the perfect trimmings for lingerie.

Here's a sneak peek of some of the beautiful things I've bought to embellish my knickers with:

Silk Ribbon, vintage lace, antique silk embroidery threads...we're going to make some beautiful lingerie!
I hope you have a lovely, sunny, and warm weekend. And I hope there's cake involved. Everything is better with cake.