Friday, March 30, 2012

Ooh La La Pin-Up Sew-Along... Bra back closure.


Today my lovely readers, for the Ooh La La Pin-Up Sew-Along we're going to attach our bra back closures.
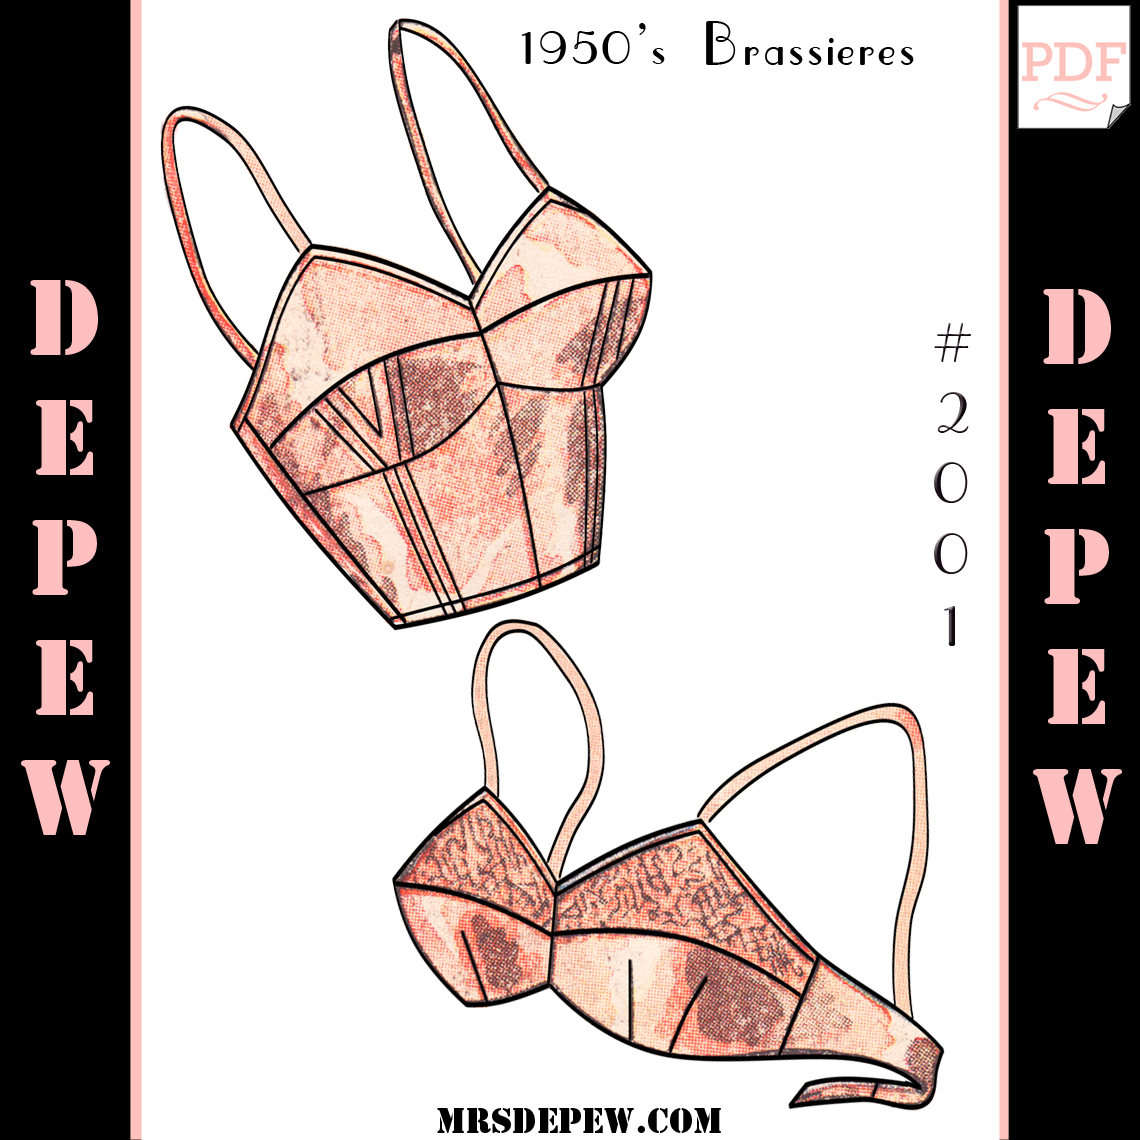
The pattern we're using...

There are many closures you can attach to a bra back. Most of the pre-1960's lingerie patterns I've worked with call for either a buttonhole closure or hooks and eyes. I'm not a particular fan of either of these because they're not the easiest to close when you have a bad shoulder like I do.

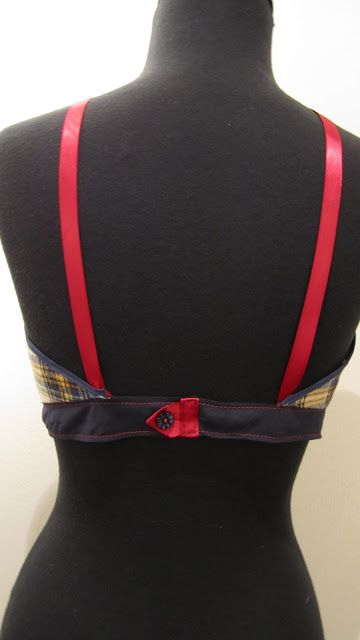
If you're interested in making a button loop closure like the one below, you can see how I did it for the Pauline bra sew-along here.

I chose this time to use a wonderful vintage French bra back closure I found online.


 I'm so glad I did! This closure turned out to be easy to sew, comfortable, and added that little unique twist that makes sewing your own lingerie really rewarding. These closures were mostly popular on French bras in the 1950's. I have a wonderful vintage French strapless bra from the era with the same closure (more on that later).
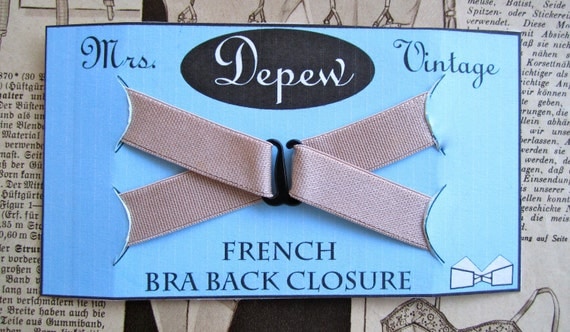

As I mentioned in the last post, if you'd like a nice, plush elastic reproduction of this bra back closure you can find them in my etsy shop.

But let's get started, shall we?
If you're using a purchased bra back closure with adjustable hooks and eyes, this principle is essentially the same.

I have started by pressing my bra center back pieces open. First choose which side you want your bra hook end to go on, then lay that side Right sides out and open.

The left side of my bra back, right sides open.
 Decide which way you want your hook to point, either up or down (I chose to have it pointing to the bottom of my bra because this is easiest for me to close.

Tuesday, March 27, 2012

Ooh La La Pin-Up Sew-Along... cheating nature a wee bit.


For our last post we attached our lining and I promised that the next day I would post a quick trick for cheating nature a bit. Well, 2 days later, and no sleep later (huzzah for medication side effects!) I'm just now getting my act together!

The pattern we're using...

Sarah however, has been more responsible than I and has another great post up on the ling line version on attaching the back of the corselet and adding elastic to top and bottom. Her bra is so gorgeous!


On to stuffing bras:
A long time ago I went through a phase where I wore nothing but soft stretchy elastic bandeau bras from urban outfitters. This was well before I learned to sew my own and I chose them particularly because I have scar tissue on my ribs, right where an under-wire would rest, and these were the only comfortable option for me.


Someone eventually (very kindly) pointed out to me that they looked somewhat unflattering on my figure so I got rid of them, but not before I had purchased several of each color. They had a great bra cup lining in them so I saved those and stashed them away in a drawer before throwing the bras out.


It turns out that they're perfect for adding a little extra definition to my somewhat miniature top half.


For my bra, I did a little experimenting with where I wanted it to rest, then simply centered the bra insert over my center seam on the lining side, and top-stitched it in place.


Then I folded the outer bra over the insert and pinned that in place matching my bra and lining center seams.


A simple and careful stitch in the ditch of the bra outer center seam and the insert was nicely secured in place at the center.


Then all I did was add a couple of invisible anchoring hand tacks to the outer edges of where the insert met the cup seam to keep it from moving about.

Voila! Nature cheated and my barely a B cup now looks like a full B cup!

I looked and couldn't find anything like my inserts for sale anywhere, but these would also do nicely:

Next up we'll be sewing our bra back closures. As discussed earlier I'm using a vintage French bra back closure. If you'd like to use one like mine, then you're in luck! My beautiful plush lingerie elastic arrived in the mail and I've been dying to show you what I was planning for it!


I LOVED how my vintage closure came out and I thought it might be nice to have a few reproductions available if anyone else liked them as much as I did. So far I have them in black, nude, and nude/ white with more colors coming soon.


How about you? Are you adding any unique notions to your bra?

Sunday, March 25, 2012

Ooh La La Pin-Up Sew-Along... Attaching your lining.


In yesterday's post we finished sewing our major seams together and ended up with two bras, an outer and a lining.
Today, we'll join them together at the bottom to make a clean, unbound line at the bottom.

The pattern we're using...

Yesterday, Sarah also posted some really excellent progress on her long line version. She posted on how to assemble the cups and corselet pieces, and showed us how to add a little extra support by ingeniously adding an elastic band.


This isn't a must, it's just one of many ways you can sew this bra. You can also baste the front and back wrong sides together and just bind both top and bottom, or sew the entire bra right sides together, leaving just a bit to turn it right side out. The sky is the limit!

To line your bra as I have chosen to do, lay your outer bra and your lining bra right sides together, making sure to line up your center front seams and darts.


Stitch the bra bottoms together and make sure that you clip or pink your seams so that they are smoothly rounded when you turn and press them.

Bra outer and bra lining sewn together at the bottom seam.
My under-bust seam pinked and pressed open.


When you fold them right sides out and press the bottom seam, you should have a nice, smooth, rounded bottom line. Later the top will be bound but for now it's just raw edges while we fiddle with some other stuff first.

What's next for tomorrow? I'm going to show you how to cheat nature a bit, if nature has cheated you.

How about you? Will you be binding your top and bottom, just the top or do you have other plans?

Saturday, March 24, 2012

Ooh La La Pin-Up Sew-Along... Sewing your bra seams.


For our next installment of the Ohh La la Pin-up Sew-along we'll be sewing all of our major seams for the bra. I have chosen to add lace overlay to my bra upper pieces as you can see below. For a great post on an alternative to lining the whole bra, check out Sarah's awesome post on lining just the lower front cup. (The results are gorgeous!)

The pattern we're using...


Start with just the Front Upper pieces (#1). Lay them both right sides together and stitch the seam marked A. This is your center front seam.

Upper fronts (outer version) sewn together at center seam A.

Wednesday, March 21, 2012

Ooh La La Pin-Up Sew-Along... Starting with Darts and Lining


So what's next for our bras? Sarah has put together another couple of great posts on sewing a long line muslin and cutting your fabric. She has made some very helpful adjustments to the long line version for larger cup sizes including adding stretch fabric to a couple of places.

The pattern we're using...

I'm using the same vintage peach rayon satin that I used for my corset, and I'm also adding another lace overlay to the top half of my bra cups. Like I did with the corset, I have cut out lace pieces and basted them to my two outer upper bra pieces.


My Front Uppers with lace overlay.
I have chosen to line my bra with the same satin I'm using on the outside so here's what I cut out:
4 Front Upper  (#1) in satin, 2 in lace for overlay
4 Front Lower (#2) in satin
4 Back (#) in satin.

I'm basically sewing 2 bras (minus all the trimmings), then sewing them together along the bottom and binding the top together.

Once you have all of your pieces cut out and your lace overlay (if you've chosen to go that route) in place, you can sew the darts in the Front Lower pieces (#2).


Start at the bottom of the dart (the wide end) and stitch tapering to a point at the tip. Instead of back-stitching, I recommend stitching right off the end and cutting your threads a few inches long, then knotting them by hand with a small bit of room under the knot. This can allow the dart to stretch a bit without popping the fabric (if you fill the cups pretty well and take a deep breath, the dart needs some breathing room too!)

Now, there is an alternative to sewing darts in a bra cup. Instead, you can also gather the fabric between the darts and stitch in place. The gathers can be good if you're looking to add the illusion of more fullness to the bra cup. I did this with the Pauline sew-along, you can see how here.


 Once you've sewn all of your darts, you can trim and press them. My fabric is slightly sheer so an untrimmed dart allowance shadow will show through with a vengeance if I leave it to its own devices.

My four darted and pressed front lower bra pieces for outer and lining.
 A pressing ham comes in really handy with a project like this. There are lots of rounds and curves to be pressed. For some reason, I have never gotten around to buying one, though I probably should. If you don't have one at hand, don't worry! I use a rolled hand towel to get the shape I need for pressing and it works nicely in a pinch.

What about you? What fabrics have you chosen work with?

On a side note, I want to thank all of you who have chosen to join Sarah and I for the sew-along. We're both really enjoying ourselves. We love reading your comments, your thoughts and lamentations, and we're always happy to answer your questions. Thanks so much to all 101 of you for making this such a fun experience for us!


Monday, March 19, 2012

Ooh La La Pin-Up Sew-Along... And we begin with the bra!


Lets sew a bra, shall we? I'm going to start with sewing the plain bra (version 1) and later on I'll do the corselet (version 2) as well.

The pattern we're using...


Sarah is doing one of both as well, and has kindly created a couple of great posts on what we'll need to plan for the bra, as well as her invaluable perspective on sewing the corselet version for the more generously endowed; a must-read if you plan on sewing Version 2.

The first thing you need to do once you've printed your pattern pieces out is to add your seam allowance.

But wait! You need to decide how you want to sew the bra before adding any allowances.
If you plan on binding the top AND the bottom of the bra, don't add any seam allowance to the top half of piece #1, the bottom half of piece # 2, or the top and bottom half of piece #3.

I plan to bind only the top half of the bra and I'll be joining my bra lining and my bra outside at the bottom so I'll need a seam allowance there.
Here you can see that I have added seam allowances to the center front of both bra cup pieces (seam A), the cup seam (B) and the side seams (D).


Sunday, March 18, 2012

Pretty Pretty Vintage Lingerie...

So when I'm not sewing, designing a pattern, or obsessively looking for the next vintage pattern I must have, I swoon over lingerie on Etsy and Ebay. I looked over my favorites the other day and realized I had a pretty gorgeous mood board going on, so I thought I would share a few of my favorite pieces from my favorite sellers with you.

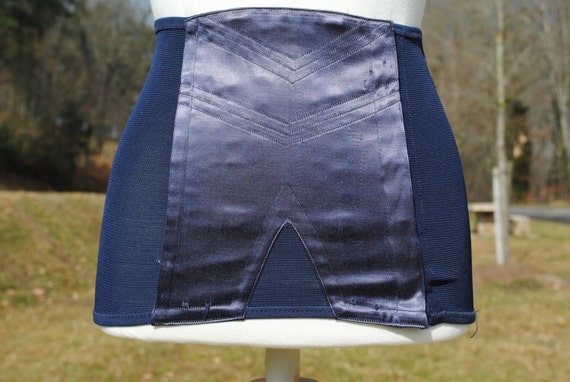
I have to start with two lovely French new old stock corsets from Auvergne Memories.
First a lovely peach satin with stretch panels (Alas! Still one size too small!)

The beautiful top stitch detail gives me lots to think about for my next corset.
And then a gorgeous midnight blue one... swoon.

These genuine vintage corsets look a great deal like the corset from our sew-along. Why, of course, they're both French!
 I have bought from this shop before and had a lovely experience; I can't recommend her enough! She also has lovely vintage garter straps and bra closures in her shop.


I bought one of these vintage bra backs in pink and will be using it as my closure for my sew-along bra. (coming soon!)

Then there's this adorable 1920's lace bra with delicate rosettes. It's pieces like these that I like to study every detail of for inspiration in my own hand-sewn lingerie.


And I would have bought this gorgeous slip from Vintage Costumes in a heartbeat if it had been just one size bigger. Check out that beautiful embroidered front!


And of course, the lace and ribbon detail is exquisite on this beautiful pink rayon nightgown from Urbaneccentric.


I recently bought a pair quite similar to these adorable new old stock vintage rayon tap panties from Vintage Clothiers and LOVED them! Just one more shop I can't recommend enough.


How about you? Do you buy vintage lingerie? If so, what do you look for? I try to strike a fine balance between wearable and too beautiful to pass up!

Also, are you about ready to start on your bras for the Ooh La La Pin-Up Sew-Along?