Today for those of you who knit, I have something special for you!
I found this beautiful sweater knitting pattern in an old Workbasket booklet from 1947 and just had to share it with you all.
I really wish I could knit. I wish it on a daily basis, actually, especially when I have patterns like this one at my fingertips.
But where would I add yarn and knitting needles to the mountain of fabric and patterns that occupy my creative space? I just have to keep telling myself, "One hobby at a time, Anna, just one."
In other sewing news, Sarah posted a recap of the corset project over on Ohhh Lulu with some more pictures of her gorgeous finished corset.
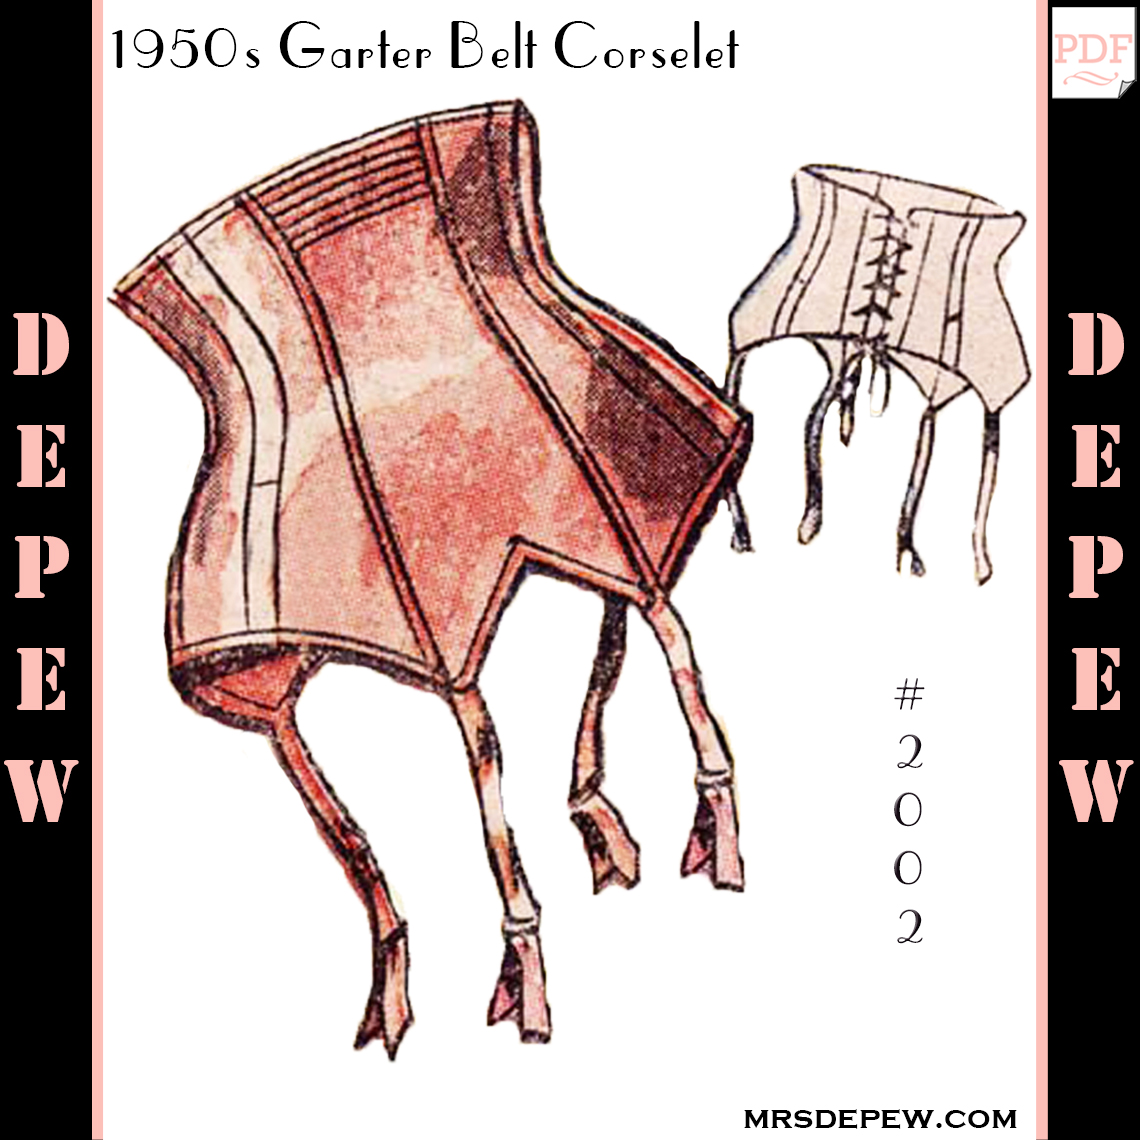
And last, but not least, are you thinking about sewing your bra for the Ooh La La pin-Up Sew-Along? Which version will you sew, the corselet or bra? I think I'll do one of each just for kicks.
Tuesday, March 13, 2012
Sunday, March 11, 2012
Did you know you can buy patterns on craftsy?
Recently I was very excited to learn that Craftsy had added a new feature to their website. Craftsy was originally a great place to take online sewing and crafting courses and post your projects for others to see. Now they've added a new feature that allows designers to offer their patterns for sale. The best part? Instant download!
No more waiting for an email in your inbox. Just simple checkout, download and sew!
I got on board right away and now I'm excited to announce that I have a Craftsy Pattern Shop!
My very favorite part of this new feature is that anyone can post pictures of their projects and it links up with the pattern in the shop. If you're looking to buy a pattern you can see if anyone else has sewn it first, posted pictures, left reviews or suggestions, everything!
This is very similar to the Burda Style projects section only with a broader scope. All you do is click on the "+ Add a Finished Project" button, upload your pictures, chat a bit about your pattern, and post!
I thought that this would be a great place for everyone to post their finished corset photos if they would like to share. If you want to post your finished project, you can do so here.
I'm kind of an affirmation junkie (I'm a blogger, comes with the territory, I suppose.) so I love posting my projects to sites like these where people always leave encouraging comments and feedback.
As a little added incentive, (I really want to see your photos!) if you post a finished project of ANY Mrs. Depew Vintage pattern on Craftsy, I'll give you a free PDF Pattern!
Just email me (afewthreadsloose@gmail.com) with a link to your finished Craftsy post along with the pattern you'd like me to send you! This offer is good until March 25. Creating a Craftsy account is really fast, and of course, free.
In other sewing news, Sarah and I are taking a week long break from the Ooh la la pin-up Sew-along to give many of you a chance to catch up before we dive into the bra posts.
Also, A Few Threads Loose now has a How-To and Techniques Page. You can find it at the top of this page, just under the main banner image. It contains links to sewing how-to posts and tutorials from both my blog, and several other sites. There's a particular emphasis on lingerie sewing techniques so if you get stuck on a project and you want to see how to sew a placket closure, for example, just click on the placket closure link in the page and it takes you straight to a how-to post. I'm adding new terms and how-to links often so check back.
And, as always, if there's something you want to learn how to do, leave me a comment and I'll do everything in my power to find or create a tutorial for you.
Have a lovely rest of the weekend!
No more waiting for an email in your inbox. Just simple checkout, download and sew!
I got on board right away and now I'm excited to announce that I have a Craftsy Pattern Shop!
My very favorite part of this new feature is that anyone can post pictures of their projects and it links up with the pattern in the shop. If you're looking to buy a pattern you can see if anyone else has sewn it first, posted pictures, left reviews or suggestions, everything!
This is very similar to the Burda Style projects section only with a broader scope. All you do is click on the "+ Add a Finished Project" button, upload your pictures, chat a bit about your pattern, and post!
I thought that this would be a great place for everyone to post their finished corset photos if they would like to share. If you want to post your finished project, you can do so here.
I'm kind of an affirmation junkie (I'm a blogger, comes with the territory, I suppose.) so I love posting my projects to sites like these where people always leave encouraging comments and feedback.
As a little added incentive, (I really want to see your photos!) if you post a finished project of ANY Mrs. Depew Vintage pattern on Craftsy, I'll give you a free PDF Pattern!
Just email me (afewthreadsloose@gmail.com) with a link to your finished Craftsy post along with the pattern you'd like me to send you! This offer is good until March 25. Creating a Craftsy account is really fast, and of course, free.
In other sewing news, Sarah and I are taking a week long break from the Ooh la la pin-up Sew-along to give many of you a chance to catch up before we dive into the bra posts.
Also, A Few Threads Loose now has a How-To and Techniques Page. You can find it at the top of this page, just under the main banner image. It contains links to sewing how-to posts and tutorials from both my blog, and several other sites. There's a particular emphasis on lingerie sewing techniques so if you get stuck on a project and you want to see how to sew a placket closure, for example, just click on the placket closure link in the page and it takes you straight to a how-to post. I'm adding new terms and how-to links often so check back.
And, as always, if there's something you want to learn how to do, leave me a comment and I'll do everything in my power to find or create a tutorial for you.
Have a lovely rest of the weekend!
Friday, March 9, 2012
Ooh La La Pin-Up Sew-Along... Rosettes, and we're done!
![]() |
| The pattern we're using... |
Yesterday we talked about attaching our garter straps and Sarah posted a great tutorial on making lovely bows to embellish our corsets with.
| Photo courtesy of Ohhh Lulu. |
Today I'm taking the frou frou up a notch and adding a couple of contrasting rosettes to sit over my two front garter straps.
Here's a very simple way to make a delicate vintage style rosette.
I started with some lovely 1/2" wide vintage rayon binding ribbon. My piece is about 6" long and made a rosette about 3/4" in diameter. For a fuller rosette, just use a longer length or ribbon.
Thursday, March 8, 2012
Ohh La La Pin Up Sew Along... Attaching your garter clips.
![]() |
| The pattern we're using... |
Yesterday Sarah taught us how to make lovely covered garter straps and now that my clips have arrived and I've gotten 3 hours of sleep, here's another way to attach them.
(3 hours of sleep is a small victory, by the way, I'm not complaining :)
![]() |
| My lovely pink vintage garter clips. |
The first thing you want to do is try your corset on with your favorite pair of stockings to see how long your clips should be.
Wednesday, March 7, 2012
Ooh la la Pin Up Sew-Along... Optional Detail - Satin Covered Garter Straps
It's garter clip time! Sarah just posted the greatest tutorial at Ohh Lulu in sewing a satin covered garter strap.
Hers came out beautifully, don't you think? Even if you don't plan on using this technique, the post is great reading with lots of pretty pictures featuring Sarah's gorgeous corset.
My husband brought the mail home with him this evening (our mail comes to the base) and there were boxes and envelopes overflowing with the many lingerie sewing accoutrements I've been snapping up lately, my much awaited garter clips included!
I haven't had a chance to sew on these lovely little pink bits but I'll get a post up tomorrow with the finished product. I'll be using cream plush lingerie elastic to attach my garters. Has anyone had any trouble finding garter clips or any of your other notions?
Monday, March 5, 2012
Bias tape: binding an inverted corner.
For the Ooh La La Pin-Up Sew-Along we just finished binding our top and bottom corset edges. If you want to know how to get a sharp point (as opposed to a softer, rounded look) on the inverted corner in the center panel, here's a good technique to try.
This will involve sewing a pre-made corner into your binding so measure out the binding you need for the bottom first (then add two 'in case of error inches" to that.)
I suggest making a practice piece first like I have here to test out and get comfortable with the idea.
![]() |
| My practice corner, an exact copy of the inverted corner in the corset center panel. |
I suggest making a practice piece first like I have here to test out and get comfortable with the idea.
Labels:
1950's corset,
bias binding,
bias tape,
corset,
how to,
ooh la la pin-up sew-along
Ooh la la Pin Up Sew-Along... Binding your edges.
![]() |
| The pattern we're using... |
Today for binding your edges, Sarah put together an excellent post for us. Her explanations are so nicely put together that there's not much for me to add! Her method is a really great way to control the quality of the binding that goes on. There are so many ways to bias bind an edge that we really don't want to overwhelm you with too much info here. I prefer to sew mine on completely by hand because crazy, unnecessary hand work soothes the neurotic person in me. You really don't have to do it that way.
~Sarah~
Before you get started, make sure you have inserted all of the bones you plan on using, and have tested the fit.
For your binding, you can use purchased bias trim or bias trim made of self or contrasting fabric. I'm using the same pink satin as I used to cover my bone casings. I am cutting bias strips 1 1/8" wide, and pressing my folds prior to stitching.
Baste your bias tape in place, leaving a little overhang on each end as pictured above.
Subscribe to:
Posts (Atom)