Friday, April 26, 2013

A Tiny Delay...

Hello everyone,
I just wanted to let you all know that there will be a slight delay in the next Sew-Along post. The lighting somehow shorted out in my studio, and it's cloudy and rainy here in Norway so I have no light to sew or photograph by.
Once I wrangle or bribe an electrician to come fix it, I'll get the lace edging post up tout suite!

I hope you all have a lovely weekend!

xoxo

Anna

Also, here is a picture of a dinosaur.


Monday, April 22, 2013

French Knickers Sew-Along... Adding "Le Crotch" Insert


Today for the French Knickers Sew-Along we're going to add a finishing touch to our French Knickers: "Le Crotch."  (I may as well just get used to saying it. )
This piece should be cut from cotton jersey fabric or something similar. Mine is tencil knit jersey. bamboo knit jersey is also wonderful. You can even cut this piece from an old t-shirt if you like!

"Le Crotch"

For certain fabrics you might consider finishing the edges of "le crotch" with an edge stitch. I didn't bother with this step because I know that the raw edges of the tencil knit jersey will not fray or be problematic.

The four points of the crotch piece are going to line up with your center front, center back, and crotch seam on the inside.


Line up the short center of the diamond with the crotch seams first, then align the two longer points with the center front/ back seam allowances.

Now just gently tack each point in place, just catching the seam allowances with your needle, without actually poking through to the outside of the knickers.


Just a few basting stitches should do the trick. 

I used thread that matches my fabric color perfectly so that it blends right in.

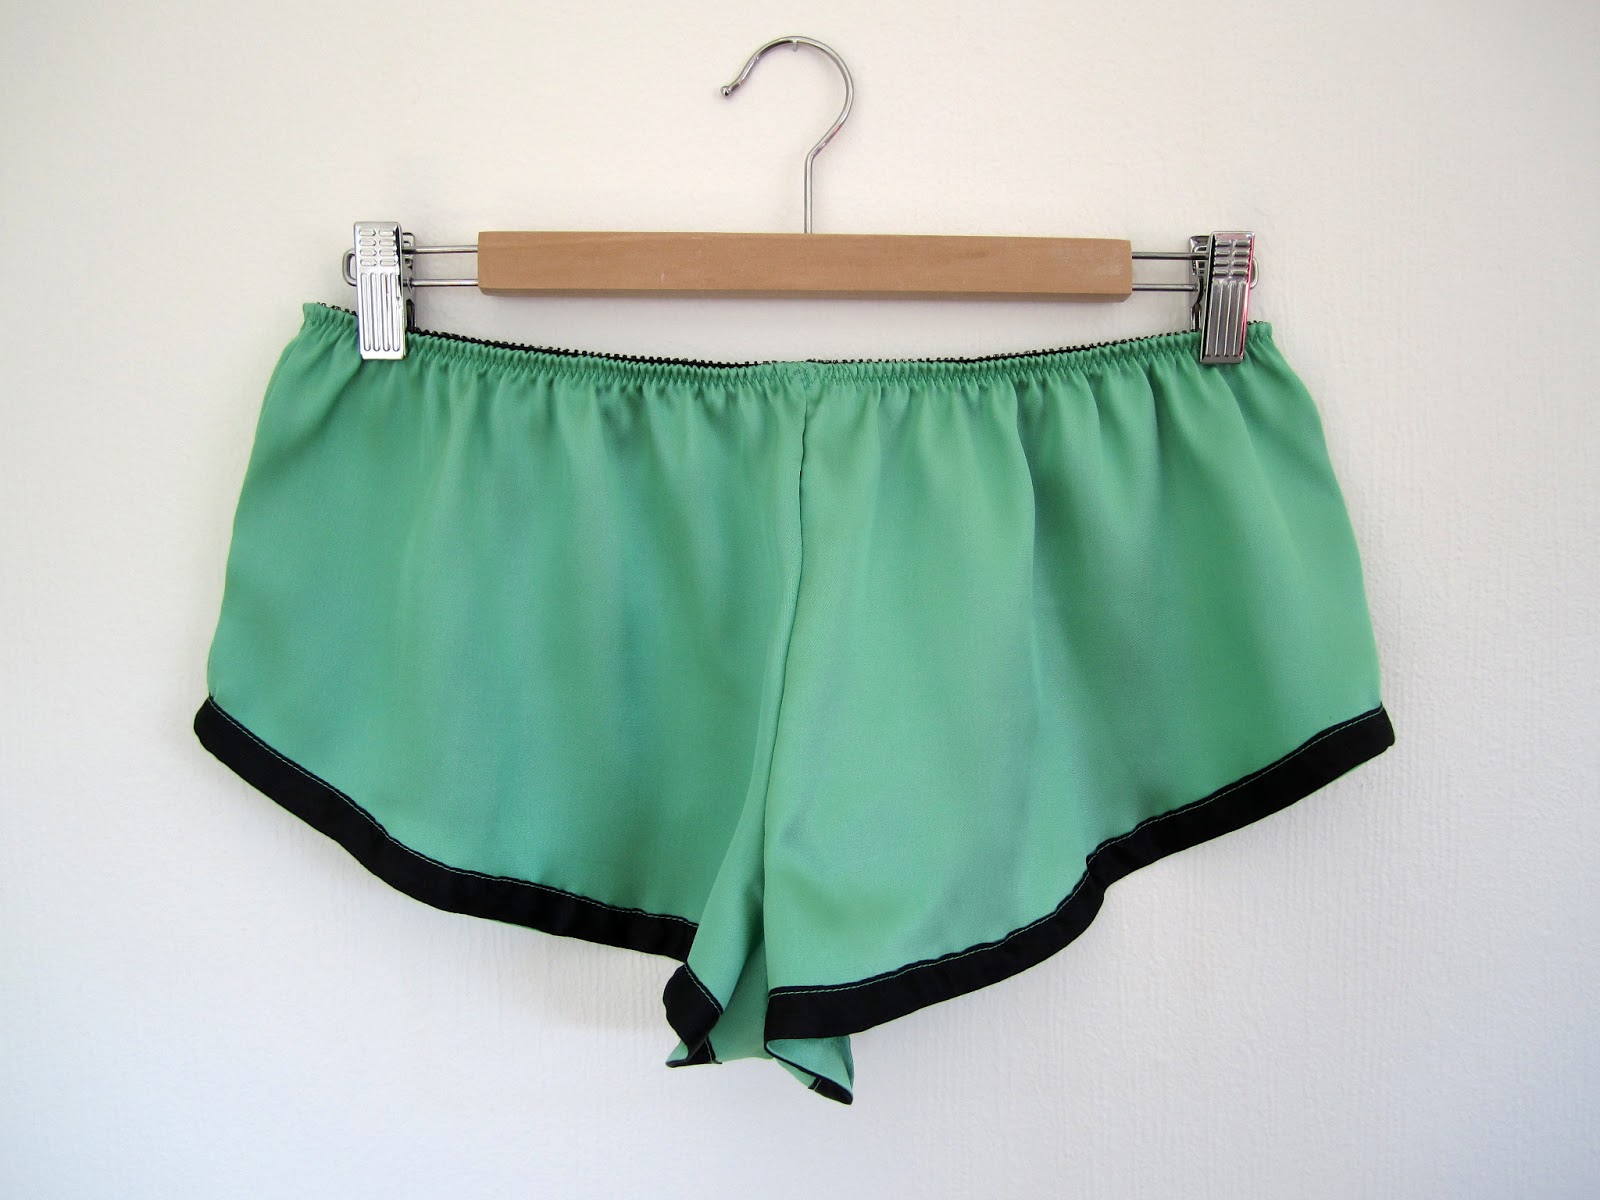
And voila! If you've gone with the ribbon edging like I did in this version then you're done! 


Here is my finished pair of French Knickers with ribbon edging. Pretty, no?


For our next post, I'll go over trimming the leg openings with lace instead of ribbon.

Any questions?

Wednesday, April 17, 2013

French Knickers Sew-Along... Adding Elastic to the Waist.


Hello lovely readers. Today for the French Knickers Sew-Along I'll show you how to add elastic to the waist of your knickers. First though, to my readers in Boston, know that you're in my thoughts and prayers. I have nothing but admiration for how Bostonians, first responders and civilians alike, have helped victims and their families in these last horrible few days.

It may seem silly to talk about sewing in light of how saddened we all are at such senseless violence, but for some of us, sewing is a form of therapy. For those of you who find comfort in the simple, reliable hum of your sewing machine, and the feel of fabric at your fingertips, here is the next step in our Sew-Along.

~Elastic~


For my knickers, I have chosen 3/8" picot elastic. It has a plush underside that is quite comfortable against one's skin.

First, follow the instructions in the pattern for measuring the length of elastic you'll need.
Lap one end of the elastic over the other and baste in place with a few stitches.


Before pinning your elastic to the waist, first measure your elastic in halves, and then quarters and mark these points with a pin. Pin these quarter points to the front, back and side seams of the knickers so that your elastic is equally distributed between these four points as you stitch.


Picot elastic, pinned plush side up to the RIGHT side of the fabric, and with the plain edge even with the knickers raw edge.

For picot elastic, first pin the elastic to the OUTSIDE of the knickers, with the plain edge of the elastic even with the raw edges at the waist.


Elastic pinned at the four major seams.

 Stitch close to the picot (ornamental) edge with a narrow zig-zag stitch, stretching the elastic gently as you sew and keeping the plain edge of the elastic even with the knickers raw edge.


Here I am keeping my elastic stretched evenly by gently pulling at the nearest seam until it is straight.

To help distribute the elastic evenly as you sew, pinch the waist and elastic at the nearest seam and gently keep it taught as you stitch.


The knickers waist after the first half of elastic stitching.


Now turn the elastic to the inside and carefully trim any excess fabric that peaks above the elastic edge.


The excess fabric trimmed away from the elastic.

Then fold elastic to the inside and stitch again, on the right side using a 3 step zig-zag stitch, again gently stretching the elastic as you go


The elastic stitched to the INSIDE now with a 3 point zig-zag stitch.


The waist after the elastic has been folded to the inside and stitched.


Pretty, no? In our next post we'll add the cotton crotch insert and then we'll go over more ideas for embellishing the knickers.

Any questions?

Sunday, April 14, 2013

French Knickers Sew-Along... Ribbon Trimming the Leg Openings

In our last Sew-Along post we sewed our major seams to construct the body of the Ma Cherie French Knickers. There are many ways you can choose to finish your leg openings and during the sew-along I'm going to show you lots of them. The big three are ribbon edging, lace trim, or a simple hem.

A good way to choose your trim is to lay your options out on your unfinished knickers and see what you like best.
Today, as it rains sheep and reindeer here in Norway, I'm going to show you how to trim your leg openings with ribbon.


I am using 1/2" silk ribbon and I'll be attaching it with a 3/8 seam allowance. Start at the 'under bit' (crotch seam) on one leg opening and pin your ribbon along the raw edge. (If your ribbon has a right side, pin the ribbon RIGHT side down to the WRONG side of the leg opening.)

At the 'under bit' seam fold your raw edge up for about 1/2". This will ensure that your ribbon raw edge will be concealed when you press it to the outside. Pin the ribbon all the way around the leg opening until you reach 'under bit' seam where you started.


Overlap your raw edge about 1/2" over the first so that it too will be concealed when you press it to the right side.

Since it's black over black and hard to see, I have outlined my raw ribbon edge in pink so you can see the overlap.

Stitch all the way around the leg opening with a 3/8" seam.
Next, press the ribbon out towards the leg opening.


 Fold the ribbon up so that it is on the outside (RIGHT side) of the knickers and press again. Now all you have to do is top stitch the ribbon in place on the outside, very close tot he ribbon edge. Start at the 'under bit' seam again and stitch all the way around. You can use a thread that matches your ribbon or go with a contrasting color like I did.


 Repeat this process for both legs. You now have a clean finish to the leg openings and hopefully a pretty one too! If you prefer, you can also reverse this process and have your ribbon stitched to the inside instead. This would result in a very neat hem on the outside and cleanly concealed edges on the inside.

We'll go over using lace to trim the legs later so if that's part of your plan, stay tuned!


Thursday, April 11, 2013

French Knickers Sew Along... Let's Get Started!


Now that you've gotten your pattern, and hopefully found your fabric of choice, we can get started with the fun part!

The knickers are really easy to sew and the main parts of construction are going to take no time at all. The cutting is simple, just lay the pattern pieces on a folded length of your material, right sides to the inside. The pattern pieces are meant to be cut with the grain, as indicated by your grain marker on the pattern.

Once you have your pattern pieces cut out, if you've cut them with the right sides of your fabric together, all you have to do is remove your pattern piece, and then pin the two front pieces together and the two back pieces together and stitch.

Here is a road map to the seams you'll be sewing!


You're stitching the center front seam, and the center back back seam first (1). Then finish your raw edges together and press to one side. You now have a complete front and a complete back.


Center front and center back seams.

~TIP~When working with slippery fabrics, I find the pieces shift a lot less if they are pinned together with the pins positioned parallel to the raw edge, as opposed to the pins sitting perpendicular to the raw edge.


Next you're going to join these two pieces at the crotch. Ugh, I know I'm talking about underwear here but I still hate that word. From now on, let's just refer to it as the "under bit", shall we?

The "Under Bit" seam.

Lay the Knickers Front right sides together with the Knickers Back. Carefully match them together at the "under bit," making sure that your center front and center back seam lines meet, then stitch. (2) Finish the edges together and press to the front.

The French Knickers drape even better if you press one center seam to the right, and one to the left, as shown above.

~TIP~ to keep the under bit pieces together, pin the hell out of them, including pinning the center front and center back seam allowances flat so that they don't accidentally shift or fold on you while you're stitching.


Next lay the Knicker Sides right sides together and stitch both side seams. (3) Neaten the edges together and press forward.

Pin your side seam. The fabric will shift less if pinned perpendicularly to the raw edges.
The French Knickers, all major seams sewn, from the inside.

The French Knickers, all major seams sewn, from the outside.

Now you've got the major construction details out of the way! In our next post we'll go over adding elastic to the waist.

Any questions?

Monday, April 8, 2013

French Knickers Sew-Along... Where do I find fabrics?


Today in preparation for the French Knickers Sew-Along, I thought I'd share a few tips on where to find your fabric and notions. Being in Norway, I can't really afford to buy much fabric at the local haberdashery (somewhat affectionately known as, "The Mess".
With this small deterrent I have found quite a few great sources for finding fabrics and notions online.

Here are just a few of the ones that I shop at regularly. If you know of any others, or you have a great/ horrible review of one, let us know!

Great places to buy fabric online:

Fabric.com - has a great supply of both fabrics and notions, really reasonable prices and super fast shipping. The only downside? Hardly any silk!

Moodfabrics.com - Mostly fabrics and trims. Has a very large selection of very high quality silks and other couture-minded fabrics, as well as your normal and discount fabrics. So far, the most reasonable prices on silk by the yard, and lots of colors to choose from.

Nyfashioncenterfabrics.com - This is where you will find every type of silk fabric in every color you can imagine. You'll also pay full price, but the fabric quality will be worth every penny. If I were to sew myself an evening gown or wedding dress, this would be my first stop.

Great places to buy notions online:

Homesew.com - a nice, varied selection of notions.

Fabric.com - also has a nice selection of varied notions.

Amazon.com -  you can find just about every sewing tool/ notion there is...

Etsy.com - there are so many different shops on Etsy ready to supply you with the notions you need. I highly recommend a few in particular for buying elastic:

Pretty Things Supplies - a wonderful selection of notions, especially lingerie elastics and stretch lace.
I recently bought some lovely elastic and lace from them and it arrived very quickly.

Cottage Green - a great supply of lace trims. Also has quick shipping and a very helpful seller.

Fleuriste Craft Supply - a wonderful supply of elastic and flower trims in nearly every color under the sun.

I hope these help you find whatever your local fabric shop may be missing!

Thursday, April 4, 2013

French Knickers Sew-Along - Choosing your fabric.


One of my favorite things about sewing my own underwear is the range of wonderful fabrics you get to use. I'm a very tactile sort of person. If I don't enjoy touching it, I won't wear it. Period. Growing up we didn't have the money for new clothes very often, so we did most of our shopping at the local thrift shop. I would close my eyes and run my fingers over the racks of blouses and stop when I touched something I liked. Granted, this led to a phase where I wore nothing but over-sized chenille sweaters for far too long, but the method remains the same!

If I don't LOVE the feel of a fabric, there's no chance I'm letting it anywhere near my bits. (Hee hee, I just wrote 'bits' on the internet :) )

Which leads us to the topic of fabric choice for sewing the French Knickers.


The fabric suggestions given in the pattern are just a starting point.


A few of you have asked me if these can be sewn using stretch fabrics. The answer is a resounding YES! The pattern has quite a bit of drape, being a sort of 1940's tap pants meets 2013 low-waisted styles. The elastic waist band gives plenty of consistency to whichever fabric you choose. To illustrate, I whipped up this pair of knickers using tencil knit jersey I purchased at Fabric.com.
They are ridiculously comfortable!


The great thing about many stretch fabrics is that you don't necessarily have to finish the leg openings, - if they've been cut smoothly and won't be fraying on you-. For this pair, I wanted a bit of color contrast so I finished the legs with a basic overcast stitch.

Leg openings finished with a contrasting overcast stitch.

The front is finished with a simple rayon ribbon bow.


Here is an example of a lovely ornamental shell elastic for the waist. I sewed it to the outside rather than the inside so that the lovely shell pattern would be showcased.

So more about fabrics. What will you need?
  • 1 yard 39" or wider fabric.
  • 1 yard of practice fabric that is of a similar weight to your other fabric choice. (You know me, I'm all about sewing a practice muslin first!)
  • 1 yard of elastic.
  • matching thread
  • optional trim of your choice for the leg opening... i.e. lace, ribbon, embroidery thread etc.
Some great fabrics I have used so far: silk twill, silk charmeuse, (or polyester charmeuse), cotton voile, silk crepe de chine, rayon blends, chiffon, light wight bamboo or rayon jersey...
I do recommend light-weight fabric for this pattern. You can choose to use a basic cotton with more weight and they'll come out a bit more like pajama or lounge shorts!

Another recommendation for your choice of elastic: The pattern calls for picot elastic in particular. Any underwear elastic will work o.k., just make sure you like the feel of it, and that it won't rub your skin raw. I have experimented a bit with using a casing for the elastic but for underwear at least, it really does get too bulky to look very nice.

For your choice of trimming: if you choose to trim your leg openings with lace or ribbon, keep in mind that a trim that is heavier or more stiff than your fabric can make the leg openings look awkward. Try to keep your trims of similar content or weight to your fabric. For example, I trimmed my silk twill knickers with silk ribbon.

One of the best places to find trims, ribbons and lace is on Etsy.com. In particular, if you're ever looking for vintage lace and trims like the ones in the photo below, check out Dishy Vintage:

No, they're not a sponsor, but I just love their shop so much I have to share!

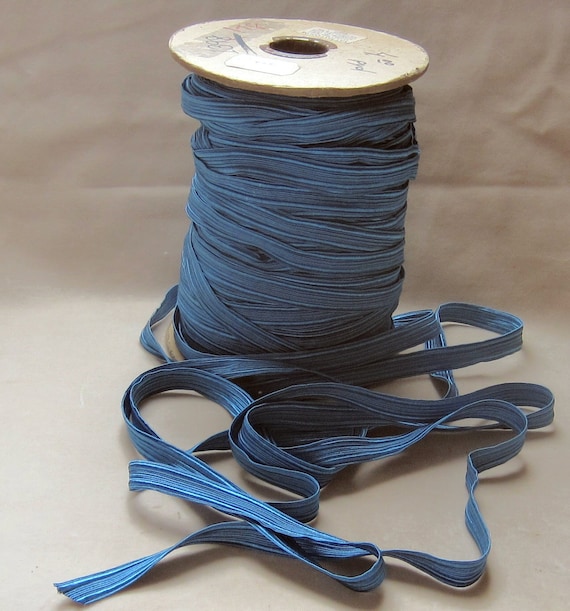
And for some great, new old stock ribbons, check out Phoebe Delia's:

1/2" Silk ribbon braid.
 Whew! That was a lot of information. Any questions?