Showing posts with label ooh la la. Show all posts

Thursday, March 8, 2012

Ohh La La Pin Up Sew Along... Attaching your garter clips.


The pattern we're using...

Yesterday Sarah taught us how to make lovely covered garter straps and now that my clips have arrived and I've gotten 3 hours of sleep, here's another way to attach them.
(3 hours of sleep is a small victory, by the way, I'm not complaining :)

My lovely pink vintage garter clips.
I have in my sewing stash some really soft, plush lingerie elastic in a metallic sort of cream color that coordinates nicely with my bias binding. This will be perfect for making my straps into stretchy loops.


The first thing you want to do is try your corset on with your favorite pair of stockings to see how long your clips should be.

Wednesday, March 7, 2012

Ooh la la Pin Up Sew-Along... Optional Detail - Satin Covered Garter Straps


It's garter clip time! Sarah just posted the greatest tutorial at Ohh Lulu in sewing a satin covered garter strap.

Hers came out beautifully, don't you think? Even if you don't plan on using this technique, the post is great reading with lots of pretty pictures featuring Sarah's gorgeous corset.

My husband brought the mail home with him this evening (our mail comes to the base) and there were boxes and envelopes overflowing with the many lingerie sewing accoutrements I've been snapping up lately, my much awaited garter clips included!


I haven't had a chance to sew on these lovely little pink bits but I'll get a post up tomorrow with the finished product. I'll be using cream plush lingerie elastic to attach my garters. Has anyone had any trouble finding garter clips or any of your other notions?

Monday, March 5, 2012

Ooh la la Pin Up Sew-Along... Binding your edges.


The pattern we're using...

Today for binding your edges, Sarah put together an excellent post for us. Her explanations are so nicely put together that there's not much for me to add! Her method is a really great way to control the quality of the binding that goes on. There are so many ways to bias bind an edge that we really don't want to overwhelm you with too much info here. I prefer to sew mine on completely by hand because crazy, unnecessary hand work soothes the neurotic person in me. You really don't have to do it that way.

~Sarah~

Before you get started, make sure you have inserted all of the bones you plan on using, and have tested the fit.
For your binding, you can use purchased bias trim or bias trim made of self or contrasting fabric.  I'm using the same pink satin as I used to cover my bone casings.  I am cutting bias strips 1 1/8" wide, and pressing my folds prior to stitching.

Baste your bias tape in place, leaving a little overhang on each end as pictured above.

Saturday, March 3, 2012

Ooh la la Pin Up Sew-Along... Embelishments: Hooks and eyes can be pretty too.


When I last posted about the corset we had just finished sewing our hook and eye tape to the corset back. Now, here's how to make it pretty.


I chose to bind the outside edges of my closure with cream satin bias tape. This was too small a place to get a sewing machine needle into, especially with the hooks and eyes in the way, but that's ok. I really prefer to sew bias binding on by hand. I feel like I have better control over where my stitches go and how they look on both sides.

When we first moved to Norway, I made a newbie mistake and plugged my sewing machine into the wrong end of my electric transformer, blowing the electric part out. Gertie of Gertie's Blog for Better Sewing and her great readers helped me out in this post by suggesting all sorts of hand sewing projects I could do to stay busy until my machine was fixed.
I ended up sewing several projects completely by hand including an amazing silk blouse and now I consider hand stitching to be an incredibly soothing and rewarding pastime.

If you choose to bind our edge as I have done, make sure that you keep your stitches under the eyes, and that the stitches directly under the eye are split in two, just in case the hook catches, it will be anchored well there.


I bound both edges like this and then it was time to add boning again. I agree with Sarah completely when she said that if you add boning anywhere to the corset, you really need to add it to the back.


It depends on what type of hook and eye tape you have but sometimes there's a channel already hidden behind the hooks and eyes that's perfect for boning to slip into. If there isn't such a spot in your case, then don't worry! There should still be a gap between the back of the hook and eye tape against the corset fabric.


Here's my bound and boned hook edge from the outside.
For a little added embellishment I added a length of purchased ruffle trim to the back of my hook side. I just carefully slip-stitched it in place. The top and bottom ends will be nicely bound when we finish the rest of the corset binding.


Next up comes binding the top and bottom. If you've done any quilting, I'm sure your bias binding techniques will come in handy in this part!
With any luck, my garter clips will get here soon and I can finish this little beauty.

How is everyone doing so far? Are you behind or ahead of Sarah and I?
Keep in mind that there's no deadline, no homework due, and you don't have to keep the same pace as anyone else. This is to make sewing lingerie easy and fun for you, on YOUR terms!

Thursday, March 1, 2012

Ohh La La Pin Up Sew Along... Your Hook and Eye Closure


The pattern we're using...

All right Ladies, it's that time. Hook and eye time. First, allow me to disclaim a bit. This is not my very best work. I did this on day 4 of NO sleep (hurray for medicine side effects) so my pictures and sewing both are a wee bit blurry, I apologize.

This is a bit of a long post so feel free to stop half way though and have a glass of wine. I did.

The right hand side of the tape will be our 'raw' edge.
 Start by cutting the length of hook and eye tape you need for your back closure. I recommend doing this with the hooks and eyes locked together to avoid any mismatched edges.
Decide which side you want the hooks and eyes on. I went with the standard bra formula of Hooks on the Right, Eyes on the Left.

Let's start with they eyes, shall we?

Ohh La La Pin Up Sew Along... Everything in One Place.


If you're participating in the Ooh La La Pin-Up Sew-Along then it might be a good idea to bookmark this page. Below are links to each how-to post so far and I'll keep updating to this page as well after each new post.
1950s French Corset/ Garter Belt #2002 vintage sewing pattern available for download here.

Part 1, Corset:
1. Introduction.
2. What you'll need.
3. Printing the pattern.
4. Corset boning and why you need it.
5. Grading your pattern up or down.
6. Sewing your muslin.
7. Lace overlay is pretty... and optional.
8. Sewing your French seams.
Ohhh Lulu: Contrasting bone casings.
Ohhh Lulu: Preparing your center back pieces- Eyelet version.
9. Adding your boning.
10. Back hook and Eye Closure.
Ohhh Lulu: Applying your eyelets.
11. Binding your edges.
12. Bias binding: sewing an inverted corner.
Ohhh Lulu: Satin-covered garter straps.
13. Attaching garter straps.
Ohhh Lulu: Adding Bows 
14: Adding rosettes, and the finished corset!

1950s French Bra pattern available for download here.
Part 2, Bra:
1. What you need to start your bra ~ Courtesy of Ohhh Lulu.
2. Making a muslin of Version 1 and how to adjust for a smaller cup size.
3. Making a muslin of Version 2 ~ Courtesy of Ohhh Lulu.
Long-line Version: Important adjustments if you're a larger cup size ~ Courtesy of Ohhh Lulu.
4. Cutting your Fabric ~ Courtesy of Ohhh Lulu.
5. Darts and lining.
6. Sewing your bra seams.
Long-line Version: Cups and corselet assembly ~ Courtesy of Ohhh Lulu.
Long-line Version: Adding a little extra support ~ Courtesy of Ohhh Lulu.
7. Attaching your lining. 
8. Cheating nature a bit... or padding your bra.
9. Bra Back Closure.
10. Binding the raw edges.
11.Sewing on your bra straps and the finished product.
12: Sewing adjustable bra straps ~ Courtesy of Ohhh Lulu. 

Part 3, Super Fancy Extended Edition; Betty High Waist Panties:
Where you can find the panties pattern. 

1. What you will need to sew the panties. ~ Courtesy of Ohhh Lulu.
2. Sarah: Sewing your muslin. ~ Courtesy of Ohhh Lulu.
3. Anna's Muslin.
4. Cutting your fabric and sewing your vertical seams. ~ Courtesy of Ohhh Lulu.
5. Sewing in the crotch lining.  ~ Courtesy of Ohhh Lulu.
6. Finishing the leg and waist openings with elastic.  ~ Courtesy of Ohhh Lulu.
7. Anna's Finished High Waist Panties.

Tuesday, February 28, 2012

Ohh La La Pin Up Sew Along... Adding your boning.


The pattern we're using...

In our last post we went over sewing a French seam to encase our corset boning.


Today we have a close up view of how the boning will fit snugly inside the channel created by the French seam. The above looks pretty narrow to fit 1/4" boning in, and it is but it will fit if you've measured your seam allowances right while sewing.


I'm using 1/4" wide, vintage 1940's Featherbone to stiffen my seams. If you want to refer back to the types of boning, Sarah gave us a really great overview in this post.


I have chosen to bone only the first side front channels marked for boning in the pattern. I'll be using the rest of my boning to stiffen my hook and eye closure at the back, which we'll talk more about in a later post.

Make sure you round the edges of your boning at the top and bottom. This keeps rough corners from wearing through your fabric and eventually poking the daylights out of you. Edges too rough for scissors? Try filing it smooth with a nail file.

Sunday, February 26, 2012

Ohh La La Pin Up Sew Along... Sewing your French seams.


The pattern we're using...

Today for the sew-along we'll sew all our side seams together. Unlike the regular seams we used to cobble our muslins together, we'll be using French seams, stitched flat to encase our boning.
But first, since this pattern has seam numbers instead of notches, how will you tell your pattern pieces apart? You can always mark with chalk or fading fabric pen but I prefer to make a key.

I'm not sure why I went up to five instead of four here, must've been the wine.
To tell my many pattern pieces apart since I used pattern weights instead of pins when cutting, I like to color code my seams with pins.


So for example, blue is seam #3, green is seam #4, and instead of matching notches, I match up the pins.

Now for our French seams. Remember, Wrong sides together, then Right. Sarah and I have both added a 5/8" seam allowance to our pattern pieces.

Friday, February 24, 2012

Ohh La La Pin Up Sew Along... Lace overlay is pretty... and optional.


The pattern we're using...

Today I'm going to show you how to do a lace overlay on your corset. This is an optional embellishment; I'm using it to overlay only three panels in the corset for contrast, pattern piece 1 and 3.


First cut out your main fabric just like you normally would. I'm using some vintage satin I've had waiting for a pretty lingerie project like this and less than 1/2 yard of 5" wide cream vintage lace.


I found another random pattern weight option. Money, or more particularly, heavy 5, 10, and 20 kroner coins. They weigh roughly the same as euro coins and silver dollars and they work great!


 For the front panel, piece #1, open it up and lay your lace over it. If you have a pattern that you want to center, do that and then pin the lace in place to your bottom fabric, smoothing but not stretching the lace.
Cut out your lace.

Thursday, February 23, 2012

Ohh La La Pin Up Sew Along... Sewing your Muslin.


We've reached that point in the sew-along where we have to roll up our sleeves and sew a muslin. I know, it seems like a waste of time, and I know a lot of you don't have a ton of time to sew as it is. But trust me, you don't want to waste your valuable sewing time making something only to find out it doesn't fit properly. So take an hour (yeah, it will go quickly) and get your muslin started.

The pattern we're using...

When I cut out my muslin I like to do it on my cutting mat, with my nifty seam allowance guide stuck to my rotary cutter, and I can blast through it in minutes.

Yes, Yes I do use spools of thread as pattern weights.
You won't be binding any edges, sewing on any garter clips or any of that nonsense. This is just to make sure that your corset closes, and isn't too small or large, or short, or tall, or hot or cold.

My big stroke of brilliance with my last muslin was to write my seam number on my seam allowances. What? I know! Happy thought, right? Who hasn't wanted to just take a marker and scribble markings on their fabric so they won't smudge or disappear. Muslin graffiti.


What I'm listening to while I sew:


Sarah from Ohh Lu Lu has put together an excellent post on what you need to do to get your muslin ready.  You can read all about it here.

Or Below:

I have to admit... I can be a lazy sewist, when I am sewing for myself, but lingerie muslins take no time to sew, because they are so small! No need to worry about interfacings or linings for your mock-up -You just need something to test your fit!

Wednesday, February 22, 2012

Ooh la la Pin Up Sew-Along... Grading Your Pattern Up Or Down.


The pattern we're using...
For those of you that don't fit into the size range of people I had available to test the corset pattern on, then you're in luck because I am at your disposal!


First I will show you how to grade to a smaller size, then I'll show you how to grade to a larger size, though they are very similar.

Keep in mind that you should really make a muslin of this pattern, and you should REALLY make a muslin if you've made adjustments like these.

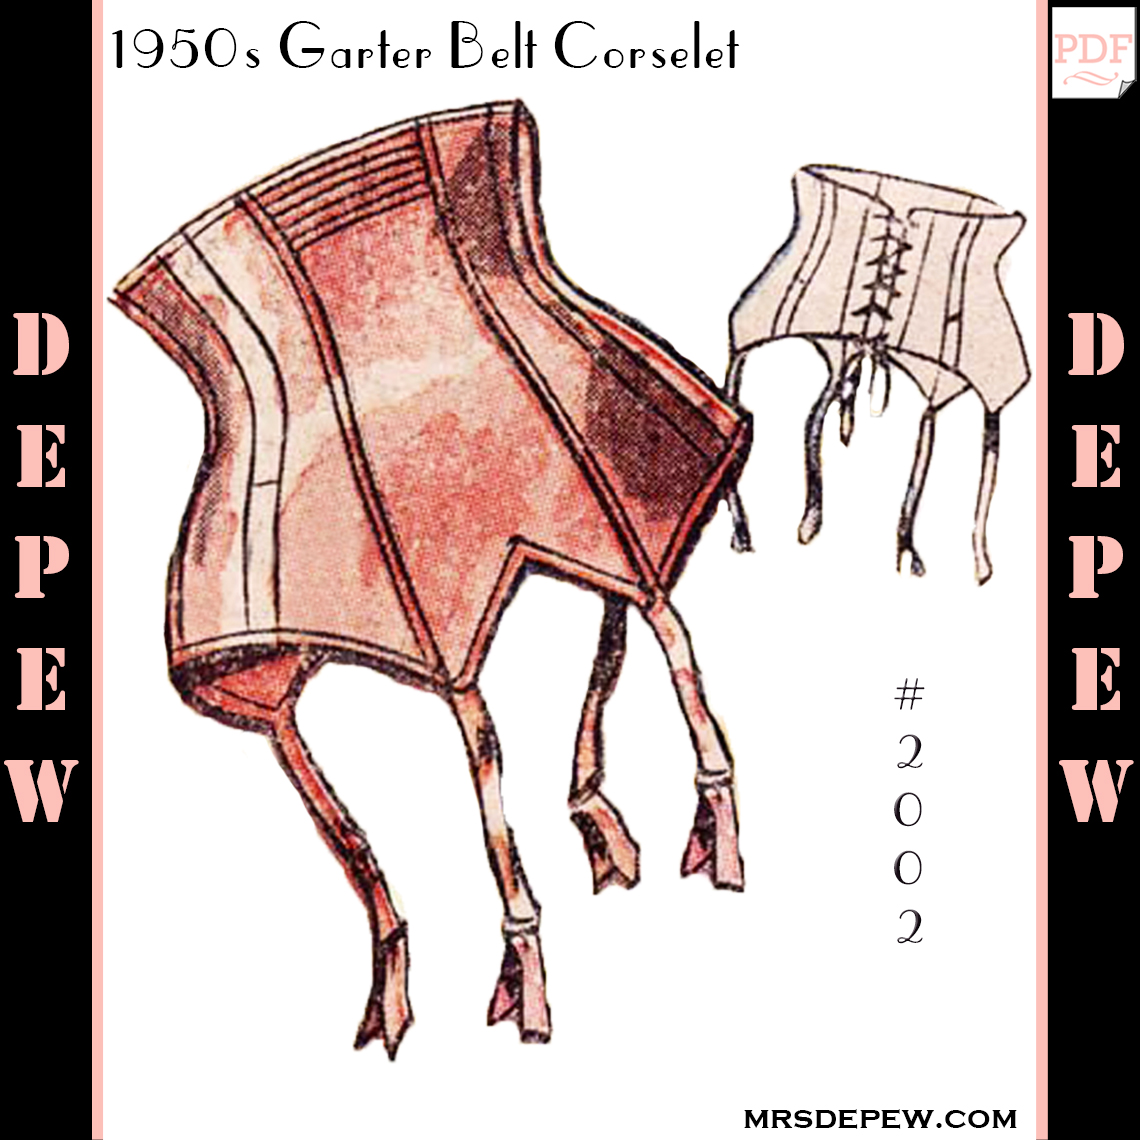
Today we're going to use reader "E's" 25" waist as our starting point.
The smallest size on the pattern is a 29" waist. (29"-25"=4").
We'll need to grade the pattern down 4" to make it her size.

 I like to use centimeters for this (don't worry, there are centimeters on every ruler and yardstick out there) not because I live in Europe right now, but because it's just easier than doing a bunch of fractional math all the time.

4" is 10 cm. (roughly) Now luckily there are only 5 pattern pieces so we know that we need to distribute the 10 cm we're removing from the pattern at 2 cm per piece.
(4"=10 cm) and (10cm/ 5 pieces = 2 cm per piece)
But wait! These pattern pieces are cut double, 2 of each, so it gets easier! We're just removing 1 cm from each pattern piece.
Technically there's just one of the center piece and it's cut on the fold, but we can still distribute changes the same, as both ends of the piece will reflect the change.

Now we get to the cutting! I'm just going to show you how we'll do this with pieces 1 and 2 but you'll do the same with all of them.


Start by cutting the pieces vertically right down the center.


Measure the amount that you want to remove, in this case it's 1 cm.
Note: if you are removing more than 1 cm form each piece, I know it's more work but you'll get better results if you split the pattern pieces into thirds and remove a bit from the inside of each. The same goes for grading the pattern larger than 1 cm per piece.


Next, trim off the amount to be removed from the piece you marked and tape the two pieces back together lining up the top.


At the bottom, you will have a little bit of jagged edge where the pieces don't quite match up.


This end is a straight line so just line up a ruler between the tip of the pattern piece to the inside where it should match, mark, and then trim.


 Do the same with each pattern piece.


To grade the pattern piece larger is a really similar process.

Reader "A" has a 37" waist and also asked this question. That's lucky because it's another 4" difference between the size she needs and the largest size on the pattern.

Using the same math from above, we know that we need to add 1 cm to each pattern piece.
(4"=10 cm) and (10 cm/ 5 pattern pieces = 2 cm per pattern piece, cut double, = a 1 cm adjustment)

I'm going to use piece # 5 to illustrate.


As with grading down, to grade up we split the pattern piece vertically down the center.


When I cut out a digital pattern, I always keep a handful of my paper trimmings from taping them together on hand for alterations like this.


 I have measured and cut a strip 1 cm wide.


Place the piece in between your split pattern pieces and tape it back together.


Trim smooth the jagged edges and you're ready to do it to the other 4 pieces.


Voila! Any questions?