Showing posts with label sewing projects. Show all posts

Saturday, February 16, 2013

Just one more garter belt...


 It is now only 3 days until the deadline for the Lingerie Sewing Competition and I thought I would share another piece that I have made using the Corset Garter Belt Pattern.


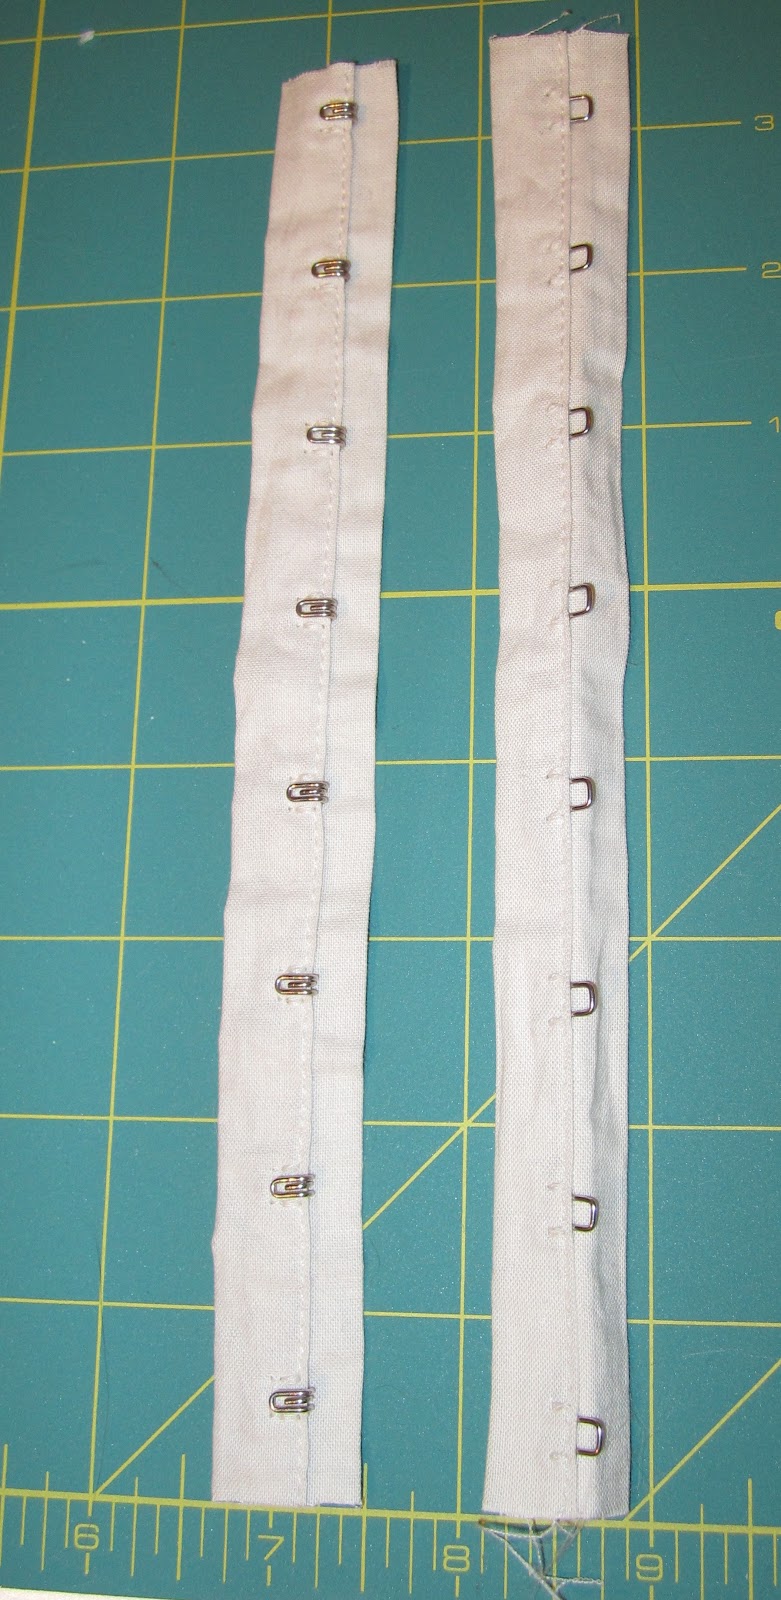
I wanted to make a version that was more garter belt than corset. This was easily done by trimming each pattern piece at the narrowest point of the waist and then sewing as normal, sans any boning.

The fabric is a lightweight cotton print that I picked up in a sale bin at "The Mess" (my local, very disorganized fabric shop). For the back closure, I used some hook and eye tape, tea dyed so that it wasn't such a bright white.


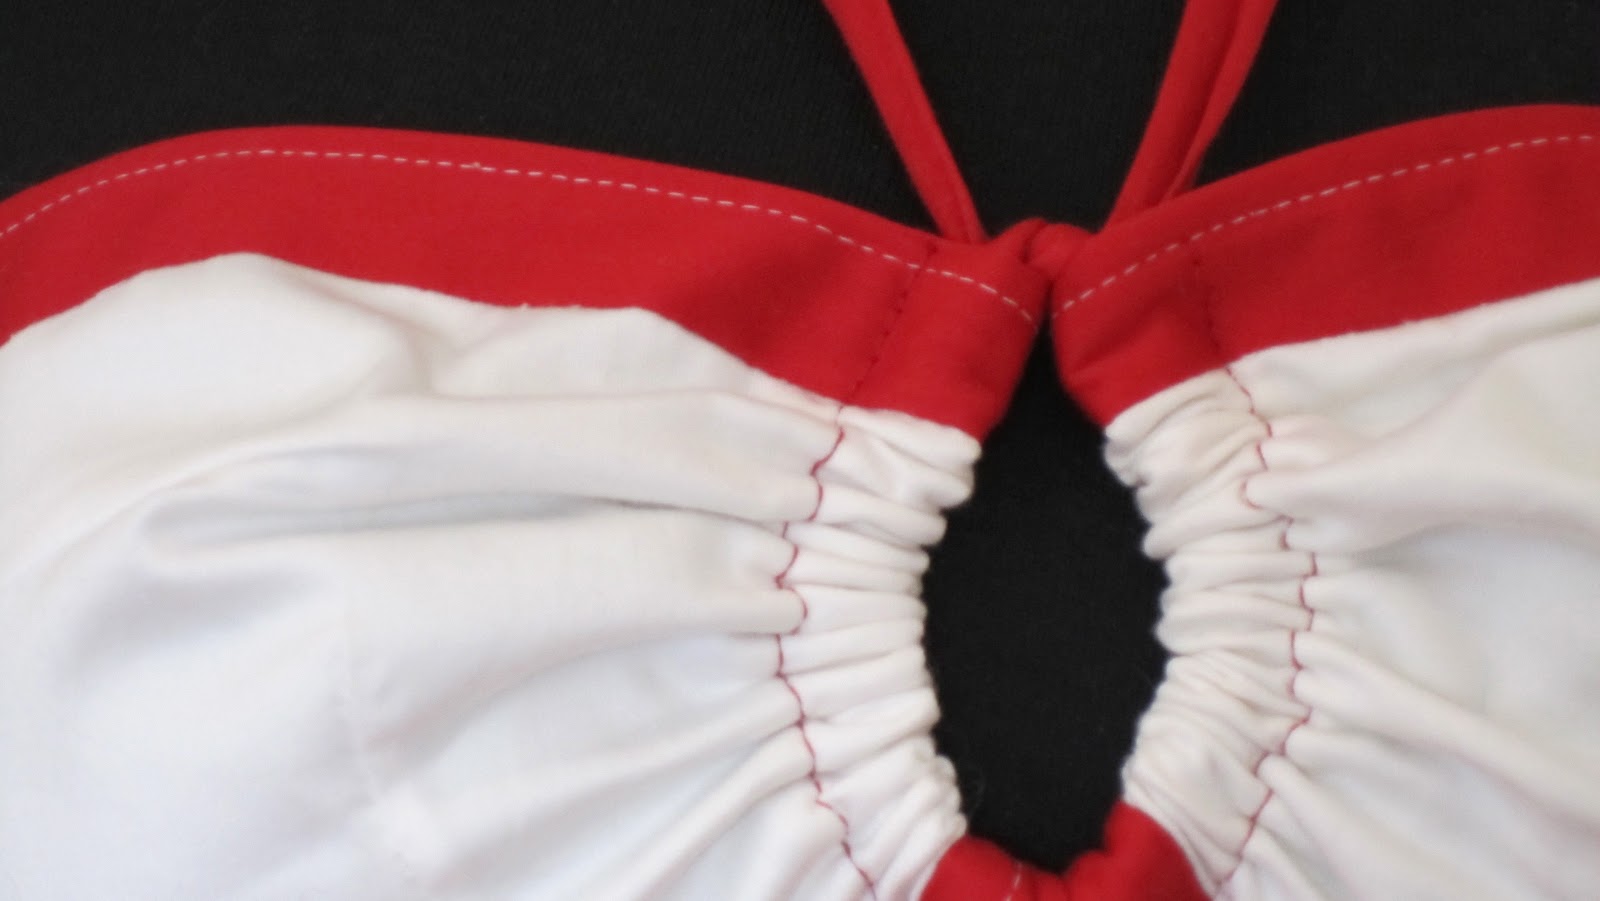
Yeah, I know, word from the wise, never sew bias binding when your hands are shaking form a caffeine high. It never ends well.


I used flat felled seams like I did on my original corset for extra strength.


 Overall, the whole piece is quite light weight and breathable... though I was rather tempted to make one out of flannel instead, considering I live in freezing wet Norway (She said, putting particular emphasis on the freezing as if it were a curse word).


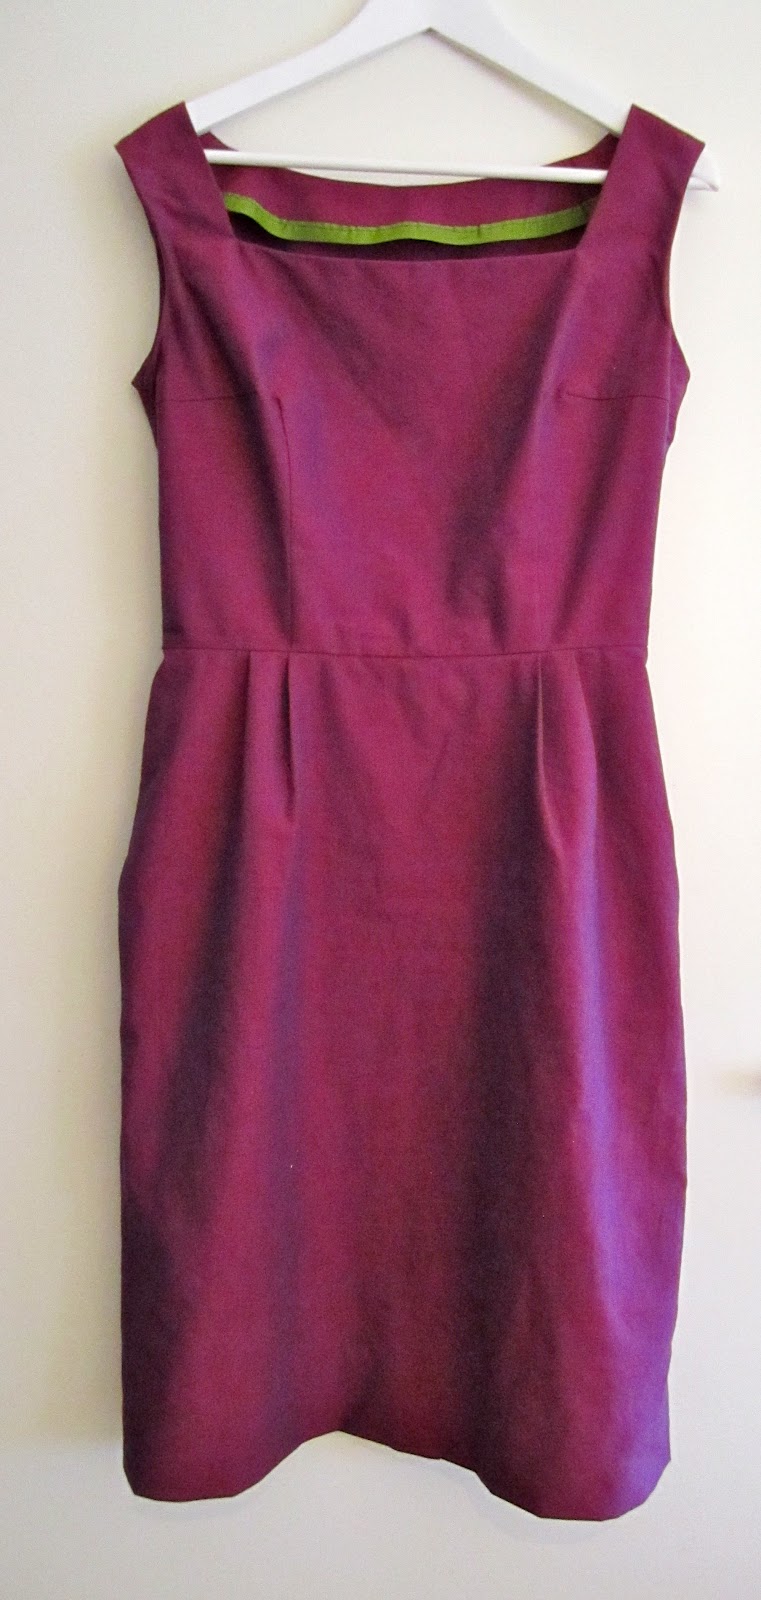
As Sarah intimated in her most recent blog post, sewing beautiful, feminine spring lingerie was like saying a big, "Go away, winter!" and that's how this piece feels. I can just see myself wearing this under a sweet, flowing pastel sundress. And, believe it or not, as I write this, the snow that was falling outside turned turned to a cold wet rain instead! It's still miserable, but considerably less so. Sweet Dita Von Teese! The lingerie Goddess has heard my prayer!

Don't forget, you need to post your submissions to the contest on Craftsy.com by Monday the 18th!

Thursday, March 8, 2012

Ohh La La Pin Up Sew Along... Attaching your garter clips.


The pattern we're using...

Yesterday Sarah taught us how to make lovely covered garter straps and now that my clips have arrived and I've gotten 3 hours of sleep, here's another way to attach them.
(3 hours of sleep is a small victory, by the way, I'm not complaining :)

My lovely pink vintage garter clips.
I have in my sewing stash some really soft, plush lingerie elastic in a metallic sort of cream color that coordinates nicely with my bias binding. This will be perfect for making my straps into stretchy loops.


The first thing you want to do is try your corset on with your favorite pair of stockings to see how long your clips should be.

Sunday, March 4, 2012

Warm Weather Thoughts... and Clothes.

So for a little break from the Ooh La La Pin-Up Sew-Along posts I thought I'd share something not lingerie-related for once.


Last spring I made this set and for some reason never took photos. Mostly because it was SO COLD and never warmed up over the summer. This ended up neatly tucked away with all my other warm weather clothes and projects.

For just the short pattern, click here.
Lately people have been asking me if I have a shorts pattern at Mrs. Depew Vintage and I do! Does that mean it's warming up somewhere in the world? It gives me hope, and reason to air out my summer pretties.

I used this great Beach Set Pattern PDF that I had based on a great 40's pattern in my stash.

To make the contrasting top and bottom strips I just cut 2 more of the waistband piece and sewed it on like bias tape before sewing any of my seams together.


Because of the nifty gathering effect of the pattern front, there's actually quite a bit of room in the bust area, depending on how tight you tie the knot at the bust. This is a 38" bust and a friend with an enviable DD pair tired it on and it fit great. I had to snip 2" off the center seam of the pattern to make it fit my much less impressive measurements.


For the shorts fabric I used a stretch cotton sateen from fabric.com that they unfortunately don't sell anymore. As much as I love the sateen effect on cotton (ah, sateen sheets) it's a complete cat hair magnet so I'll probably avoid it in the future.


How about you? Are you starting to get a bit anxious for spring? Do you have any fun spring clothing sewing plans? I'm already thinking about more sew-along ideas and I think next time we'll try some fun separates. Maybe a blouse? What would you like to see next?

Thursday, March 1, 2012

Ohh La La Pin Up Sew Along... Your Hook and Eye Closure


The pattern we're using...

All right Ladies, it's that time. Hook and eye time. First, allow me to disclaim a bit. This is not my very best work. I did this on day 4 of NO sleep (hurray for medicine side effects) so my pictures and sewing both are a wee bit blurry, I apologize.

This is a bit of a long post so feel free to stop half way though and have a glass of wine. I did.

The right hand side of the tape will be our 'raw' edge.
 Start by cutting the length of hook and eye tape you need for your back closure. I recommend doing this with the hooks and eyes locked together to avoid any mismatched edges.
Decide which side you want the hooks and eyes on. I went with the standard bra formula of Hooks on the Right, Eyes on the Left.

Let's start with they eyes, shall we?

Friday, February 10, 2012

The Job Interview Dress

As many of you know, I've been a jobless, stay-at-home seamstress for the last several months. It's really hard to get a job here and my best options have been grocery clerk or waiting tables... not exactly easy to swallow when I've worked so hard for my (apparently useless) education.
I've been sewing this dress for good job interview juju. In other words, build it and they will come. Sew the dress and get the interview.


Well, as I was sewing in the armhole facing, I got a call for an interview. This is HUGE. For every 50 jobs I've applied for, I've heard back on 2. It's weird being the immigrant, so to speak, in a country where they want to hire locals. Today was my interview, a scant 12 hours after I finished getting the hem in this little baby.


So this morning I threw the dress on, along with my lucky underwear and my lucky high heels and off I went. Well, first, I took photos.


Now, this isn't the pose I struck for the interview, just so you know. That's not how a girl should get a job. In the interview, I looked more like this:

Friday, January 27, 2012

Knitting Patterns, a Scallop ruler, and it sold for WHAT?

Hello all, please forgive this week's radio silence. I've been fighting with this old shoulder injury and it makes sitting at the computer and typing somewhat uncomfortable. I'm feeling ok today though so let's get to it!

This morning's mail brought a much anticipated 1933 knitting book full of bathing suits and beach fashions. I'm updating them, cleaning them up and posting the patterns a couple at a time to my etsy shop. Here are the two that I had so much fun coloring today:

1933 Bathing Suit Knitting Pattern
1933 Surplice Blouse Knitting Pattern
Hurrah Photoshop... helping me while away the hours until my sweetie comes home from a long trip to the States!

In other news, I have a great image of a most indispensable tool and decided to scan it in and help you create your own, should you want one. This scallop ruler is so handy for adding scalloped edges to your sewing projects, and for re-drafting the scallops on a pattern that you've adjusted the size of.


To make your own, you can just print it out on thick paper and cut, or print it on regular paper and paste it to thick construction paper.
Get the free Scallop Ruler PDF.

This could come in awful handy if you have the Mrs. Depew Vintage Bias Tap Pantie Pattern and plan on sizing it up or down.

In other sewing news, I thought you might be interested in how much this lovely Simplicity 1441 sewing pattern sold for a couple of days ago. Can you guess?


Yeah... did you see that coming? Phew!
Stay tuned for more this week including two new sewing projects I've completed, updates on the Sewing Studio Redecorating effort, and hopefully the release of a new sewing pattern, if I can bear to be at the computer for long enough!

Friday, December 30, 2011

My Sewing Space

We have been blessed that every assignment we get sent to, my sewing room just get's better and better. I was lucky enough to have a dedicated sewing room in our last two homes but our new home just takes the cake. Here I started out with a somewhat small second bedroom to work in (lucky thing about being so far away in Norway, I seldom have to make room for guests in my sewing space.)

My sweet husband noticed that I had spent less time sewing than usual in my new space and he suggested that it was too cramped, and that I should spread out. We have a large upstairs landing and he helped me turn my studio from a one dark room to a large open bright space, plus a room for the overflow!

 I'm so happy to have a big open space with plenty of light to work. And at my back I have a great big sewing table with adjustable length, my birthday gift for this year.


I plan on filling the walls with sewing pattern and vintage fashion memorabilia.

A 1950's Anne Adams catalog, the first of many to be hung in this room.


 The art is a collection of vintage lingerie magazine ads from Vogue that I acquired from this great shop on etsy.


This one is my absolute favorite.


The bolt of fabric in the background of this one is just idea for a sewing room!
UPDATE: You ask, where do I stash my fabric and sewing pattern collection? In the adjoining room! That's right, when he said spread out, he meant I should use the landing and the second bedroom. The fabric and pattern mess is neatly stowed away in the next room! I asked him why he didn't mind me practically taking over our second floor and he said, "Why would I mind? You love this stuff, and I only go upstairs to shower and sleep."
What a guy. :)

How about you? Do you have your dream sewing space? Or are you creative within a limited space?
I know what I'm doing with my space today. I just got some amazing quilted silk velvet fabric in the mail from fabric.com


and I'll be making slippers today from it using this great vintage slipper pattern pdf I finished recently.

Thursday, November 10, 2011

New pattern for the wee ones...

This week, I had one goal. Finish the new pattern I was developing before I started on the slip/ camisole part of the Lingerie Sew-Along. Well, I finished... and now I totally feel like an idiot.
I slaved all this week on this cute little sun suit pattern pdf and then I emailed one to my sister and she so obnoxiously (but rightfully) pointed out, "It's a shorts pattern... it's November, Anna."


DAMMIT!

I started on this adorable pattern in July and then put it aside for other projects, travel, and the big move from one house to the next, and I'm a complete idiot for not leaving it until summer. Luckily, I have a kids trouser pattern from the same era and I can re-do it a bit to include a long overall/ trouser version.
Ugh. I'll be putting that off for a while though so I can start on the Slip/ Cami sew along posts for you all.

In other sewing news, this was drawn to my attention and I seriously need to get some of these nearly poetic sewing labels:


They are offered for sale at Sublime Stitching. And they make a great point! There are so few really easy, immediate gratification sewing projects out there that you can tote or wear around proudly. The good ones always take sooooooooooo long.

And speaking of things that take forever, that's why I haven't attempted sewing myself a coat yet. That, and wool intimidates me... and I'm not even sure why. But I am sorely tempted to sew one after seeing something else in my Victoria's Secret Catalog:


This gorgeous military coat got me to thinking and I dug through my stash to see if I had any coat patterns. Of all wonders, I had McCall's 2054 in two different sizes! The version on the left is nearly identical!


Can anyone recommend a good place online to buy wool fabric?

Sunday, September 4, 2011

Fluffy pillows and sexy guns.

I just finished my most recent project last night. The plan is to make some super sexy silk dupioni pillows with gun appliques but first I needed to practice on less expensive, easier fabric.
My test run on the gun applique went so well that I had to actually make it into a pillow. For this one I used micro-suede from fabric.com.


I had toyed with the idea of making it into a purse instead, but after the mass shooting here in Norway, I don't think the locals would respond so positively to anything with a gun on it. Luckily I had the right stuff, a pillow form, and a great futon in the next room to keep it in. (These will be nicely tucked away in my house where my American friends can appreciate them.)

I also had this great old heavy duty zipper from a bunch of vintage notions my awesome mother sent home with me.

From there I experimented a bit, and this is what I ended up with.


Playing with French seams on the inside was a must. I'll need them to prevent fraying and loose threads when I start making these up in silk.


Vincent likes to pop into any and all shots he can, and add his two cents. Here he's screaming FREEZE!


So when my silk gets here I'll have quite the project on my hands. I think I'll be making maybe 4 or 5 of these babies. This was a really fun project, by the way. If any of you want a tutorial on applique, just leave me a comment and I'll pop one together!