Showing posts with label 1940's patterns. Show all posts
Thursday, November 12, 2015
1940's Bra Sew-Along - Finishing edges and adding straps.
Hello again my dears,
In our last sew-along post, we sewed our actual bra pieces together and now we're ready to talk edge finishing. We'll need to do this before we before can sew our straps in place. There are a few ways that you can finish your edges if you're not sewing a whole bra and lining together and turning it right sides out. You can bind your edges, add applique lace at the edges, or my favorite, face the edges with rayon or cotton seam tape.
This is easy as pie and makes a nice, neat finished edge on both sides.
First lay your chosen tape (I like 1/2" wide rayon seam binding) on the top edge of the RIGHT side of the bra. Pin it in place and stitch 1/8" from the top edge.
Now press the tape upwards. This will give you a crisp edge later on. After that, fold the tape over onto the WRONG side of the bra edge and press again.
Saturday, November 7, 2015
1940's Bra Sew-Along - How to face pattern pieces and lining options.
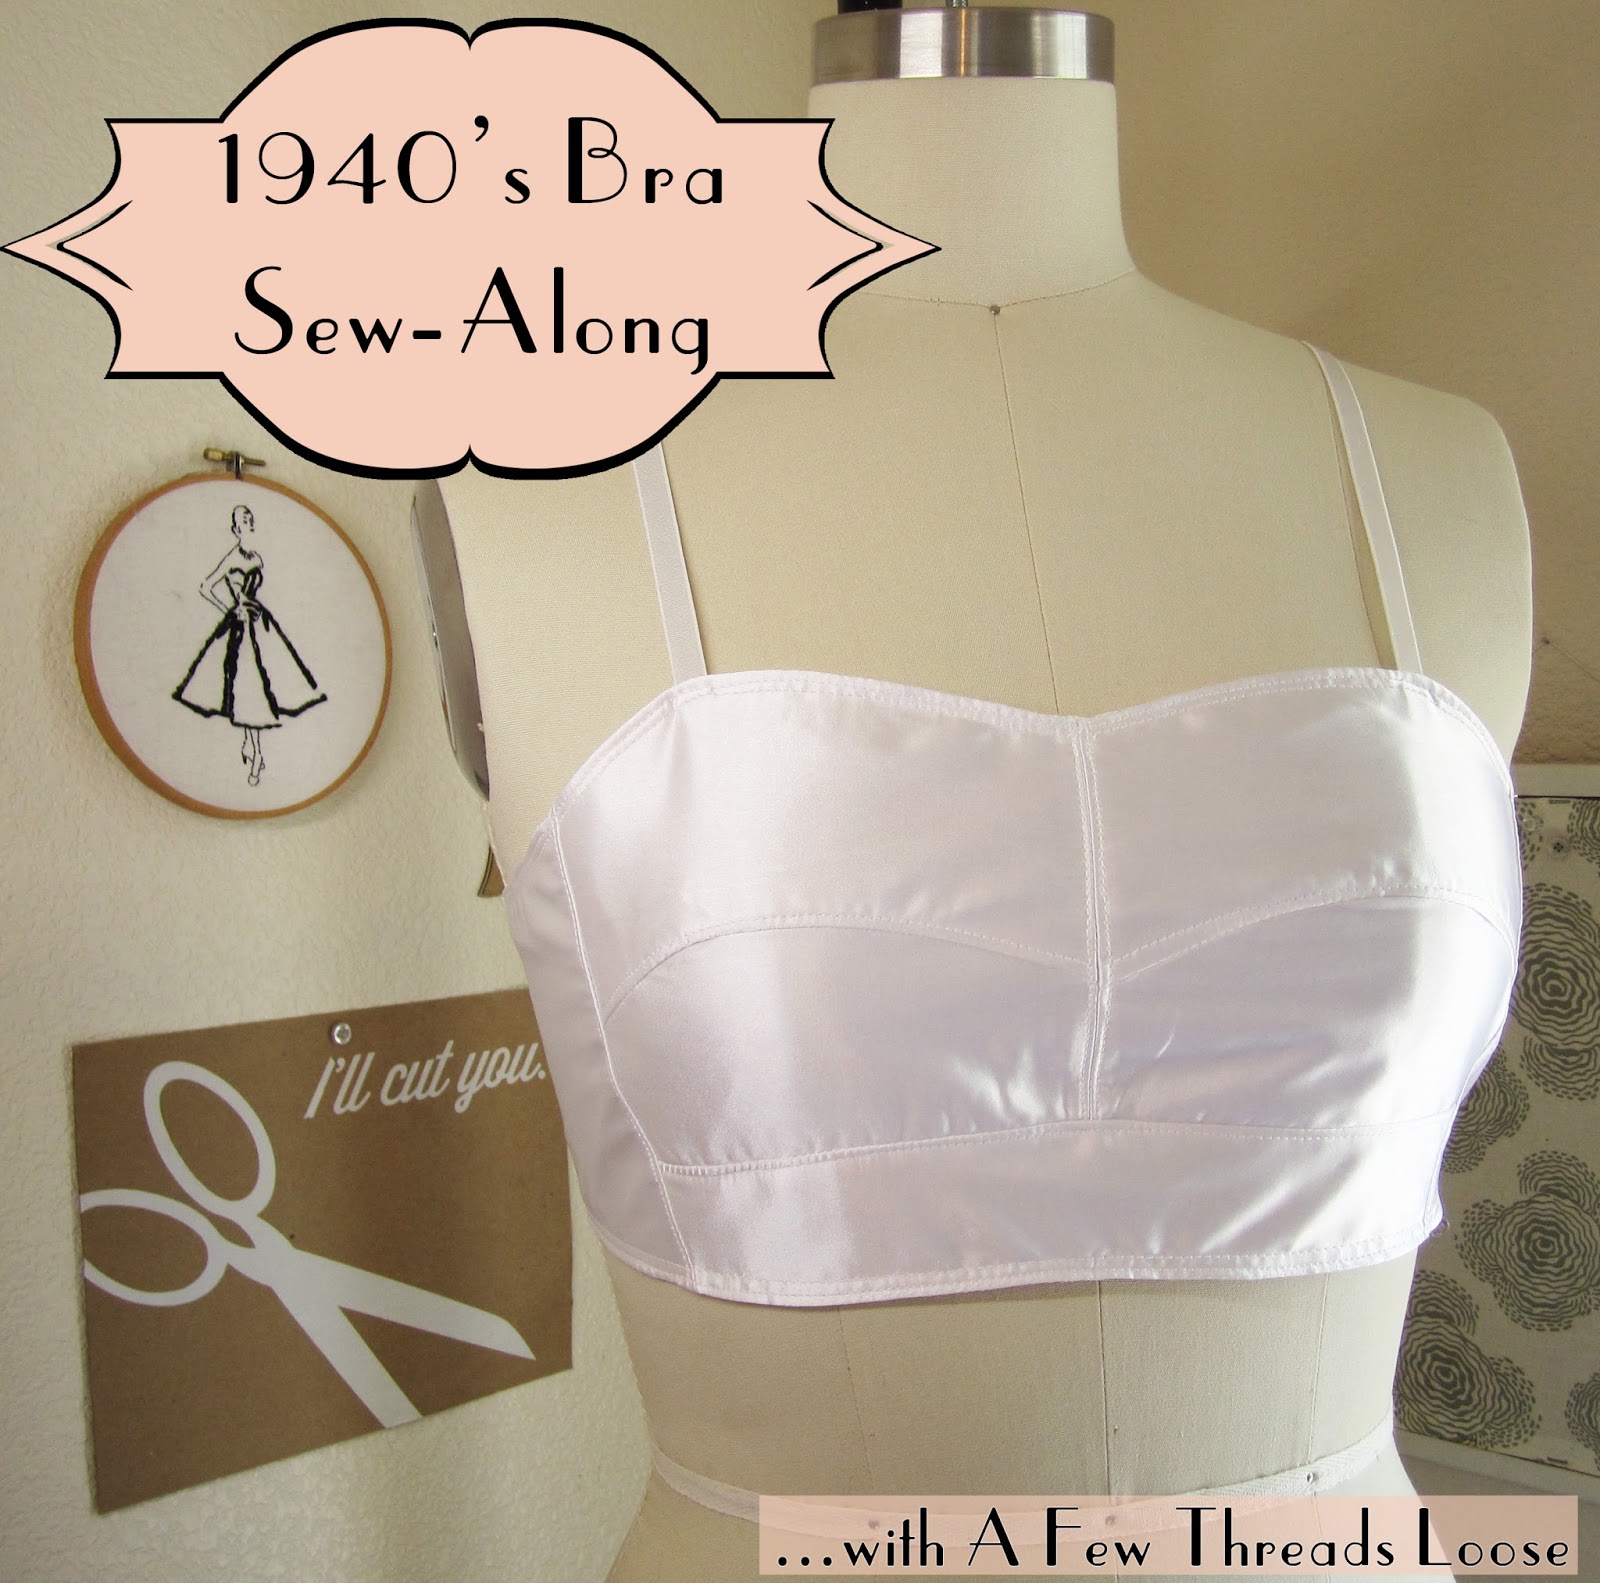
Happy weekend, sewers! Ready to do some more bra sewing?
In our last post we talked about adjusting our cups sizes. Since I haven't gotten any more fitting questions from you, we're ready to move on.
Today we need to talk about lining options. What should the inside of our bra look like? Well, there are three methods of lining I have used in bra sewing in the past and one is far superior to the others.
The first is fully lining the bra. As I did with my bra #2001 for the Oooh la la Pin Up Sew-Along, you sew two complete bras (minus straps and closures), one of lining and one of outer fabric. Then you sew those two pieces right sides together all along the bottom seam and then bind the top edge. You can also sew the entire bra together at top, bottom and edges, leaving a gap to and turn the bra right side out. This conceals all of your raw seam edges. This can lead to some of your seams shifting a bit and if you have thin fabric, seam edge shadows can show up all over the place.
![]() |
From a 1940's Brassiere in Profile - the edges here have been turned under and stitched, or faced with a piece of cotton tape. |
So to do this, simply cut the entire bra out from your outer fabric (I'm using white satin from our kit), and another entire bra from your lining fabric - I like fine cotton lawn or muslin for this.
![]() |
Pieces C in satin and cotton, ready to be pinned. |
![]() |
All pattern pieces in cotton and satin, pinned wrong sides together. |
You will want to leave the left and right edges (side seam, center front and center back edges on all pieces) un-basted. If they are basted at all edges, this can lead to some creases and bunching that won't sit well on the sewn bra.
--Update: This method is a good one to use if your fabrics aren't prone to fraying. The satin I'm using doesn't fray very much so I'm comfortable with having a trimmed, top-stitched, but unconcealed raw edge inside my bra. If you want a more finished appearance on the inside, then you can either fully line the bra as mentioned above (instead of just facing your pieces) or you can finish the raw edges of each seam with either a serger or an edge stitch (a blanket stitch was very common on curved bra seams in the 1940's).
![]() |
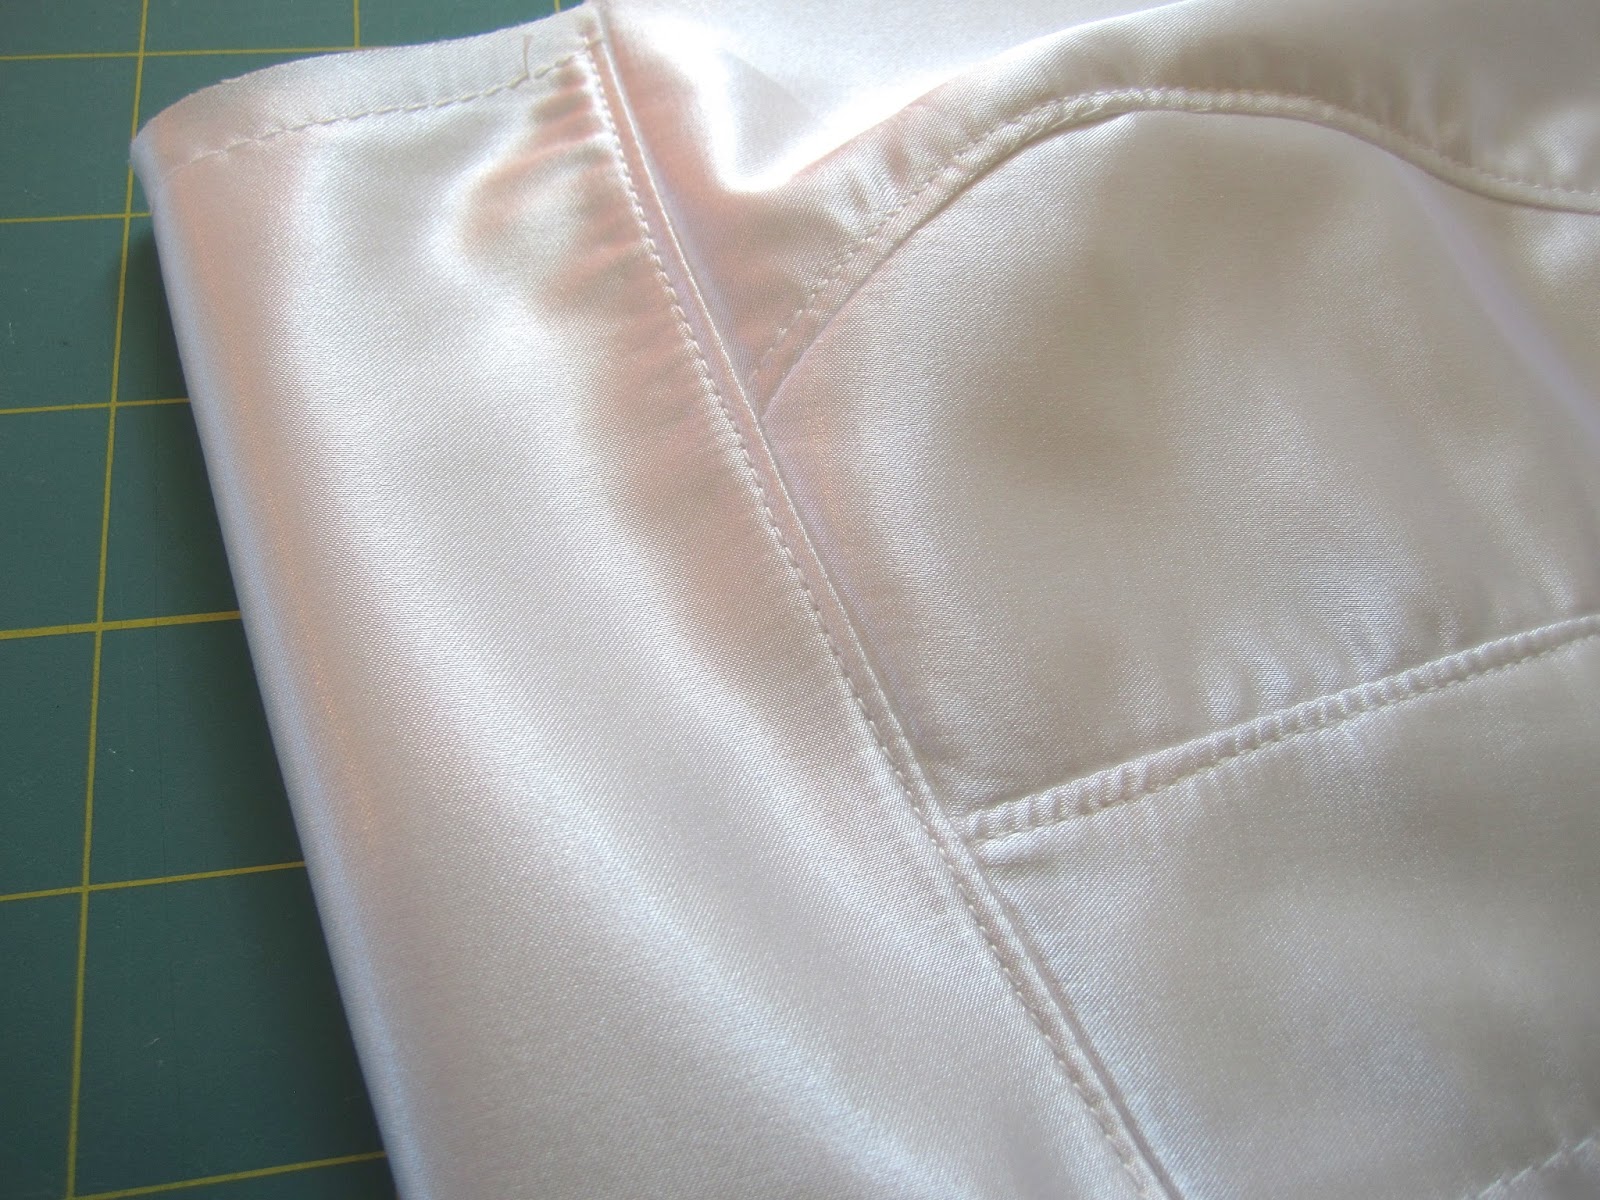
Here is the interior of my bra using the facing/ top-stitching method. |
And now you're ready to sew your actual bra together!
Any questions about lining, facing or binding?
Happy sewing,
Friday, October 16, 2015
1940's Bra Sew-Along, and a Sewing Pattern Giveaway!
Update: This giveaway is now closed.
Well, my dear readers, it's that time again. I have the lingerie sewing bug. It's been ages since our last sew-along and I'm happy to say that my schedule has cleared just enough to allow me to host another one!
And the pattern I would love to make with you is my absolute favorite bra pattern, Depew #2013.
![]() |
1940's style bra pattern Depew #2013 32"- 44" Bust. |
I just most recently made this bra up in white satin and it turned out so beautifully, I thought, "Every girl should have one of these!" I wore this bra ll day yesterday under a semi-sheer top and it was so comfortable! I even had a lady approach me at a shop and say, "This is going to sound weird, but where can I buy a bra like the one you're wearing?" It seriously made my day.
Sadly you can't get a bra like this in stores anymore but I've had something in the works for a while now to make sewing your own easier and a bit more fun.
I've been working for months now to grade this pattern into many more sizes and have also partnered with Take & Make to offer a complete bra sewing kit with everything you need (including the pattern download) to sew the bra pictured below.
![]() |
The bra sewing kit for pattern #2013. |
The kit includes ready made straps and plush hook and eye closures that have been carefully matched with soft white satin, thread, and enough fine, soft muslin to sew a test version, with enough left over to line the bra if you should so choose. You can find the complete kit here.
We decided to go with white satin for the kits so that finding matching underwear wouldn't be a chore.
In one of my most recent posts we looked at an original 1940's bra to study the sewing details used. I'll be including these kinds of details in our sew-along posts and hopefully we'll all get to learn something new.
![]() |
Top-stitch details are almost a must for any vintage bra! |
And of course, this would be no sew-along launch without a giveaway! Next week I'll choose three winners from the comments on this post who will each get a digital copy of the bra pattern we'll be using.
To enter the giveaway here on A Few Threads Loose, simply leave a comment on this post letting me know you're in!
For an extra entry, you can do any or all of the following, just leave a comment letting me know about it!
- Like Mrs. Depew Vintage on Facebook.
- Follow A Few threads Loose on Bloglovin' or other blog reader sites.
- Pin any item on MrsDepew.com to Pinterest.
- Share this post on Facebook.
- Share this post on your blog, if you have one.
Happy sewing, and best of luck to the entrants!
Saturday, August 29, 2015
A Vintage Brassiere in Profile... 1940's Bra by Siva of Paris
Hello lovely readers. Recently, I've been working on grading a few of my 1940's bra patterns into larger sizes. While doing this, I tested a few for fit and accuracy by sewing a few samples and became SO inspired to sew more lingerie again! In a fit of passion, I pulled all of my vintage brassieres out to study their construction and was again delighted to see the interesting details that these little beauties featured.
If you ever decide to try your had at some historically accurate bra sewing, here a few details you might like to try!
This little bra by Siva of Paris is from the late 1930's to early 1940's. The fabric is a satin coutil, a wonderful, but very hard-to-find piece of fabric for lingerie sewing. If you can't find coutil, a great substitute is to buy a very lightweight satin and baste it to a soft cotton lawn or fine muslin. This has worked wonders for some of my bra sewing projects.
The closure is one of my favorite types, and adjustable length of elastic (with mini buttonholes!) with a hook. These are incredibly comfortable and are still my favorite way to finish the back of a bra.
If you ever decide to try your had at some historically accurate bra sewing, here a few details you might like to try!
The closure is one of my favorite types, and adjustable length of elastic (with mini buttonholes!) with a hook. These are incredibly comfortable and are still my favorite way to finish the back of a bra.
Tuesday, December 11, 2012
Everything you'll ever need to know about sewing a placket.
Hello dear readers. I recently got an email from a customer asking if I could help explain how to sew a placket. This is a question I've gotten numerous times working with vintage and vintage-inspired patterns. The placket was a commonly used closure in tap pants, trousers, dresses and blouses in the 1940's. They started to fade out of the spotlight with the advent of the zipper.
I find that many new sewers are stumped by vintage patterns that automatically assume that one knows how to sew a placket.
I can even remember my first placket in a pair of 1940's tap pants... I had no clue what to do and frantically searched online for instruction. I didn't find any online, but what did help me a great deal was my well-worn 1927 copy of The Art of Dressmaking by Butterick.
I can't recommend this little book enough! Copies regularly come up for sale for quite cheap so if you see one, snap it up, you won't regret it!
The Art of Dressmaking can explain a placket much better than I can, I'm afraid. My sewing machine is buried under a pile of sewing patterns and I promised myself that I would deal with organizing the patterns before I allowed myself to sew. It's hard to explain a placket without sewing one and taking pictures in the process but between the book, and throwing together some illustrations in Photoshop, I think I have it covered for you!
So without further ado, here is the best instruction I have ever found on how to sew a placket:
Thursday, June 7, 2012
Sew French: 6 November 1949
I'm back from vacation with epic jet lag and a head cold, but I've hit the ground running anyways. With my first post back from vacation I'd like to start with a new segment I'll be doing here on A Few Threads Loose called "Sew French".
I have an amazing collection of vintage French sewing magazines and patterns and since I get so much enjoyment from them, I thought I would share bits of pieces of them with you.
Today I would like to share some lovely images and sewing patterns from "Le Petit Echo de la Mode." This edition was printed November 6, 1949.
It has lovely fall fashions and focuses mostly on really beautiful coats (and dresses) like these:
Sewing patterns for all of these fashions were available to order by mail. They are harder to find but I just love French patterns from this era; the styles are so timeless.
My favorite image from this edition is below, showing the latest style of accessories in suede.
And of course, I have for you the two patterns included in the issue which I have given a "digital bath" as I like to call it.
The first below is "Paniers et Corbeilles" or "Baskets and Trays." The measurements given for these are in centimeters. If you don't read French and need the instructions, you can use Google Translate to make some sense of it.
This second pattern translates as "The baby area" and includes a "sleeping sack," "bags for hot water bottle and bottle" "a mat" and most interesting of all, a "walking belt" to keep the wee one from wandering too far on your daily promenade. Essentially it's a toddler leash.
Are these as fascinating to you as they are to me? Would you make any of these things? I would love to know! I have so much fun digging these things up.
I hope you have a lovely weekend.
~Anna~
I have an amazing collection of vintage French sewing magazines and patterns and since I get so much enjoyment from them, I thought I would share bits of pieces of them with you.
Today I would like to share some lovely images and sewing patterns from "Le Petit Echo de la Mode." This edition was printed November 6, 1949.
It has lovely fall fashions and focuses mostly on really beautiful coats (and dresses) like these:
Sewing patterns for all of these fashions were available to order by mail. They are harder to find but I just love French patterns from this era; the styles are so timeless.
My favorite image from this edition is below, showing the latest style of accessories in suede.
![]() |
Translation: "Suede in your adornment." |
The first below is "Paniers et Corbeilles" or "Baskets and Trays." The measurements given for these are in centimeters. If you don't read French and need the instructions, you can use Google Translate to make some sense of it.
This second pattern translates as "The baby area" and includes a "sleeping sack," "bags for hot water bottle and bottle" "a mat" and most interesting of all, a "walking belt" to keep the wee one from wandering too far on your daily promenade. Essentially it's a toddler leash.
Are these as fascinating to you as they are to me? Would you make any of these things? I would love to know! I have so much fun digging these things up.
I hope you have a lovely weekend.
~Anna~
Friday, January 27, 2012
Knitting Patterns, a Scallop ruler, and it sold for WHAT?
Hello all, please forgive this week's radio silence. I've been fighting with this old shoulder injury and it makes sitting at the computer and typing somewhat uncomfortable. I'm feeling ok today though so let's get to it!
This morning's mail brought a much anticipated 1933 knitting book full of bathing suits and beach fashions. I'm updating them, cleaning them up and posting the patterns a couple at a time to my etsy shop. Here are the two that I had so much fun coloring today:
Hurrah Photoshop... helping me while away the hours until my sweetie comes home from a long trip to the States!
In other news, I have a great image of a most indispensable tool and decided to scan it in and help you create your own, should you want one. This scallop ruler is so handy for adding scalloped edges to your sewing projects, and for re-drafting the scallops on a pattern that you've adjusted the size of.
To make your own, you can just print it out on thick paper and cut, or print it on regular paper and paste it to thick construction paper.
Get the free Scallop Ruler PDF.
This could come in awful handy if you have the Mrs. Depew Vintage Bias Tap Pantie Pattern and plan on sizing it up or down.
In other sewing news, I thought you might be interested in how much this lovely Simplicity 1441 sewing pattern sold for a couple of days ago. Can you guess?
Yeah... did you see that coming? Phew!
Stay tuned for more this week including two new sewing projects I've completed, updates on the Sewing Studio Redecorating effort, and hopefully the release of a new sewing pattern, if I can bear to be at the computer for long enough!
This morning's mail brought a much anticipated 1933 knitting book full of bathing suits and beach fashions. I'm updating them, cleaning them up and posting the patterns a couple at a time to my etsy shop. Here are the two that I had so much fun coloring today:
![]() |
1933 Bathing Suit Knitting Pattern |
![]() |
1933 Surplice Blouse Knitting Pattern |
In other news, I have a great image of a most indispensable tool and decided to scan it in and help you create your own, should you want one. This scallop ruler is so handy for adding scalloped edges to your sewing projects, and for re-drafting the scallops on a pattern that you've adjusted the size of.
To make your own, you can just print it out on thick paper and cut, or print it on regular paper and paste it to thick construction paper.
Get the free Scallop Ruler PDF.
This could come in awful handy if you have the Mrs. Depew Vintage Bias Tap Pantie Pattern and plan on sizing it up or down.
In other sewing news, I thought you might be interested in how much this lovely Simplicity 1441 sewing pattern sold for a couple of days ago. Can you guess?
Yeah... did you see that coming? Phew!
Stay tuned for more this week including two new sewing projects I've completed, updates on the Sewing Studio Redecorating effort, and hopefully the release of a new sewing pattern, if I can bear to be at the computer for long enough!
Thursday, December 8, 2011
Lingerie Sew-Along: Final Touches and the Finished Product, Part 15
Well, crap. The sun just isn't going to shine here, and without it's cooperation, any pictures I take of myself in the Pauline slip are just going to be dark and scary.
So let's just finish up the Lingerie Sew-Along, shall we?
When last we left off, we finished the side seams, the bodice facing, and we bound the top edges.
As far as the bodice facing edges on the inside are concerned, they can either be serged together with the bodice seam allowance, bound, or just basted together. The point is just to keep the inside facing from bunching up inside your bodice and creating unsightly lumps.
Next we have the straps. They can be done as detailed in Pretty Pretties or as we discussed in the post about sewing straps to the Pauline Bra.
So let's just finish up the Lingerie Sew-Along, shall we?
When last we left off, we finished the side seams, the bodice facing, and we bound the top edges.
As far as the bodice facing edges on the inside are concerned, they can either be serged together with the bodice seam allowance, bound, or just basted together. The point is just to keep the inside facing from bunching up inside your bodice and creating unsightly lumps.
![]() |
The inside bodice facing edges, pinned and ready to be dealt with. |
Monday, September 5, 2011
Two patterns I would SPEND on...
I just thought you might like to see the two patterns that I would spend my entire month's food budget on.
Simplicity S602. $150 buys you this little gem here.
And McCall 8111. $175 will get this lovely girl here.
Who needs to eat anyways when you can walk around sexy and glam in these little getups?
Simplicity S602. $150 buys you this little gem here.
And McCall 8111. $175 will get this lovely girl here.
Who needs to eat anyways when you can walk around sexy and glam in these little getups?
Labels:
1930's,
1940's patterns,
vintage sewing patterns
Monday, August 15, 2011
All about pdf patterns
The new frontier of sewing patterns is digital. Everything seams to turn to digital at some point and sewing patterns are no exception. E patterns are now being offered by the big four (Simplicity, Butterick, McCall's and Vogue) as well as a dozen websites including Etsy.com.
The great thing about digital patterns is that you can buy them and print for a fraction of the cost. There's no waiting for the mail to come, as most are emailed to you within 24 hours, or better, directly downloaded. I highly recommend Burdastyle.com for downloading patterns. Here's my favorite:
That's right, you click download, and this pattern (which is free, by the way) is on your computer. You hit print, tape the pieces together, and start sewing.
Now, my very favorite thing about digital patterns is that some enterprising individuals, (yes, including myself) have started taking rare, expensive, hard to find patterns and making them available for download. Most of these are vintage originals whose copyrights have expired. Some are just used as inspiration to create an original pattern that still reflects the style and design so sought after in certain digital patterns.
Now there are some drawbacks to print at home patterns. They can be bulky and hard to store. There are two ways I store my larger printed patterns. One solution is to store them in a labelled file folder. My favorite way to store them though, is to print the pattern picture out and tape it to an envelope. I use the 6" x 9" manilla envelopes so they fit right in with my other regular patterns.
Another great thing about pdf patterns is that once you buy them, they are saved on your computer. If you rip a piece, or lose one, or want to make it in a different size, you can just print again.
Some pdf patterns are larger and more complicated to put together. Many buyers are put off by the paper and ink they'll have to use up on their home printer. An easy way to get around this is to save the pattern to a cd or small thumb drive, take it to your local print shop (xerox, staples, they all do it) and have them print it for you.
So just in case you're interested, and so you know I'm not just plugging my shop, here are a few of my favorite pattern pdfs:
Any questions?
The great thing about digital patterns is that you can buy them and print for a fraction of the cost. There's no waiting for the mail to come, as most are emailed to you within 24 hours, or better, directly downloaded. I highly recommend Burdastyle.com for downloading patterns. Here's my favorite:
That's right, you click download, and this pattern (which is free, by the way) is on your computer. You hit print, tape the pieces together, and start sewing.
Now, my very favorite thing about digital patterns is that some enterprising individuals, (yes, including myself) have started taking rare, expensive, hard to find patterns and making them available for download. Most of these are vintage originals whose copyrights have expired. Some are just used as inspiration to create an original pattern that still reflects the style and design so sought after in certain digital patterns.
![]() |
Mary Anne Bandeau Pattern |
Now there are some drawbacks to print at home patterns. They can be bulky and hard to store. There are two ways I store my larger printed patterns. One solution is to store them in a labelled file folder. My favorite way to store them though, is to print the pattern picture out and tape it to an envelope. I use the 6" x 9" manilla envelopes so they fit right in with my other regular patterns.
![]() |
Marilynn Apron Pattern |
Some pdf patterns are larger and more complicated to put together. Many buyers are put off by the paper and ink they'll have to use up on their home printer. An easy way to get around this is to save the pattern to a cd or small thumb drive, take it to your local print shop (xerox, staples, they all do it) and have them print it for you.
So just in case you're interested, and so you know I'm not just plugging my shop, here are a few of my favorite pattern pdfs:
![]() |
LaPrairieLady |
![]() |
Also from LaPrairieLady |
![]() |
From PatternRunway |
![]() |
From BettieMarie |
Sunday, July 10, 2011
A Pattern and a Giveaway!
So I know that pictures of my sewing projects have been few and far between in the last few months of blogging. Some of that is due to a months' vacation back in the US, and some is due to trying to figure out my new camera, and the rest of the blame goes to the fact that I've been too busy working on pattern pdf's to get pictures taken, or anything sewn, for that matter.
I just finished turning another of my vintage patterns into a pdf for download in my shop and I'm excited, cause it's a hat and purse! Gotta love accessories, right? This one came from a great 1940's catalog and it's just gorgeous!
It gives tips for coordinating different fabrics to make matching hats and bags, as well as how to embellish with bows, feathers, etc to make several different versions of the same hat.
Which leads me to the giveaway part. Would you like to win a copy of this pattern? Yeeeeeeeeees? Good. All you have to do is...
1. Become a follower if you're not already. You can leave a comment telling me that you follow and it will count as an entry.
2. If you like A Few Threads Loose on Facebook you get another entry.
It's that easy. I'll pick a winner by random number generator and announce the winner on Monday the 18th. Good luck!
Labels:
1940's patterns,
bags,
giveaway,
hats,
pdfs
Tuesday, April 26, 2011
Pattern of the Day
This lovely little pattern for a vestee, purse, and hat all encrusted in sequins just makes me swoon.
It's McCall 1293 and is well worth the having. I would love to try sewing sequins soon, as sort of the icing on the cake of my sewing skills.
There's a copy here on etsy that is in sad shape and has only the vestee and transfers, but I would snap it up in a heartbeat for just the vestee.
Happy Tuesday. I'm off to restock the fridge after a whole week of EVERYTHING being closed here in Norway for Easter. We were surviving on soup near the end so I'll have to plan better next year.
Labels:
1940's patterns
Sunday, April 24, 2011
And the winner is...
Well, I would say that my very first giveaway could be deemed a success. I loved reading all of your comments, and some of you even pointed out item's in Erika's Shop that I hadn't seen (and immediately started wanting.
There was some gorgeous vintage polka dot fabric that sold before I could get my hot little hands on it, but I still have my eye on the adorable Women's pajama pattern from the 1940s:
But enough about what I want. I know what you want. You want to know who won the lovely prize package offered by the very generous Erik with a K:
And the winner is... Sara E.K.! Congratulations, Sara! Your comment was number 60, chosen by the random number generator:
Thanks to all of you who entered! I've found that I like hosting giveaways as much as I like shopping and sewing put together, so there will be many more to come.
A special thanks to Erika for offering such a great prize package, and for being such a snazzy vintage girl.
Labels:
1940's patterns,
giveaway,
winner
Saturday, April 9, 2011
A Tidbit
Eye candy, anyone?
Here is a peak at a page from the June 1940 Hollywood Patterns booklet in my collection.
Sometimes when I look at the hooded jacket, I think snow white/ opera coat glamor. Other times, I can't help but picture those towel-like bath coats for babies with the exact same hood. I can't reconcile the two.
Labels:
1940's fashion,
1940's patterns,
Hollywood Patterns
Subscribe to:
Posts (Atom)