Showing posts with label 1940' lingerie. Show all posts

Tuesday, November 10, 2015

1940's Bra Sew-Along - Sewing the real thing.


Hi there lovely readers. I hope I'm posting at an o.k. rate for you. It's been a strange week and I've been unfortunate enough to have a headache for 5 days now. I went to the doctor today just to be on the safe side and everything is fine - I'm just one unlucky girl this week...
For today's post we're going to sew our actual bra together now! In our last post, we went over lining and facing options. Now that we've squared that away, and you've faced your pattern pieces (if you so chose) we'll put together our bra in the exact same order we put together the test muslin.


This time though, as we sew each individual seam, we're going to stop and press the seam allowance a certain way, then top stitch it in place. This will give us that lovely 1940's look, as well as securing our raw edges.


So we start by sewing pieces A and B together along that tricky curved seam, and then press the stitches as sewn without opening them up. This will set the stitches. Then open pieces A and B, and press the seam allowance UP onto piece A.
Now you're ready to very neatly top-stitch 1/8" from the seam on piece A, as done below.


Now stitch both center front pieces together and press that seam open.


Top stitch again 1/8" from the center front seam on EACH side.

Then sew piece C to the lower edge of pieces B, press the seam allowance DOWN, and top-stitch 1/8" from the edge on piece C.


Now you're ready to attach the back of the bra, pieces D, to the side seams.


Once you have, press the seam allowances outwards to piece D, and top-stitch again.


And voila! You have the lion's share of the sewing done! Next, we'll talk finishing edges and adding straps.

Happy sewing,


Monday, November 2, 2015

1940's Bra Sew-Along - Adjusting Bra Cups


It's time to talk about the bra cups! At this point you'll have chosen your size and sewn your muslin (don't worry, no deadline! I'm just posting this now per request). Some of you will find that the bra fits pretty well on the first try (lucky you!).

Here is how the pieces are meant to rest on your figure.

Others will find that they need more or less room in the cup area. That means we need to make adjustments to the seam between pieces A and B.


Above is the seam we're looking at highlighted in blue. For reference, the top of piece A should be about 7" from where a shoulder seam would sit on a t-shirt. The pattern doesn't use cups sizes, as we discussed earlier, but that doesn't mean we can't make cup adjustments. For our purposes, it's a good idea to only adjust cup size one size at a time. This pattern is approximately a B cup depth-wise, and the increase (or decrease) rate is 1/2" per cup.
Warning: adjusting the cups beyond a DD can really change the shape of the bra and it might not look the same after. I'm talking about uni-boob, a very real threat.

This is how you will need to add or subtract allowance from the seam:


Due to the shape of these pattern pieces, I recommend adding the brunt of your changes to the seam on piece B. First trace your pattern pieces onto a new sheet of paper (leave some room around them to make adjustments. To increase the cup size, add 3/8" to uppermost curve on piece B. Add 1/8" to piece A. This will equal 1/2" in total.

Note: If your girls tend to rest more to the side than front and center (some of us carry more fullness an inch or two nearer to the side), then you can shift the added bit to sit closer to your fullest point.

From this added bit, you'll want to smooth the new line to nothing until it blends to touch the side and center front seams at the ends, as illustrated above.
As you add this change, you want to make sure that the seam edges on the left of this diagram stay the same height. These still need to match up to piece D later on.


Now, by adding allowance to this seam, you're actually lengthening the seam line and piece B won't quite match piece A any more. This can be fixed by walking the pattern pieces together to match them up. Measure the difference between the pattern pieces and then add the difference to piece A as illustrated above in pink. If you make any changes to the sides of piece B, keep in mind that it still needs to match up with piece C.

Do the same to remove too much room at the cup seam by subtracting rather than adding the 1/2".

And just like that, you've adjusted your cups! Now it's time to test it again in muslin to see if that sucker fits better.

Happy sewing,


Friday, October 30, 2015

1940's Bra Sew-Along - Sewing Your Muslin


A few of you have already commented on our last post to say that you've gotten your pattern and materials so now is a good time to get started in time for some weekend sewing. Shall we discuss sewing our muslin? This is probably the most important part of bra sewing. Making sure that you have the best fit possible will make all of the work you'll put in worth your while. Every body is different, and breasts themselves have wonderful variations that can make bra sewing a bit of a challenge.
This is why we need a  couple of good test versions to perfect any issues before you cut into your good fabric.


To get started, print your pattern out to 100% scale on your home printer. Tape the pieces together and then choose your desired size.
The pattern comes with several sizes included from a 34"- 44" Bust. For this measurement, we're talking about the circumference of the chest, level with the tip of your bust.

Sunday, October 25, 2015

1940's Bra Sew-Along: Where to get your supplies...


Alright then, my dears, it's time to collect our bra-making materials!
Since this is a vintage-inspired bra pattern, the materials won't be quite too hard to find. No need to hunt down underwires or anything like that.

So, here is a list of what you'll need:

1. The pattern. 
2. 1/2 yard of 35" or wider muslin fabric for testing the fit.
3. 1/2 yard of 35" or wider light to medium weight woven (non-stretch) fabric for the outer. I recommend soft cotton or lawn, satin, silk or rayon crepe, or even charmeuse.
4. 1/2 yard of lining fabric (if you choose to line, that is.) I recommend lightweight woven (non-stretch) cotton lawn but the general rule of thumb is, if you don't want it touching your girls, don't line a bra with it.
5. Purchased bra straps. You can use medium to heavy weight ribbon, but adjustable straps are so easy to just sew in.
6. 1/4 yard of plush-backed hook and eye tape, preferably adjustable with at least 2 sets of eyes.
7. Matching thread.


The kit includes enough fabric to test, sew and line your bra, straps, closures, thread, and the pattern.

But if you're not up for white satin, here are a few places I recommend:
Bra Maker's Supply (great for straps and closures).
Sew Sassy Fabrics (great for fabrics and notions).
Etsy.com (great for fabrics and notions).


Once you've got your materials, just leave a comment on this post to let me know you're ready to get started. Keep in mind that sew-alongs don't need to have deadlines, and if you're busy now, or if you need at 2 week break in the middle, the posts will ALWAYS be here on A Few Threads Loose and you can follow along to sew your bra any time that works for your schedule!
Don't forget that you can always leave comments if you have a question about anything - materials, tips, tricks, posts etc. - I'm here to help and there is no such thing as a stupid question here!

This Sew Along is now complete. Click below for each post.

Happy sewing,


Friday, October 16, 2015

1940's Bra Sew-Along, and a Sewing Pattern Giveaway!


Update: This giveaway is now closed.

Well, my dear readers, it's that time again. I have the lingerie sewing bug. It's been ages since our last sew-along and I'm happy to say that my schedule has cleared just enough to allow me to host another one!
And the pattern I would love to make with you is my absolute favorite bra pattern, Depew #2013.

1940's style bra pattern Depew #2013 32"- 44" Bust.

I just most recently made this bra up in white satin and it turned out so beautifully, I thought, "Every girl should have one of these!" I wore this bra ll day yesterday under a semi-sheer top and it was so comfortable! I even had a lady approach me at a shop and say, "This is going to sound weird, but where can I buy a bra like the one you're wearing?" It seriously made my day.

Sadly you can't get a bra like this in stores anymore but I've had something in the works for a while now to make sewing your own easier and a bit more fun.
I've been working for months now to grade this pattern into many more sizes and have also partnered with Take & Make to offer a complete bra sewing kit with everything you need (including the pattern download) to sew the bra pictured below.

The bra sewing kit for pattern #2013.

The kit includes ready made straps and plush hook and eye closures that have been carefully matched with soft white satin, thread, and enough fine, soft muslin to sew a test version, with enough left over to line the bra if you should so choose. You can find the complete kit here.


We decided to go with white satin for the kits so that finding matching underwear wouldn't be a chore.

In one of my most recent posts we looked at an original 1940's bra to study the sewing details used. I'll be including these kinds of details in our sew-along posts and hopefully we'll all get to learn something new.

Top-stitch details are almost a must for any vintage bra!

And of course, this would be no sew-along launch without a giveaway! Next week I'll choose three winners from the comments on this post who will each get a digital copy of the bra pattern we'll be using.
To enter the giveaway here on A Few Threads Loose, simply leave a comment on this post letting me know you're in!

For an extra entry, you can do any or all of the following, just leave a comment letting me know about it!

I'll announce the winner of the giveaway on October 23rd and then we can start gathering our materials for the sew-along.


Happy sewing, and best of luck to the entrants!


Thursday, May 2, 2013

French Knickers Sew-Along... Embroidered Touches


Hello lovely readers. Today I want to chat a bit about finishing touches on your French Knickers... or any lingerie for that matter. Many of you know that I'm constantly inspired by my collection of vintage lingerie and lingerie patterns. My biggest source of inspiration is lingerie from the 1920's. I feel that the handwork details, fabrics used, and styles are all easily accessible to the modern seamstress.

vintage bra and panties sewing pattern from the 1920's

There are no scary under-wires, boning, and not too many elastics to worry about. The styles are so simple to sew that more time and attention can be payed to tiny details like lace applique and embroidery.
vintage 1920's embroidered camisole, lingerie embroidery
1920's Lingerie Top Via Etsy shop The Paraders.

My goal in creating my own lingerie has always been to reach a point where I can skillfully make some beautiful, new or vintage-inspired pieces of lingerie for my own enjoyment using techniques that I've learned from my exploration of vintage pieces.

Here are just a few of the amazing pieces that inspire me to keep trying:

vintage 1920's embroidered camisole, lingerie embroidery
Vintage Camisole Via Etsy shop Rococo Vintage.
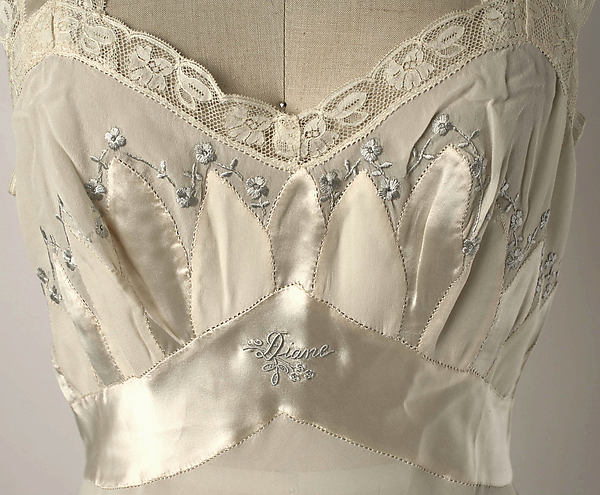
Vintage 1950's embroidered silk nightgown, lingerie embroidery
1950's Nightgown from the Metropolitan Museum of Art
Sigh... some day I'll be that good. Then I'll make something like the above and be too chicken to wear it in case I hurt it.

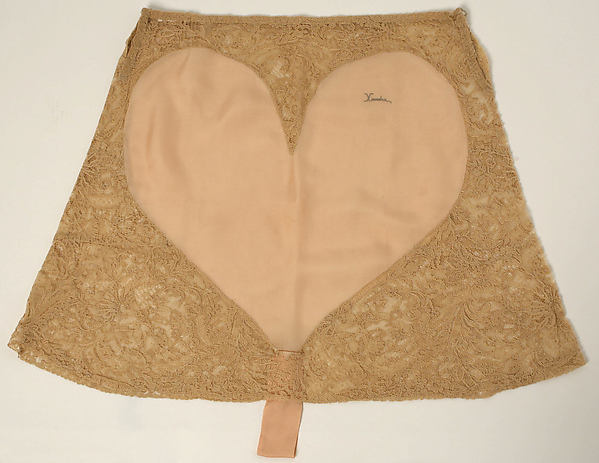
Vintage lace and embroidered tap pants from the 1920's
Tap panties from the Metropolitan Museum of Art

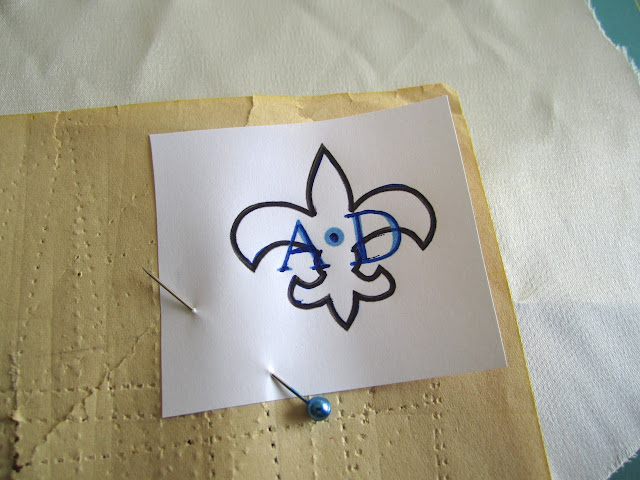
I especially love the use of embroidering one's initials or name into beautiful handmade lingerie. So I decided to sign my work. I set to work in Photoshop with a basic fleur de lis, played around with size and fonts, and came up with a basic template that I could trace onto my fabric and embroider.

Embroidery transfer, how to

I used some transfer paper scraps (look for them at your local thrift shop, so handy!) over a scrap of satin, with my printed test image over that, and traced over it all with a pen.

Pardon the ratty fabric scrap and the horrible photo... I still have no lights in my studio!
 It's definitely a good idea to do a practice version first on the same fabric as your lingerie piece... my practice run was o.k., but I found that the blue silk embroidery thread I was using was just way too thick for my fabric. (I'm still learning! If you'd like to bombard me with embroidery tips, I'll take them gladly!)

Not too great, but it could have been worse :)
 I switched threads and with a bit more care this time, embroidered the same design (minus the center French knot) onto my lace and satin knickers from our last post. It came out much better!

Fleur de lis embroidered monogram, lingerie embroidery

I used a simple back stitch to embroider the whole design. I'm no pro so I won't preach at you about embroidery technique, but here is a great post at Sublime Stitching that shows you this super easy stitch.

Fleur de lis embroidered monogram, lingerie embroidery

And voila! This was really quite easy for a novice embroiderer myself so I strongly encourage you to try it for yourself! Embroidery is so soothing!

Do you plan on adding any other little touches to your French Knickers or other hand-made lingerie? Or do you have a favorite piece of clothing with a tiny, beautiful little embellishment that makes it just that much more dear?

Saturday, February 4, 2012

Gorgeous Lingerie in Hiding

I'm not feeling too great today on a new medication so I'm going to keep this short and sweet. While I've been tucked away on the couch, I've been using my ipad for my usual search for vintage lingerie and sewing patterns.
Here are a few goodies:

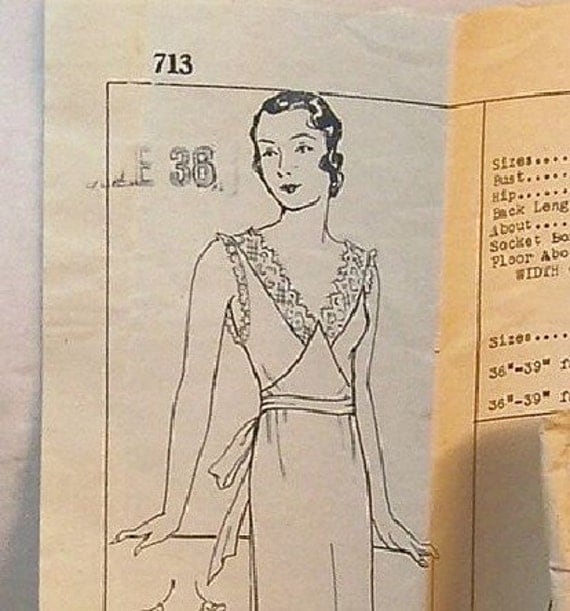
This is a to-die for 1920's night gown pattern that I've had my eye on for a while. If only I didn't have too long a to-sew list already...

Vintage Sewing Pattern 1920's Slip Gown Mail Order Lingerie Pattern Ideal 713

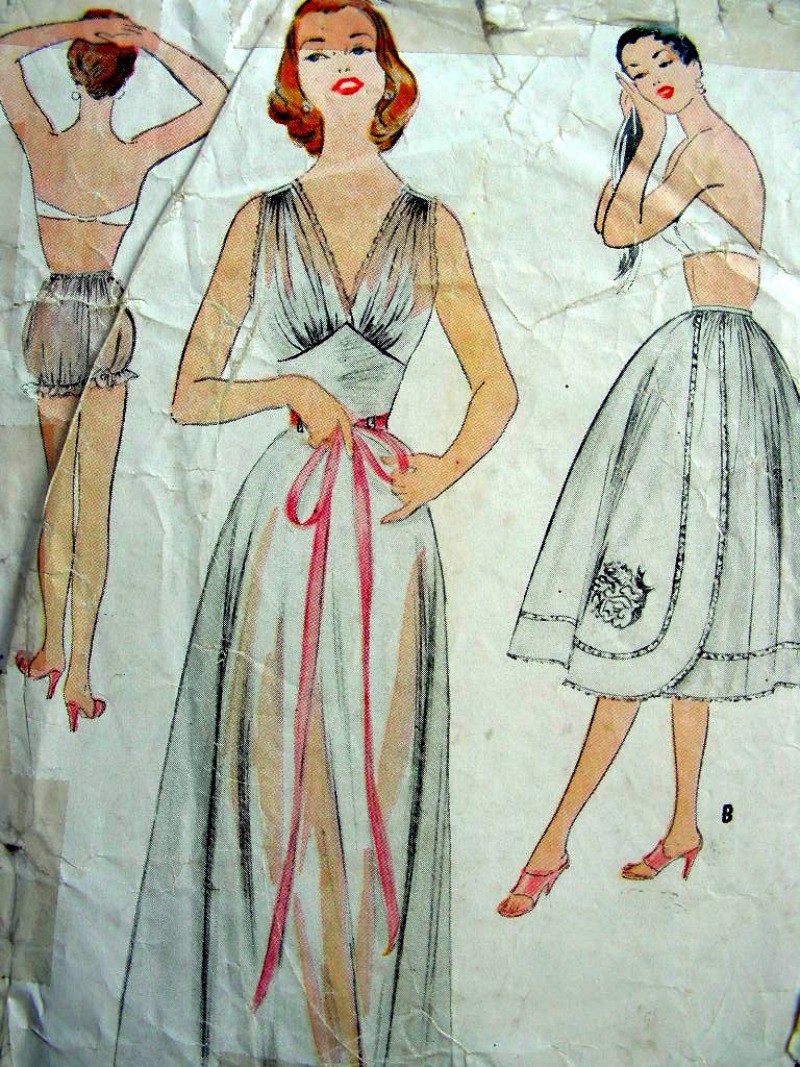
This nightgown/ lingerie set just makes me swoon, and even manages to make bloomers look sexy in a revealing sheer gauze.

RARE 50's Vintage McCall's Sewing Pattern 3029 - Nightgown, Petticoat & Panties - UNCUT - size 14/32

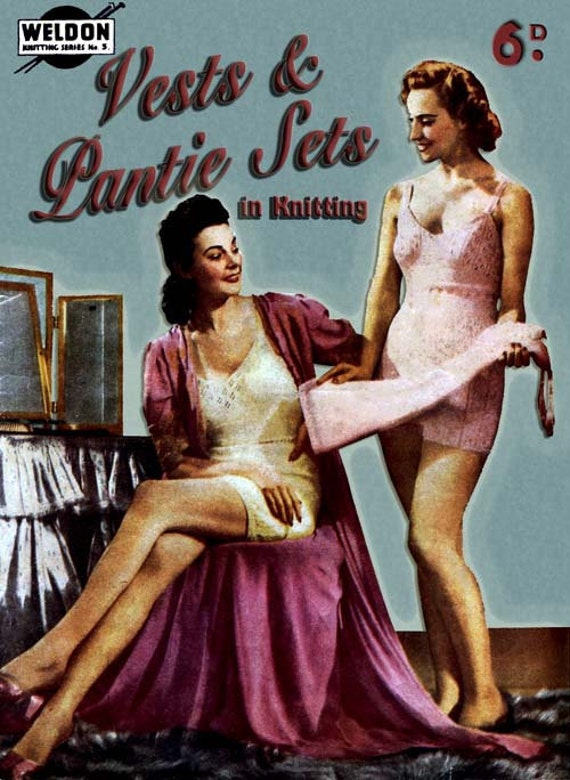
If you're into knitting, then this great reproduction booklet for sweet little underthings is right up your alley.
Weldon's 6D Knitting Series (5) c.1939 - Vests & Pantie Sets, Ladies' Vintage Lingerie in Knitting

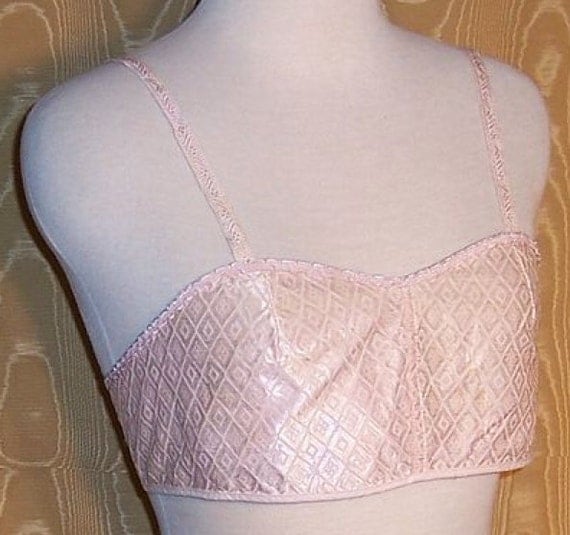
Thinking of lingerie always has me looking for bras. This time I was looking for the 1920's and I found this great little brocade bra. I love how the brocade is sateen and how the rounded top looks a bit like a sweetheart neckline.

Vintage Bra Deco Era Cotton Sateen Brocade Bralette

And last but not least whilst we have bras on the mind, Sew Vera Venus is offering a giveaway for her recently developed 1940's bra. This design is pure genious and I can't WAIT until it's available for purchase.
Photo from VeraVenus.com

I'm dying to know how she does that lovely little stitched pointed V. Swoon. You can click on this link to leave a comment to enter the giveaway.

Have a happy weekend, mama's off to go mix alcohol with pills. Cheers!

Monday, January 16, 2012

In Sewing News this week...

There's a lot of great stuff going on in the sewing world this week and in a bit we'll do a recap of some great blog post you might want to check out, but first, the Corselet is here!

This is by far the most ambitious multi-size pattern drafting attempt I've ever made, and it's finally done! (Though I may have sacrificed the better half of my eyesight in accomplishing it.

The corselet is a corset without boning. It's main purpose is to reduce unsightly bulges under clothing from bra or pantie lines, and to cinch the waist into a smooth line. it's the best way to get that hourglass 1950's curvy silhouette without the embarrassing underwear lines. Not mention, it's rather sexy!
This corselet can either be closed in front with a zipper or hook and eye tape. (boning can be added if you need more support).

The really cool thing is, you can pair it with your favorite bra pattern and with a little tweaking here and there, you could make one of these.... Sigh.


And as usual, with the release of a new pattern comes the giveaway to win your own copy.
To enter this time, you can just leave a comment telling me the newest thing you've learned how to do in your sewing adventures. I'll announce the winner next Monday, the 23rd.

In other news, Va-Voom Vintage is celebrating 1000 blog followers (congrats, Brittany!) with an entire WEEK of giveaways so go check that out!
(kicking it off with some goodies from yours truly :)

Sew Vera Venus recently posted the most stunning velvet dress for you to ogle over, and she's also currently offering a free pattern pdf for an adorable capelet.

Photo from Sew Vera Venus
 And How About Orange just posted a great roundup of some new sewing tutorials.

Hope you're having a great week!

Sunday, January 8, 2012

Updates and Giveaway Winners

It's that time again time for me to announce the winner of the new pattern giveaway.
The winner was selected by the random number generator at random.org:

And the winner is Khristie B, who wins her choice of either the new Halter Top Blouse PDF pattern

Or the new Wrap Blouse PDF pattern.

Congratulations to Khristie, you can email me at afewthreadsloose@gmail.com to get your pattern.

Also new in vintage PDF patterns is the Multisize Bateau Neck Blouse Pattern.

It's an easy project made from only two pattern pieces and can be made with little time and effort.

And as promised, and mentioned yesterday, I'm half way done with the corselet pattern. Here's a sneak peak:

Have a great week, everyone!