Showing posts with label how-to. Show all posts

Sunday, July 20, 2014

Sewing #610... Intro to a mini sew-along!


Happy weekend, my lovely readers! Recently, you might remember, I sewed a 1930's bra for myself using one of the draft-at-home patterns from my shop, Depew #610.
Many readers wrote that they were curious about my process and wanted to see more so I decided to turn the project into a mini sew-along.
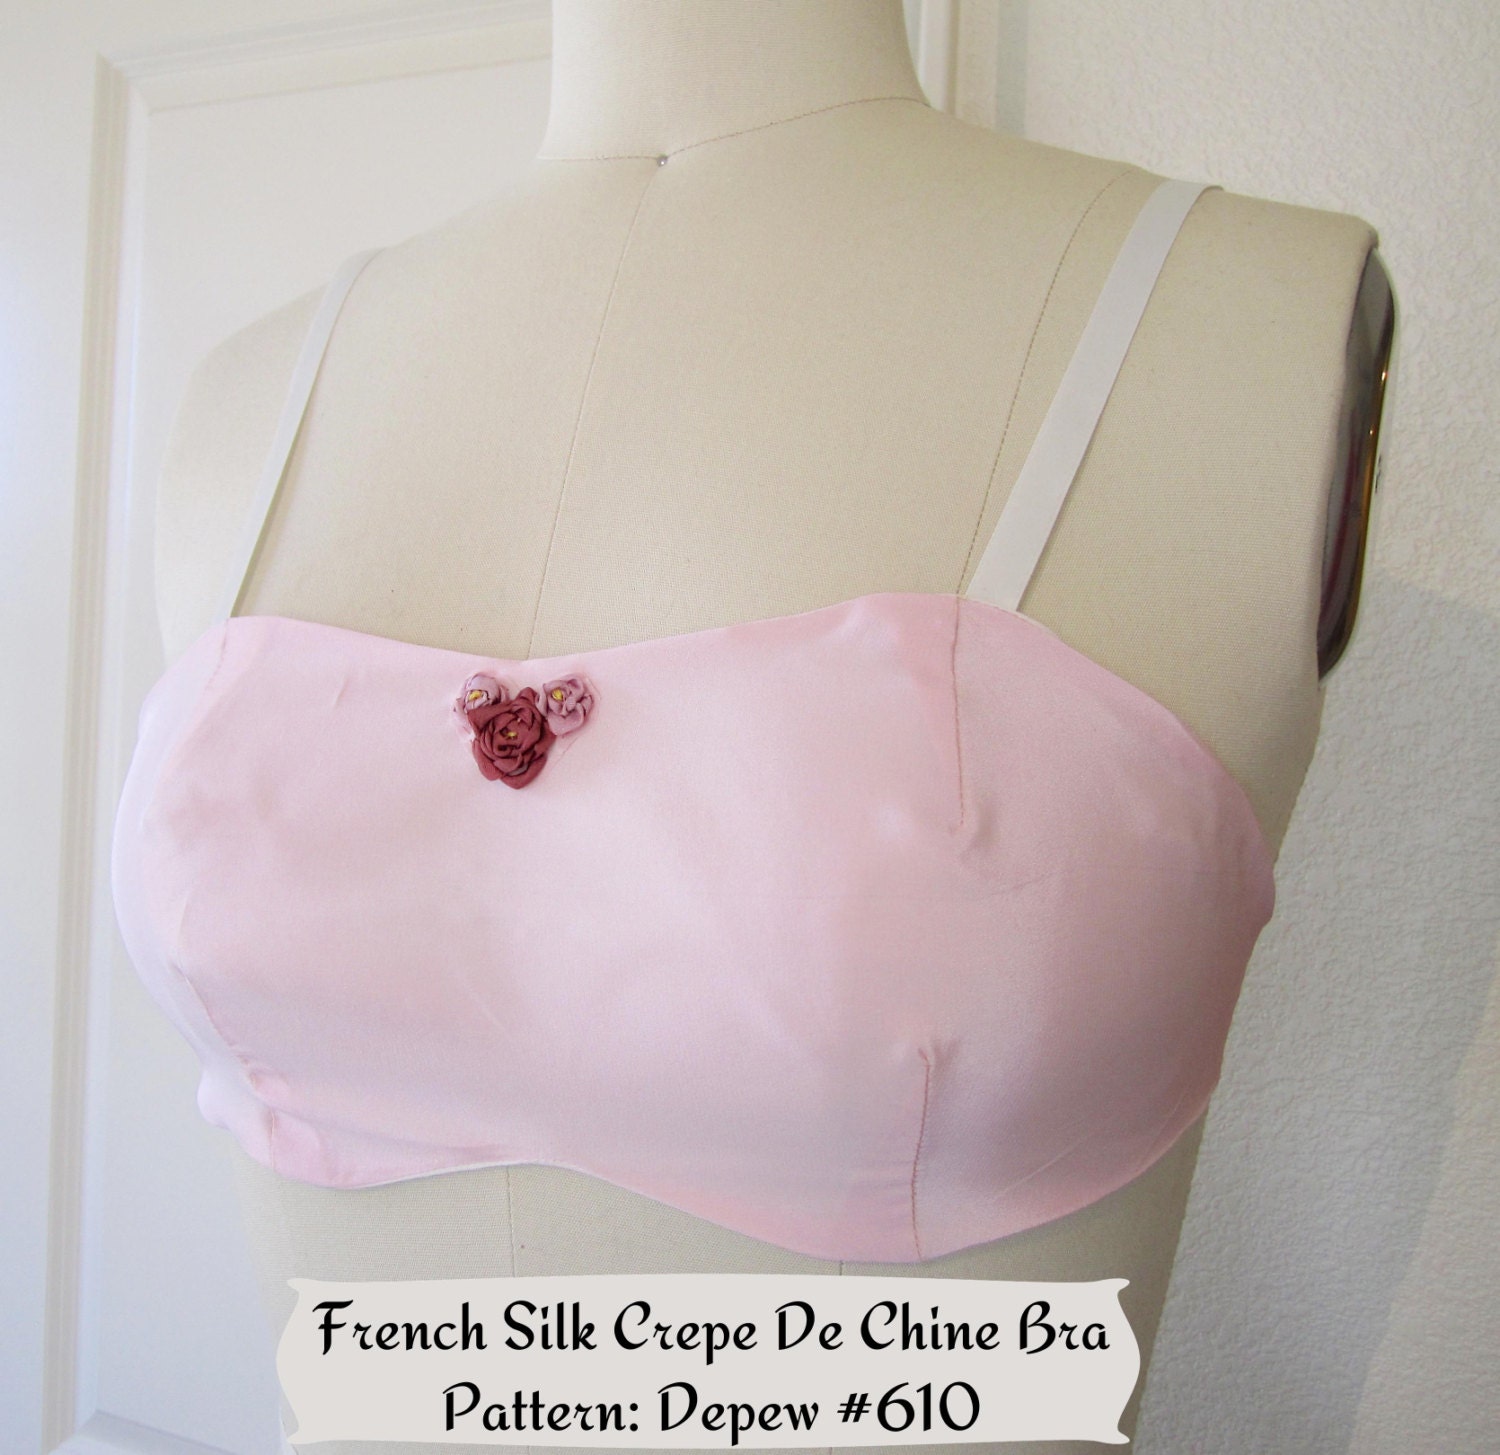


While sewing this bra, I took a lot of photos, but since this was more of a "getting back into sewing therapy" project for me, I didn't take nearly enough photos of nearly enough steps so I thought, why not do it all again for a mini sew-along?

I loved this bra so much that I have no reservations at all about sewing about a dozen more of them so I'll be starting from the beginning and posting as I sew.

You're welcome to join in with me and post questions as I go. The more, the merrier!
If you'd like to follow along, here is what you'll need:

1. The pattern comes in two different versions Digital (if you want to print at home) or Print (if you'd rather get goodies in the mail).
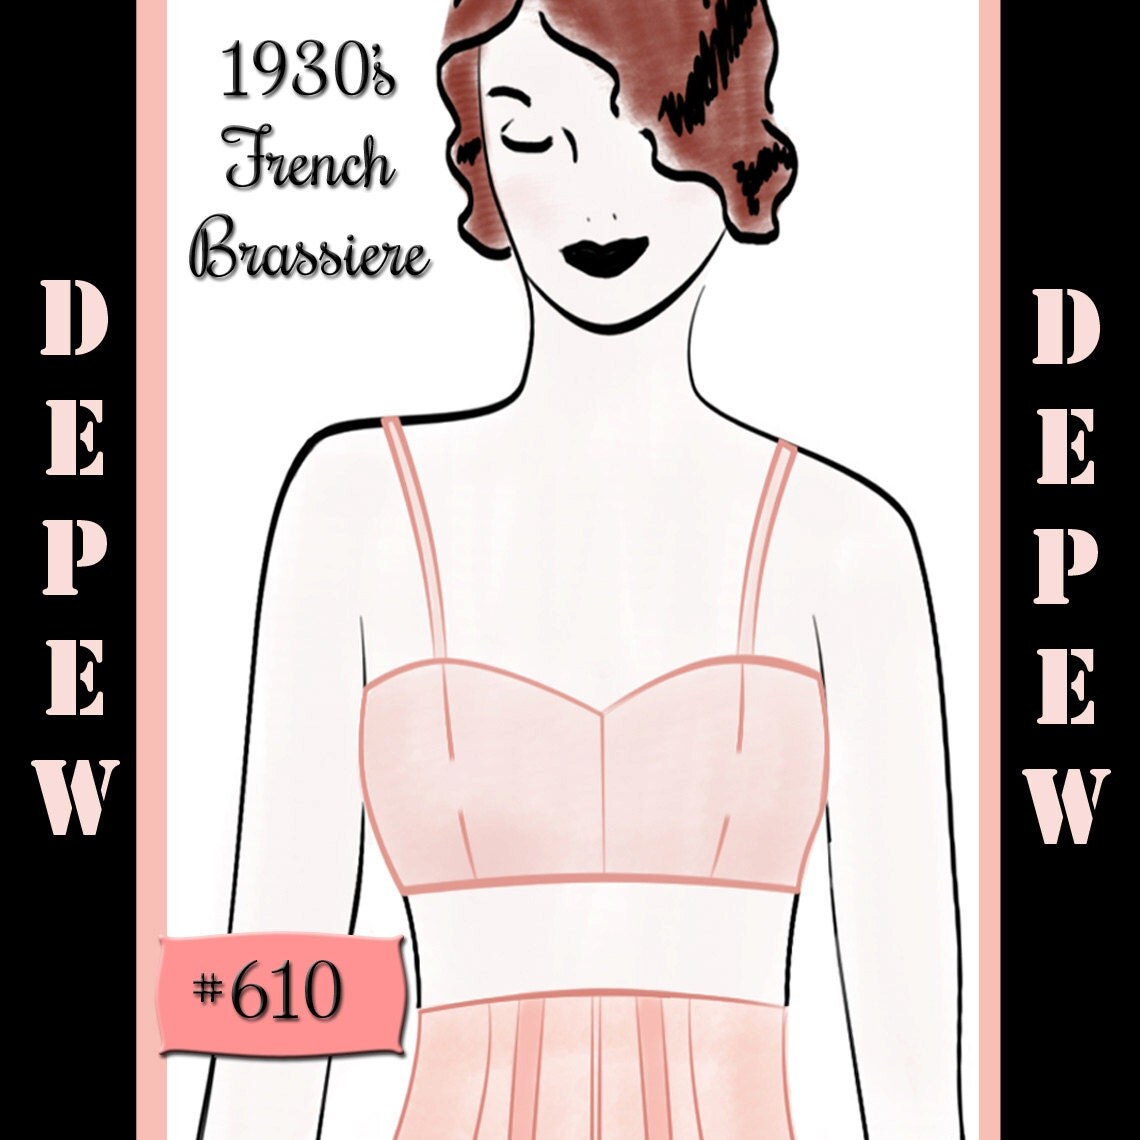
The 1930's bra pattern I'll be using.

2. Fabric: You'll need about 1/2 yard of 36" or wider fabric, plus the same for an optional lining (I used light weight silk so I lined mine). You'll also want about 1/2 yard of muslin for a test version.
This is a great pattern to use up fabric scraps, or the great vintage silk scarves you scored at the thrift shop and then never wore.

Tip: I got my lovely silk fabric, and the silk ribbon I used for the straps online at Farmhouse Fabrics for a really great price!

3. Notions: I recommend a purchased bra back for this project but you can also use hooks and eyes or buttons. For mine, I used a French bra back closure - It's the only bra back closure I think I'll ever use on my bras, it's just so comfortable! You'll also want about 1 yard of ribbon, bra strap elastic, or purchased bra straps.

4. Drafting tools. You most likely have these on hand already bust just in case, you'll need the following:
Pencil with eraser
Large paper (I use tracing paper but you can also use a paper bag or pattern making paper).
Paper scissors
Ruler
Tape
1 thumb tack
French curve (optional).

In the next post, I'll be going over how to draft out the pattern to your size and how to make adjustments to the pattern to make sure that it's accurate and easy to sew.

If you're curious how the draft-at-home patterns work, you can check out this blog post. It really takes something a bit intimidating and makes it quite easy!

I hope you'll join me!

Happy sewing,


Update: Here is a list of the posts!

Saturday, November 2, 2013

Adventures in Sewing... Part 6


Hello lovely readers! I hope you're all having a greet weekend so far. I've been spending a lot of time attacking those last few moving boxes that just seem to linger for months without magically emptying themselves as one hopes.

And in one of those recalcitrant receptacles I found another McCall Style News booklet from May of 1948. The booklet is full of lovely illustrations of 1940's fashion and much to my delight, also has an installment of Adventures in Sewing!

This one very helpfully goes into detail about basting necklines and waistlines to keep the fabric from becoming misshapen while handling.


Now if you're as horribly blind as I am (in fact, I'm just a hair away from being legally blind without my contacts!) there is a close-up of this lesson at the very bottom.

But about that dress! The layers, the color, the silhouette! I want one! The pattern in the illustration is McCall 7258. I have to say, I much prefer it in red to the muted versions they ended up using on the pattern envelope:

Image courtesy of Pretty Pattern Shop on Etsy

But seriously, ooh la la! I'm going to have to keep an eye open for a copy closer to my size (I'm lazy and prefer not to grade patterns unless my life depends on it or someone offers me chocolate as incentive).

On another note, we have another new sponsor on A Few Threads Loose this week. In fact, it's one of my favorite pattern shops on Etsy so I know you'll like it too! If you're in a pattern hunting mood, I definitely recommend you check out She'll Make You Flip on Etsy.

Image courtesy of She'll Make You Flip on Etsy.

And until December 31st, A Few Threads Loose readers get an exclusive discount! Just use coupon code, "THREADS20" at checkout for a generous 20% discount.


I'm already seriously eying a handful, including this awesome beauty:

I have a thing for scallops. - McCall 8735 from She'll Make You Flip.

Sadly there will be no sewing for me this weekend... just grocery shopping and more homework. My assignment is drafting a front and back bodice with flanges. I have also assigned myself the task of finding some examples of flanges that aren't horribly hideous. I think I might fail that one :)

So without further ado, your sewing lesson courtesy of Marian Corey and McCall Style News!

A close-up for those as blind as myself.


Tuesday, May 7, 2013

French Knickers Sew-Along... Everything in one place.


The time has come to wrap up my knickers sewing! I've only got 3 weeks until our things get packed up to be shipped back overseas and while that may seem like a lot of time, for an overseas move, it's just a moment.
Below I have summed up a list of the sew-along posts so that if you try the sew-along later (there's never any expiration date, I'm always here to answer your questions!) you have everything in one place.
  1. Getting started.
  2. Choosing your fabric. (With tips for stretch fabrics.)
  3. Where do I buy my fabric?
  4. Your first seams.
  5. Ribbon trimming the leg openings.
  6. Adding elastic to the waist.
  7. Adding "Le Crotch" insert.
  8. Trimming the legs with lace.
  9. Embroidered Touches
  • For those of you who have asked about sewing the knickers with a drawstring... keep in mind that they will be a bit bulky for undies after that, but that they would make great sleep shorts. To make these with a drawstring, simply add a 1" allowance to the top of the waist before cutting it out. Sew two small buttonholes in the center front, 1" apart on either side of the seam. Then sew the extra inch allowance into a casing and stitch down. Thread your ribbon or tie string through and voila!
  • To add a lace inset, check out this older tutorial for the Pauline Sew-Along.
  • For adding the perfect bow, check out this great tutorial by Sarah from Ohhh Lulu.
French knickers sewing seams.
A Map to your Knickers!
 And of course, here are some of my finished knickers!

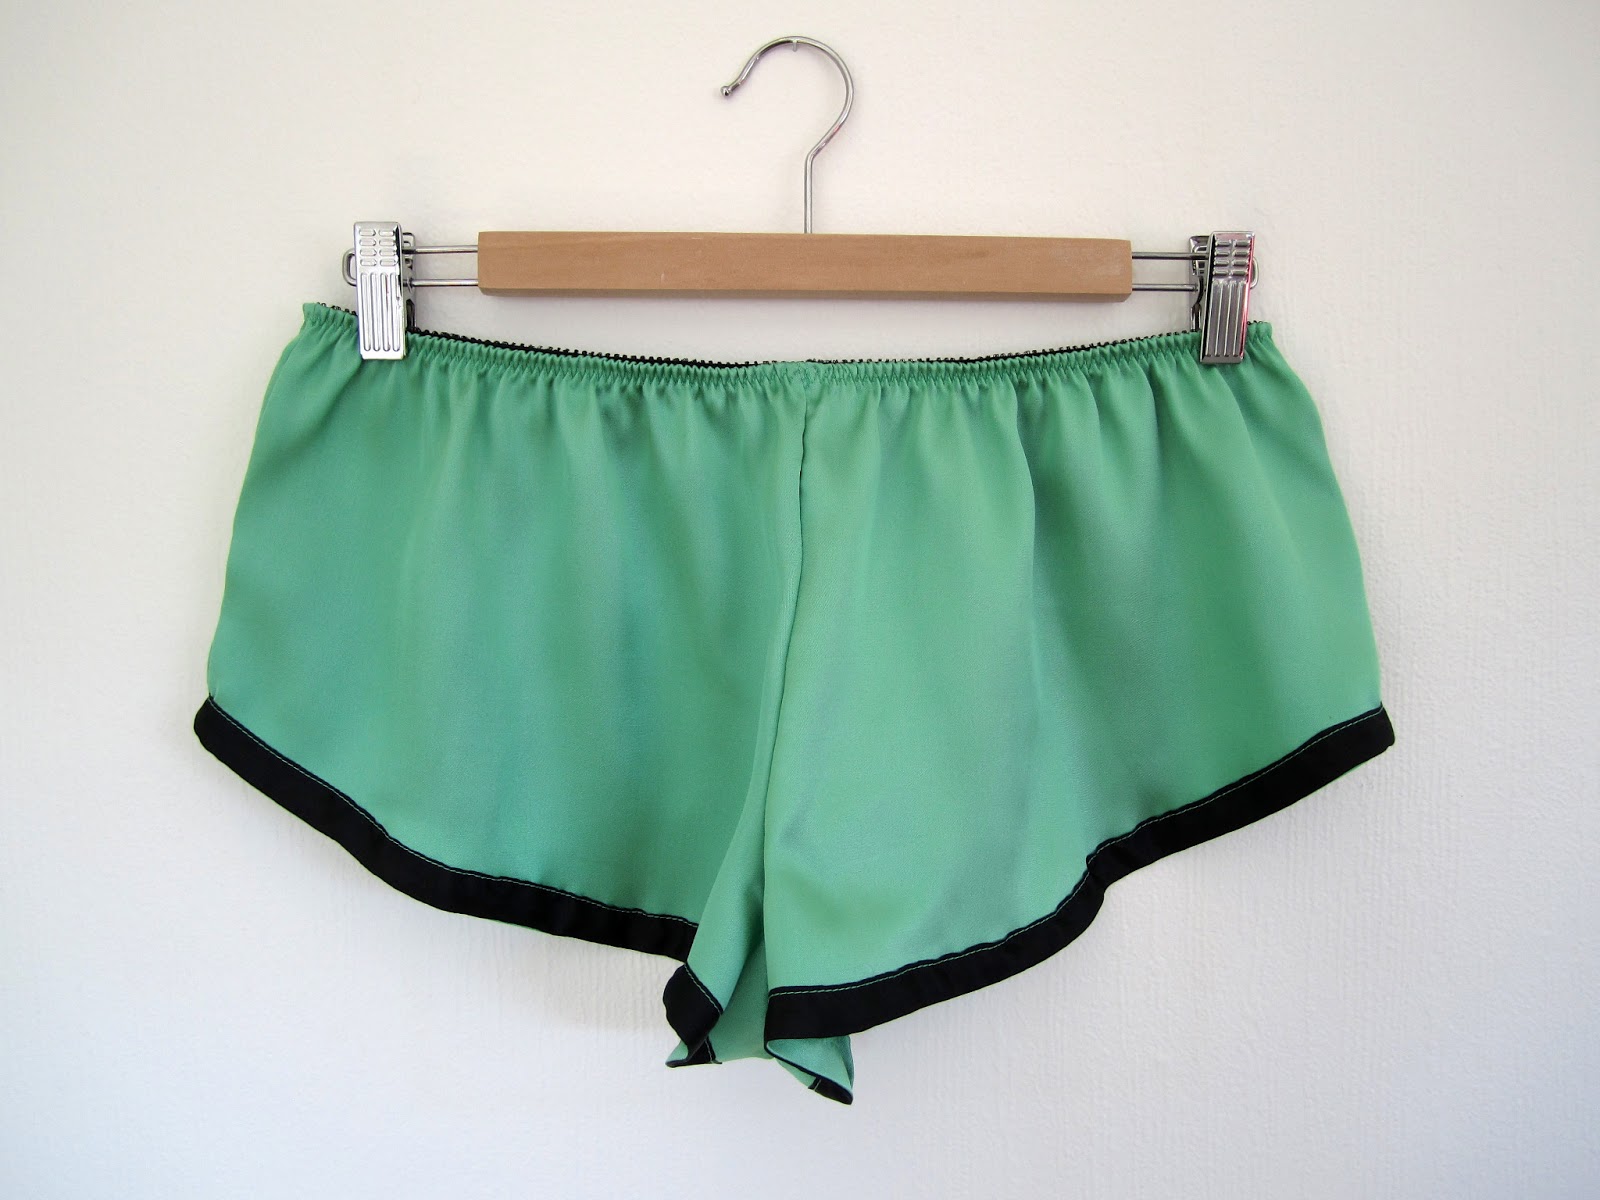
French Knickers in Tencil Knit Jersey
French Knickers in tencil knit jersey.
French Knickers in silk twill with ribbon trimmed legs.
French Knickers in lace
French Knickers with lace trim.
How about you? For those of you who have had the time, how have your knickers turned out? What fabrics and trimmings have you used? Tried any neat variations I haven't mentioned here?

Thursday, May 2, 2013

French Knickers Sew-Along... Embroidered Touches


Hello lovely readers. Today I want to chat a bit about finishing touches on your French Knickers... or any lingerie for that matter. Many of you know that I'm constantly inspired by my collection of vintage lingerie and lingerie patterns. My biggest source of inspiration is lingerie from the 1920's. I feel that the handwork details, fabrics used, and styles are all easily accessible to the modern seamstress.

vintage bra and panties sewing pattern from the 1920's

There are no scary under-wires, boning, and not too many elastics to worry about. The styles are so simple to sew that more time and attention can be payed to tiny details like lace applique and embroidery.

vintage 1920's embroidered camisole, lingerie embroidery
1920's Lingerie Top Via Etsy shop The Paraders.

My goal in creating my own lingerie has always been to reach a point where I can skillfully make some beautiful, new or vintage-inspired pieces of lingerie for my own enjoyment using techniques that I've learned from my exploration of vintage pieces.

Here are just a few of the amazing pieces that inspire me to keep trying:

vintage 1920's embroidered camisole, lingerie embroidery
Vintage Camisole Via Etsy shop Rococo Vintage.
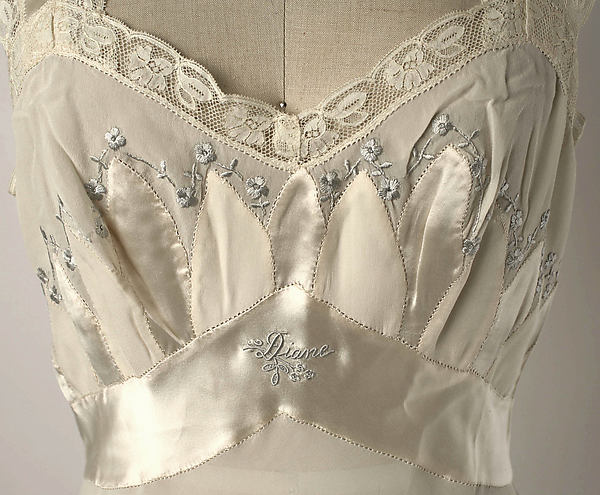
Vintage 1950's embroidered silk nightgown, lingerie embroidery
1950's Nightgown from the Metropolitan Museum of Art
Sigh... some day I'll be that good. Then I'll make something like the above and be too chicken to wear it in case I hurt it.

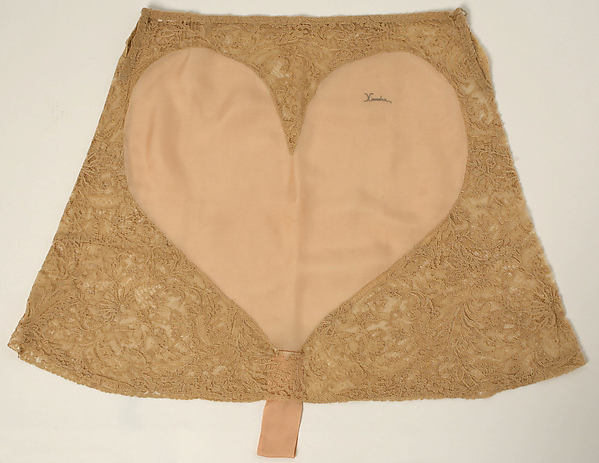
Vintage lace and embroidered tap pants from the 1920's
Tap panties from the Metropolitan Museum of Art

I especially love the use of embroidering one's initials or name into beautiful handmade lingerie. So I decided to sign my work. I set to work in Photoshop with a basic fleur de lis, played around with size and fonts, and came up with a basic template that I could trace onto my fabric and embroider.

Embroidery transfer, how to

I used some transfer paper scraps (look for them at your local thrift shop, so handy!) over a scrap of satin, with my printed test image over that, and traced over it all with a pen.

Pardon the ratty fabric scrap and the horrible photo... I still have no lights in my studio!
 It's definitely a good idea to do a practice version first on the same fabric as your lingerie piece... my practice run was o.k., but I found that the blue silk embroidery thread I was using was just way too thick for my fabric. (I'm still learning! If you'd like to bombard me with embroidery tips, I'll take them gladly!)

Not too great, but it could have been worse :)
 I switched threads and with a bit more care this time, embroidered the same design (minus the center French knot) onto my lace and satin knickers from our last post. It came out much better!

Fleur de lis embroidered monogram, lingerie embroidery

I used a simple back stitch to embroider the whole design. I'm no pro so I won't preach at you about embroidery technique, but here is a great post at Sublime Stitching that shows you this super easy stitch.

Fleur de lis embroidered monogram, lingerie embroidery

And voila! This was really quite easy for a novice embroiderer myself so I strongly encourage you to try it for yourself! Embroidery is so soothing!

Do you plan on adding any other little touches to your French Knickers or other hand-made lingerie? Or do you have a favorite piece of clothing with a tiny, beautiful little embellishment that makes it just that much more dear?

Monday, April 22, 2013

French Knickers Sew-Along... Adding "Le Crotch" Insert


Today for the French Knickers Sew-Along we're going to add a finishing touch to our French Knickers: "Le Crotch."  (I may as well just get used to saying it. )
This piece should be cut from cotton jersey fabric or something similar. Mine is tencil knit jersey. bamboo knit jersey is also wonderful. You can even cut this piece from an old t-shirt if you like!

"Le Crotch"

For certain fabrics you might consider finishing the edges of "le crotch" with an edge stitch. I didn't bother with this step because I know that the raw edges of the tencil knit jersey will not fray or be problematic.

The four points of the crotch piece are going to line up with your center front, center back, and crotch seam on the inside.


Line up the short center of the diamond with the crotch seams first, then align the two longer points with the center front/ back seam allowances.

Now just gently tack each point in place, just catching the seam allowances with your needle, without actually poking through to the outside of the knickers.


Just a few basting stitches should do the trick. 

I used thread that matches my fabric color perfectly so that it blends right in.

And voila! If you've gone with the ribbon edging like I did in this version then you're done! 


Here is my finished pair of French Knickers with ribbon edging. Pretty, no?


For our next post, I'll go over trimming the leg openings with lace instead of ribbon.

Any questions?

Thursday, March 1, 2012

Ohh La La Pin Up Sew Along... Your Hook and Eye Closure


The pattern we're using...

All right Ladies, it's that time. Hook and eye time. First, allow me to disclaim a bit. This is not my very best work. I did this on day 4 of NO sleep (hurray for medicine side effects) so my pictures and sewing both are a wee bit blurry, I apologize.

This is a bit of a long post so feel free to stop half way though and have a glass of wine. I did.

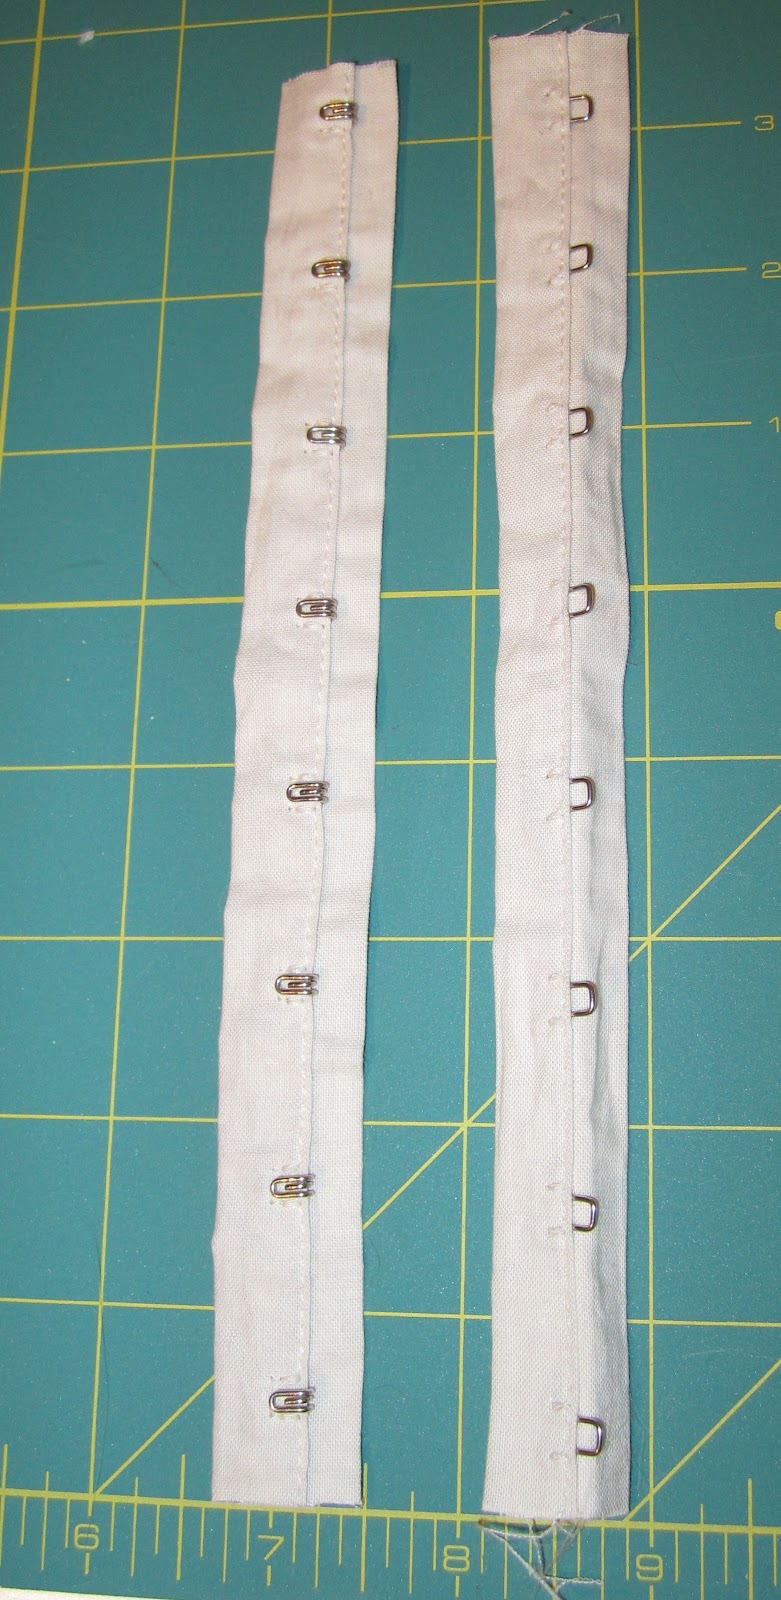
The right hand side of the tape will be our 'raw' edge.
 Start by cutting the length of hook and eye tape you need for your back closure. I recommend doing this with the hooks and eyes locked together to avoid any mismatched edges.
Decide which side you want the hooks and eyes on. I went with the standard bra formula of Hooks on the Right, Eyes on the Left.

Let's start with they eyes, shall we?