Showing posts with label mrs. depew vintage. Show all posts

Sunday, July 20, 2014

Sewing #610... Intro to a mini sew-along!


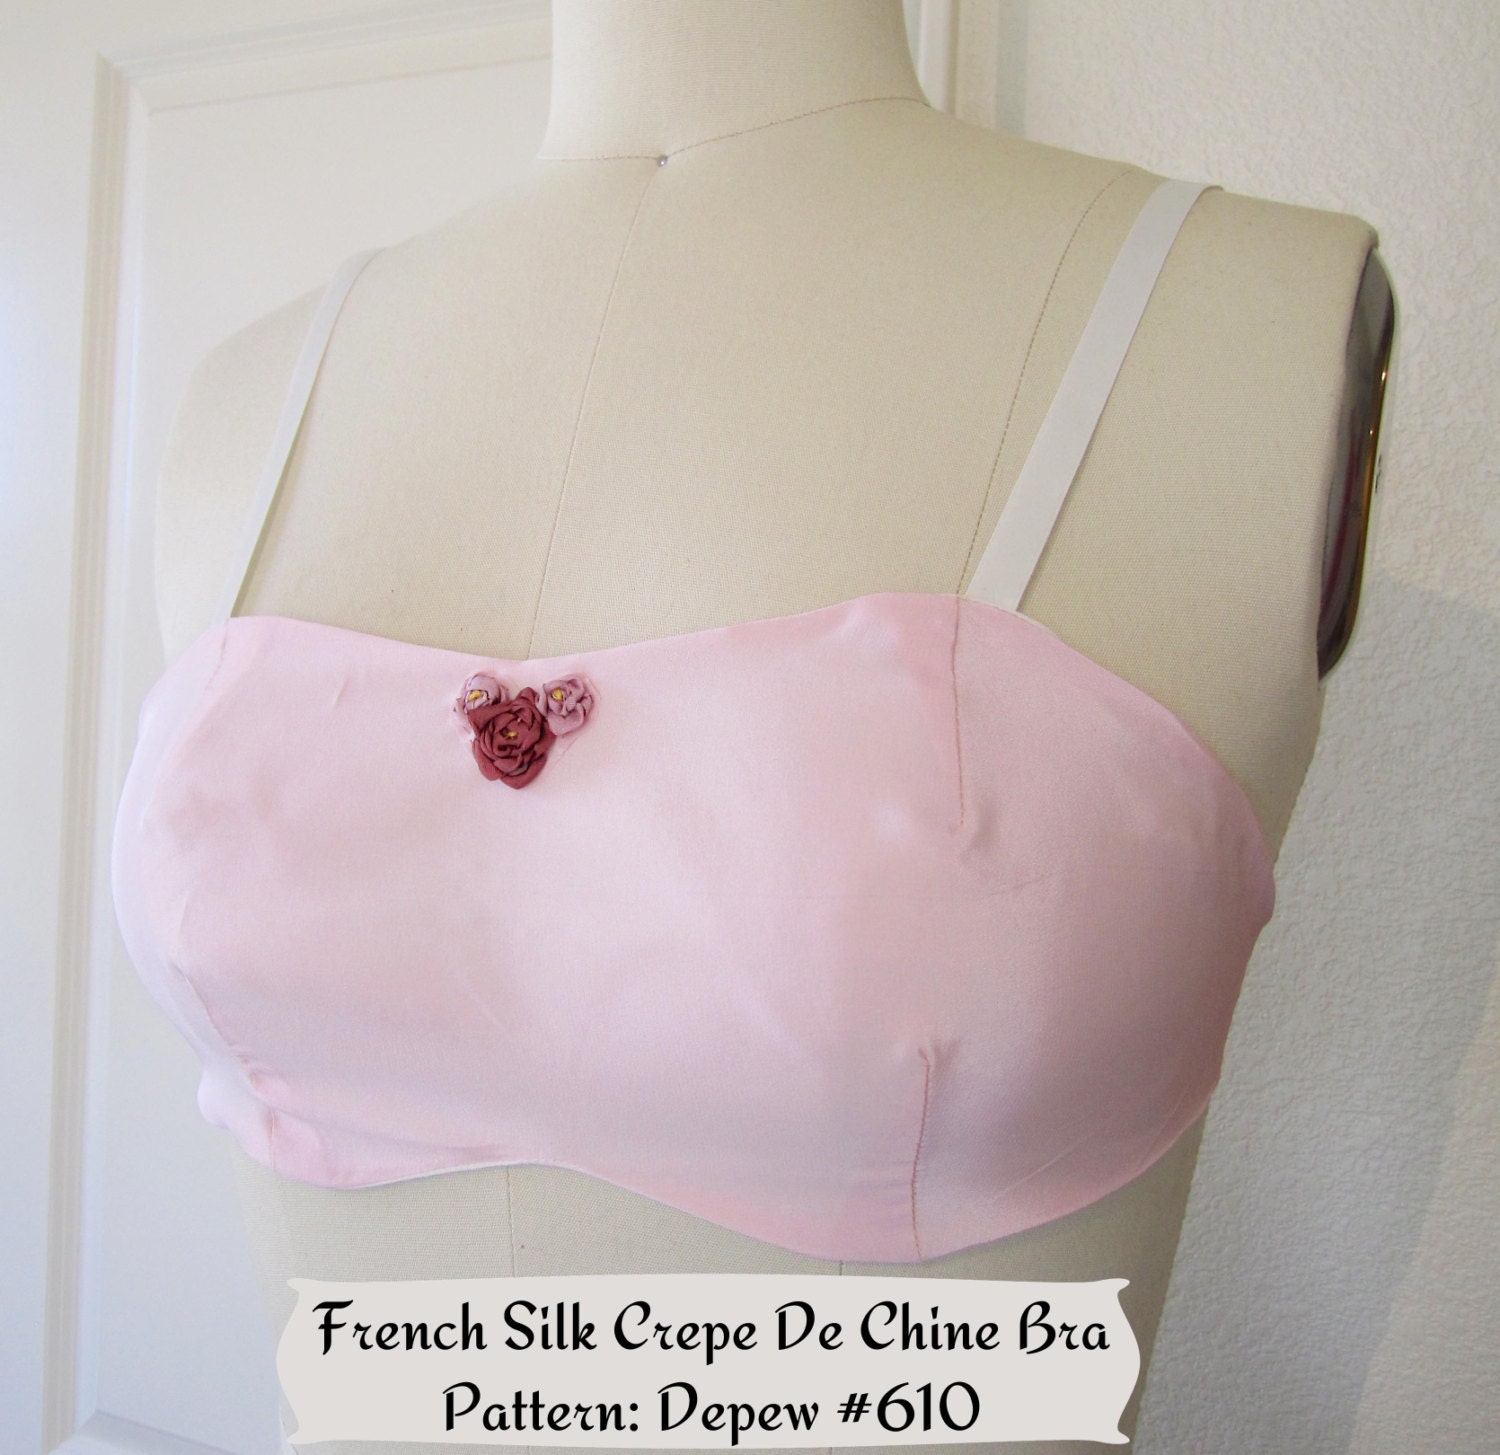
Happy weekend, my lovely readers! Recently, you might remember, I sewed a 1930's bra for myself using one of the draft-at-home patterns from my shop, Depew #610.
Many readers wrote that they were curious about my process and wanted to see more so I decided to turn the project into a mini sew-along.


While sewing this bra, I took a lot of photos, but since this was more of a "getting back into sewing therapy" project for me, I didn't take nearly enough photos of nearly enough steps so I thought, why not do it all again for a mini sew-along?

I loved this bra so much that I have no reservations at all about sewing about a dozen more of them so I'll be starting from the beginning and posting as I sew.

You're welcome to join in with me and post questions as I go. The more, the merrier!
If you'd like to follow along, here is what you'll need:

1. The pattern comes in two different versions Digital (if you want to print at home) or Print (if you'd rather get goodies in the mail).

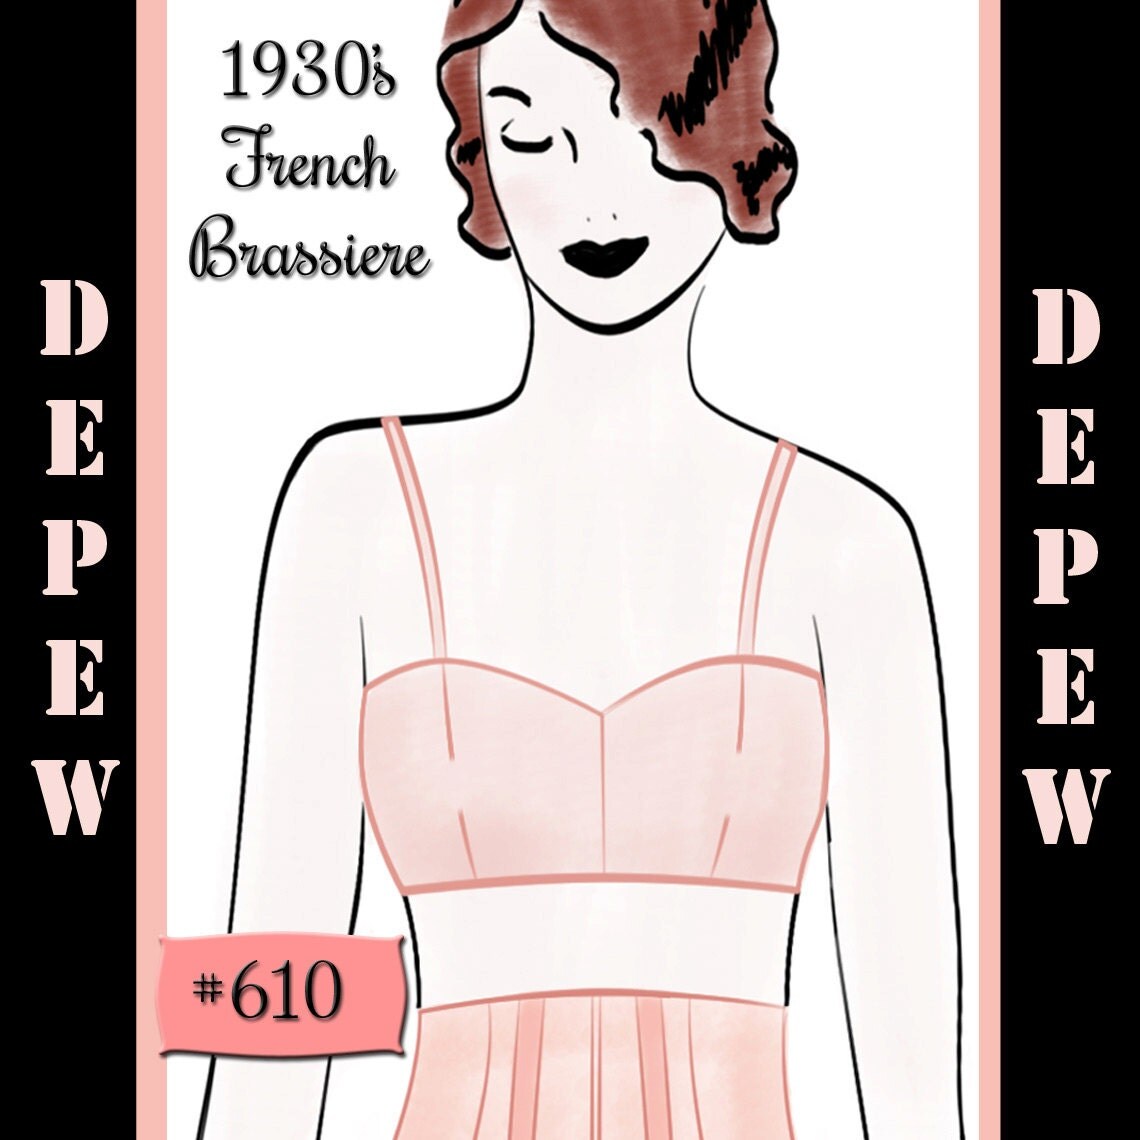
The 1930's bra pattern I'll be using.

2. Fabric: You'll need about 1/2 yard of 36" or wider fabric, plus the same for an optional lining (I used light weight silk so I lined mine). You'll also want about 1/2 yard of muslin for a test version.
This is a great pattern to use up fabric scraps, or the great vintage silk scarves you scored at the thrift shop and then never wore.

Tip: I got my lovely silk fabric, and the silk ribbon I used for the straps online at Farmhouse Fabrics for a really great price!

3. Notions: I recommend a purchased bra back for this project but you can also use hooks and eyes or buttons. For mine, I used a French bra back closure - It's the only bra back closure I think I'll ever use on my bras, it's just so comfortable! You'll also want about 1 yard of ribbon, bra strap elastic, or purchased bra straps.

4. Drafting tools. You most likely have these on hand already bust just in case, you'll need the following:
Pencil with eraser
Large paper (I use tracing paper but you can also use a paper bag or pattern making paper).
Paper scissors
Ruler
Tape
1 thumb tack
French curve (optional).

In the next post, I'll be going over how to draft out the pattern to your size and how to make adjustments to the pattern to make sure that it's accurate and easy to sew.

If you're curious how the draft-at-home patterns work, you can check out this blog post. It really takes something a bit intimidating and makes it quite easy!

I hope you'll join me!

Happy sewing,


Update: Here is a list of the posts!

Wednesday, April 30, 2014

My California Studio

Hello lovely readers.
For a week now I have been staring at a blank blog post editor, trying to find inspiration to blog about something you might all like. My inspiration seems to have fled - along with my camera battery charger - so a few post ideas are on the back burner pending battery power and photographs. Inspiration has been a hard thing to come by lately, as you might imagine. For those of you who are strangers to loss or depression (you, a happy minority, I would guess) there is a listlessness that can plague one's days after a great loss, and it can be hard to find your way back from it.

I am searching high and low to find my spark again (and that blasted charger) and I think it might be found in sewing. Of course my to do list is massive and that's what usually keeps me away from my sewing, but sometimes you just need to blow off the "musts" and deal with the "needs."

I have a few U.F.O.'s floating about my sewing space and I think I'll finish a much neglected silk bra today. But first, I thought I would show you my new studio. For those of you who are new to A Few Threads Loose, I moved to California about 9 months ago and finishing my new studio space has been an evolving project.

I was recently featured on the Pattern Pattern Blog (which is fantastic, by the way) and it was motivation enough to finish my studio and take some photos (using the last of my battery power, coincidentally).

So, without further ado, here is my (almost) finished studio!


My pattern drafting table also pulls triple duty as a pattern folding and shipping station.


Wee Butters (now almost 70 lbs and still growing!) keeps me company all day as I work. He and Vinny the cat play constantly and provide numerous hilarious distractions from work.


You can see Vinny the cat hiding out (and most likely cleaning the dog slobber from his fur) in his tiny cube behind my chair.


I'm excited to try out my new sewing corner - before, the machine was cramped on my drafting table and it was frustrating as all get out.


You all remember Boobs McGee, of course.


And of course, no workspace is complete without a picture of happier times, and cartoon monster post-its.

Coming soon: a giveaway, pictures of my garden (my best therapy so far) and a little sumthin' to do with vintage cars.

I'm off to sew!

Monday, August 27, 2012

1930's Draped Nightgown... in cut velvet.

I recently finished digitizing an amazing vintage pattern for a Draped Neglige. I knew the second that I finished it that I was going to have to sew several of them over the next few months.

1930's Draped Neglige Digital Pattern

 In May I was in Virginia visiting family and I stopped into a fabric shop to raid the discount table. The table was covered in bolts of beautiful sheer cut velvet that was marked down to 75% off! When I asked the woman who worked there why it was marked down so far she replied, "Oh that stuff, we just had so much of it, no one was buying it and we really just wanted to get it out of the way."
He he he, like there's such a thing as too much velvet. I bought way too much of it and used one bit of it to make this draped night gown.

This project literally only took me 2 hours to make. I'm very fond of instant gratification so this was right up my alley!


I'll post more tomorrow about the details of making this particular neglige but for today, here are some pictures of the finished project.


I enjoyed using a multicolor thread to edge stitch my raw edges and the pink hues in the thread match the ribbon on the straps and sash perfectly. Like I always say, it's the tiny details that matter.


One of my favorite things about the neglige is that the sides and front are open almost to the waist-line so a saucy glimpse of thigh or calf often makes an appearance. This is not your "wear around the house while you have relatives visiting" kind of nightie. It's more of a "wear around the house to celebrate the relatives leaving" kind of piece.

The back can be made in several shapes with this pattern.

I just ordered three large matching silk scarves online and when they arrive I'm going to make a shorter, even sheerer version.

How about you? What is your favorite instant gratification project?