Showing posts with label vintage lingerie. Show all posts

Monday, August 27, 2012

1930's Draped Nightgown... in cut velvet.

I recently finished digitizing an amazing vintage pattern for a Draped Neglige. I knew the second that I finished it that I was going to have to sew several of them over the next few months.

1930's Draped Neglige Digital Pattern

 In May I was in Virginia visiting family and I stopped into a fabric shop to raid the discount table. The table was covered in bolts of beautiful sheer cut velvet that was marked down to 75% off! When I asked the woman who worked there why it was marked down so far she replied, "Oh that stuff, we just had so much of it, no one was buying it and we really just wanted to get it out of the way."
He he he, like there's such a thing as too much velvet. I bought way too much of it and used one bit of it to make this draped night gown.

This project literally only took me 2 hours to make. I'm very fond of instant gratification so this was right up my alley!


I'll post more tomorrow about the details of making this particular neglige but for today, here are some pictures of the finished project.


I enjoyed using a multicolor thread to edge stitch my raw edges and the pink hues in the thread match the ribbon on the straps and sash perfectly. Like I always say, it's the tiny details that matter.


One of my favorite things about the neglige is that the sides and front are open almost to the waist-line so a saucy glimpse of thigh or calf often makes an appearance. This is not your "wear around the house while you have relatives visiting" kind of nightie. It's more of a "wear around the house to celebrate the relatives leaving" kind of piece.

The back can be made in several shapes with this pattern.

I just ordered three large matching silk scarves online and when they arrive I'm going to make a shorter, even sheerer version.

How about you? What is your favorite instant gratification project?


Saturday, February 18, 2012

Ooh la la Pin Up Sew-Along... with a giveaway, of course!

Ladies, I present the Ooh la la Pin-Up Sew-Along:


I've been talking for a while with a fellow blogger about doing a joint sew-along and now it's finally happening! The lovely and talented Sarah from Ohh Lulu is even more interested in lingerie than I am, if that's possible. And she's good at it too, enough to open a lovely shop of her own on etsy.

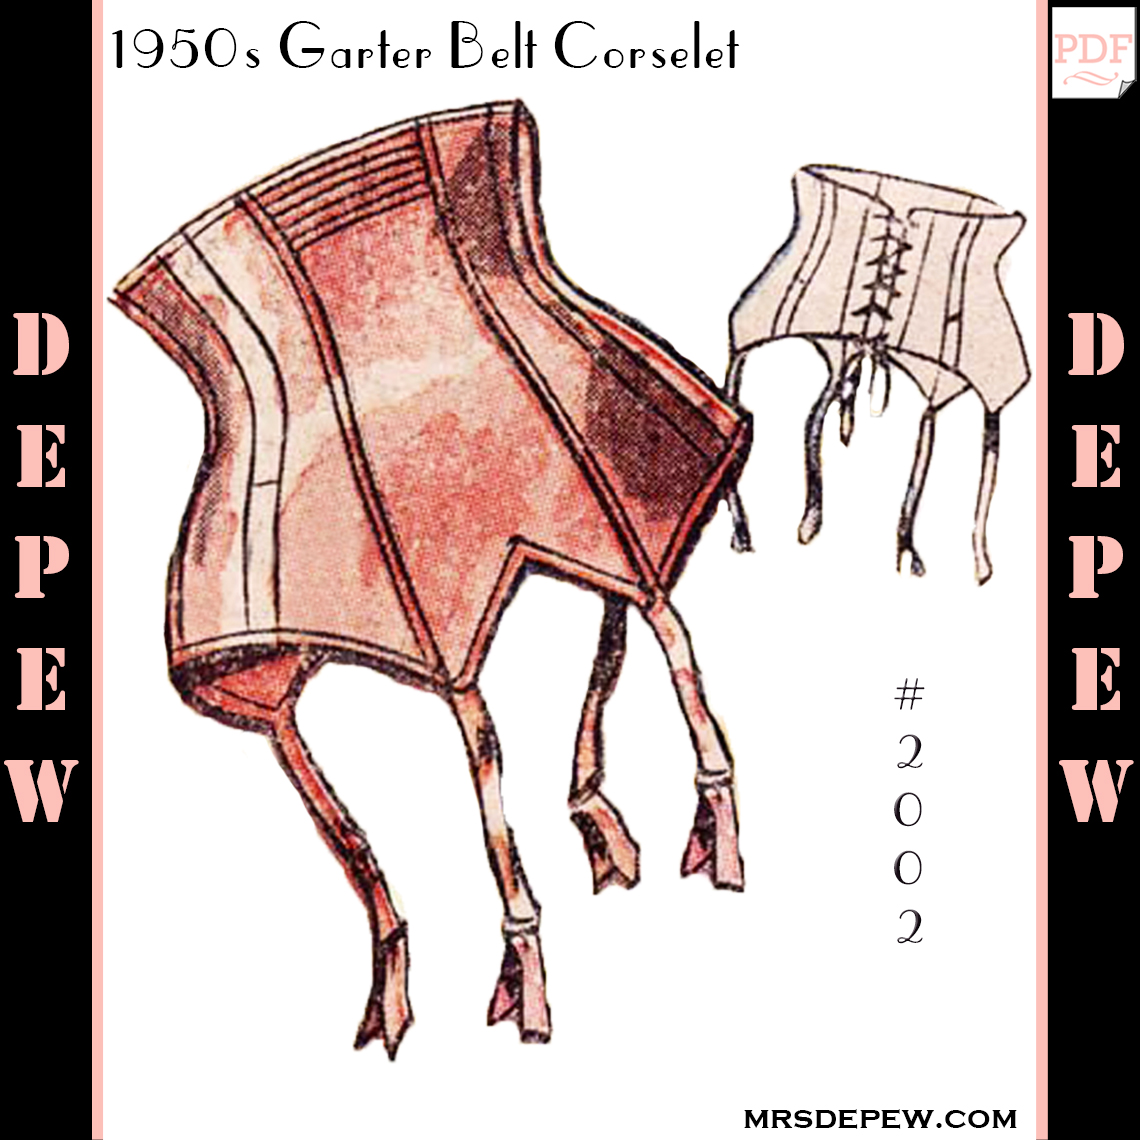
Sarah and I have decided to start with the French Pin-Up Corset Garter Belt pattern that I just recently finished.


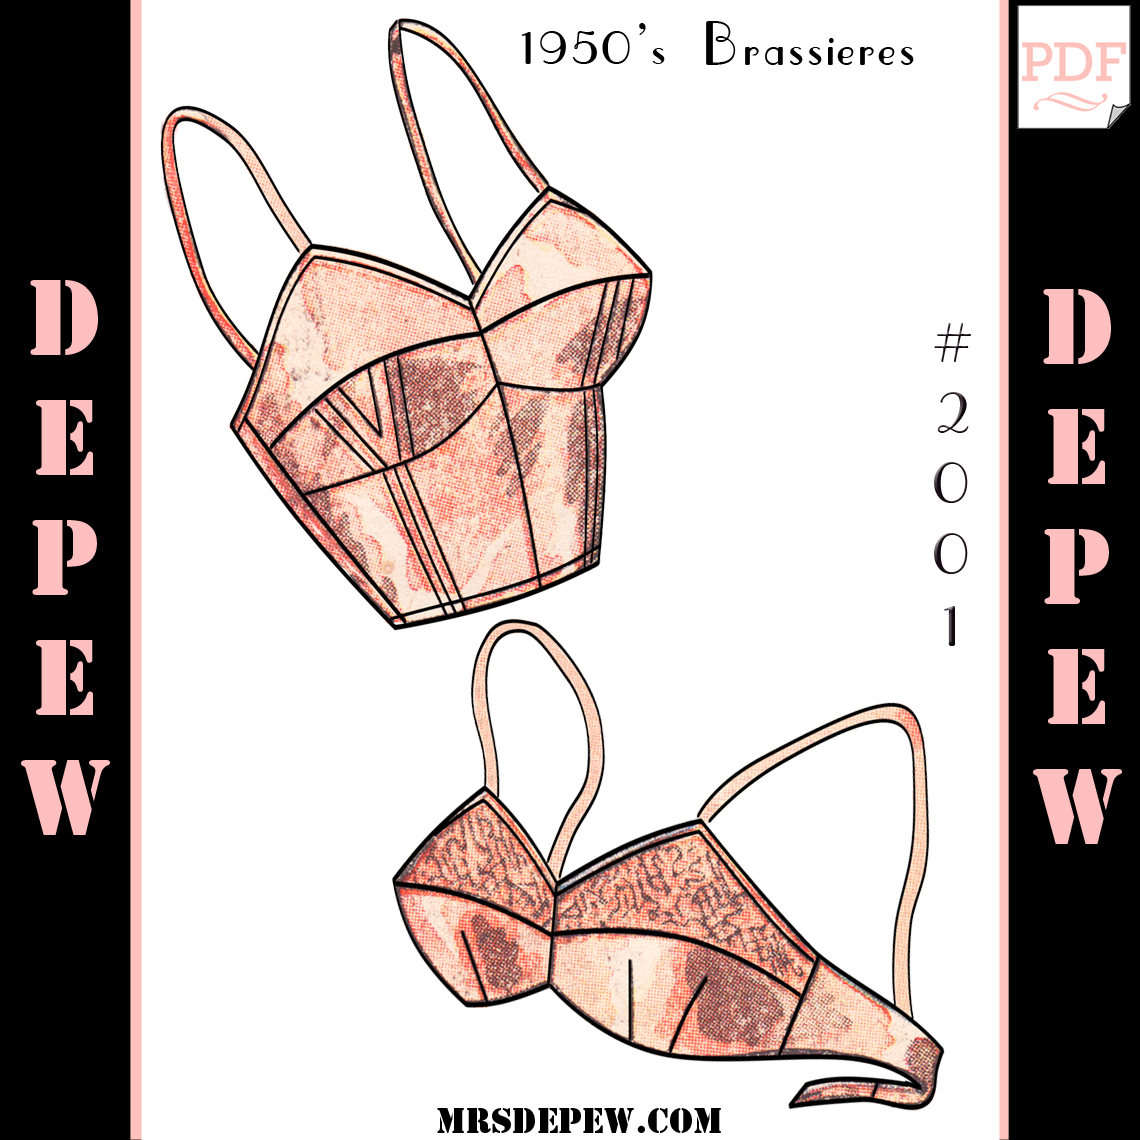
If all goes according to plan, we'll also follow up with the French Pin-Up Bra Corselet.


And of course I would never do a Sew-Along without a coupon code! Take 15% off using the code "OOHLALA". Make sure that you click on the "Apply shop coupon code" link to add the code, otherwise etsy will charge you the full amount.

Sarah and I are working as we speak on our corset garter belts and we'll start posting soon, but not before you have a chance to gather some of the things you might need. I'll be working with a vintage peach satin for my corset and bra, and so far here's what you might need depending on what version you make:

I've got about 2 1/2 yards of fabric for both corset and bra.
4 garter clips,  (optional) vintage or otherwise. I recommend removable ones if you can find them.
eyelet and eyelet punch or 1/2 yard hook and eye tape
corset boning (optional)
3 yards of matching bias binding or ribbon for edges
2 yards ribbon or cord for corset lacing (eyelet version only)
1/2 yard ribbon or plush elastic for attaching garter clips
3 bottles of wine

Naturally, there's also a giveaway attached! One of you will be chosen at random to win BOTH of these patterns!
To enter the giveaway you can do any or all of the following, just leave a comment for each entry to get your name in the hat!
1. Leave a comment telling me what your absolute favorite piece of lingerie is.

2. Become a follower of A Few Threads Loose on Twitter, Google, or Bloglovin'.

3. Like A Few Threads Loose on Facebook.

4. Like Mrs. Depew Vintage on Facebook.

5. Mention the Sew-Along on your blog.

I'll announce the winner this Tuesday the 21st.
Good luck!

Saturday, October 15, 2011

Lingerie Sew-Along: Closure, Straps and Finishing Touches, Part 6

It's time to finish up our bra, ladies. Are you ready? I chose this lovely set of vintage flower buttons for the closure of my bra (and later my tap pants).
(You can scroll down to see the finished bra if you just can't wait.)


To catch my buttons I'm going to make a simple loop with ribbon. I deplore button holes in lingerie, and they just get worse if you use silk or satin. Slippery fabric + button hole = lots of swearing on my part.

Here is just made a simple loop with a line of stitches to make it lie flat.


Before you sew your ribbon on to your bra, make sure that the button will fit through snugly.


 Before I sew my ribbon loop to the bra band though, I want to cover up the raw edges of the ribbon. Below is the raw edges just sewn together to keep them from spreading out. They are not sewn on to the bra band yet, they are just there for me to get an idea of where to place them.


Below I just wrapped the loose ends of my ribbon in another length of ribbon, hiding my raw ends on the back side