Showing posts with label Projects. Show all posts

Monday, April 29, 2013

French Knickers Sew Along... Let's add some lace!


Hello my lovely readers. The electrician hasn't made an appearace yet, but the sun did yesterday, just briefly, so I was able to get some photos taken so that I could walk you through trimming with lace.

I started by sewing a simple pair of the French knickers using some cream colored satin. I chose to use some vintage lace from my stash (originally acquired from my mom and her lovely shop).

Sewing lace to underwear

My lace is about 1" wide (2.7 cm). Lace much wider than this might not sit right, and might look funny on your thighs. If you have some wider lace you'd like to try, test it out by pinning a length to one leg opening and see if it fits ok.

Sewing lace to underwear


Since I'm using some rather old lace, here are some tried and true tips for sewing with vintage lace:
  • start by gently hand washing your lace. If it survives a hand washing then chances are it's strong enough to be used in your project, worn, and gently washed in the future.
  • carefully press you lace on low heat.
  • examine the lace carefully for any hidden stains before you start sewing with it.
  • if you have them, silk pins can help you secure more delicate lace to your fabric as you sew.
You'll need about 1 1/4 yards of lace (about 1 meter, 15 cm).

Start at the crotch seam and pin your lace, right side up to the outside of the knickers leg opening.
By starting at the crotch seam, we ensure that if there are any small mistakes at the finish, they'll be well concealed there.

This might just be me, but pinning like this, as opposed to perpendicularly, helps keep slippery fabrics in place.

When pinning the lace, the upper edge of the lace should be 3/8" from the edge, which is the seam/ hem allowance along this edge.


Reserve a 1/4" overlap on each lace end so that you have a seam allowance to join your two lace ends together.


Pin your lace ends right sides together, and then flip the lace over and lay it flat against the leg opening. Check to see if there is any excess, or if you need to adjust the lace at all.

As you can see here, the lace is the right length, but I'll need to move my lace seam over a bit to match the crotch seam. This only matters if you're super particular about things like this :)


Flip back to the wrong side of the knickers and lace, and hand stitch the lace ends together. A small overcasting or blanket stitch on the ends will finish it nicely.


Now finish pinning your lace in place at the seam, and get ready to stitch.


The best stitch for attaching lace to other fabrics is an applique or satin stitch. Check your sewing machine manual to see if you have one. If not, use a narrow, tight zig-zag stitch.

It's stitch #24 on my Bother HE-240


My stitch is the exact width of the narrow end running along the top of my lace. Stitching slowly, applique stitch the lace all the way around the leg opening.

Sewing lace to underwear with an applique stitch
My lace stitched to the leg opening.
 Now for the interesting bit! On the inside you need to trim the fabric away from the edge of your stitching. If you do this with the lace on the underside as in the photo below, then you have a really good chance of accidentally cutting into your lace too. It's an easy mistake to make.
Here's how to avoid it completely:

Sewing lace to underwear with an applique stitch

Make a vertical snip into the fabric to be trimmed off as in the photo above. This is your starting point.


Flip one end of the fabric up, and fold the lace underneath down so that the lace is folded to the right side of the knickers.


Now you can easily snip the excess fabric away right up to the applique stitch, without worrying about cutting into your lace.

My hem allowance trimmed away from the lace on the inside.
Sewing lace to underwear with an applique stitch
The lace edge from the outside.

Sewing lace to underwear with an applique stitch

And tada! You have a nice and clean lace edge for your knickers!

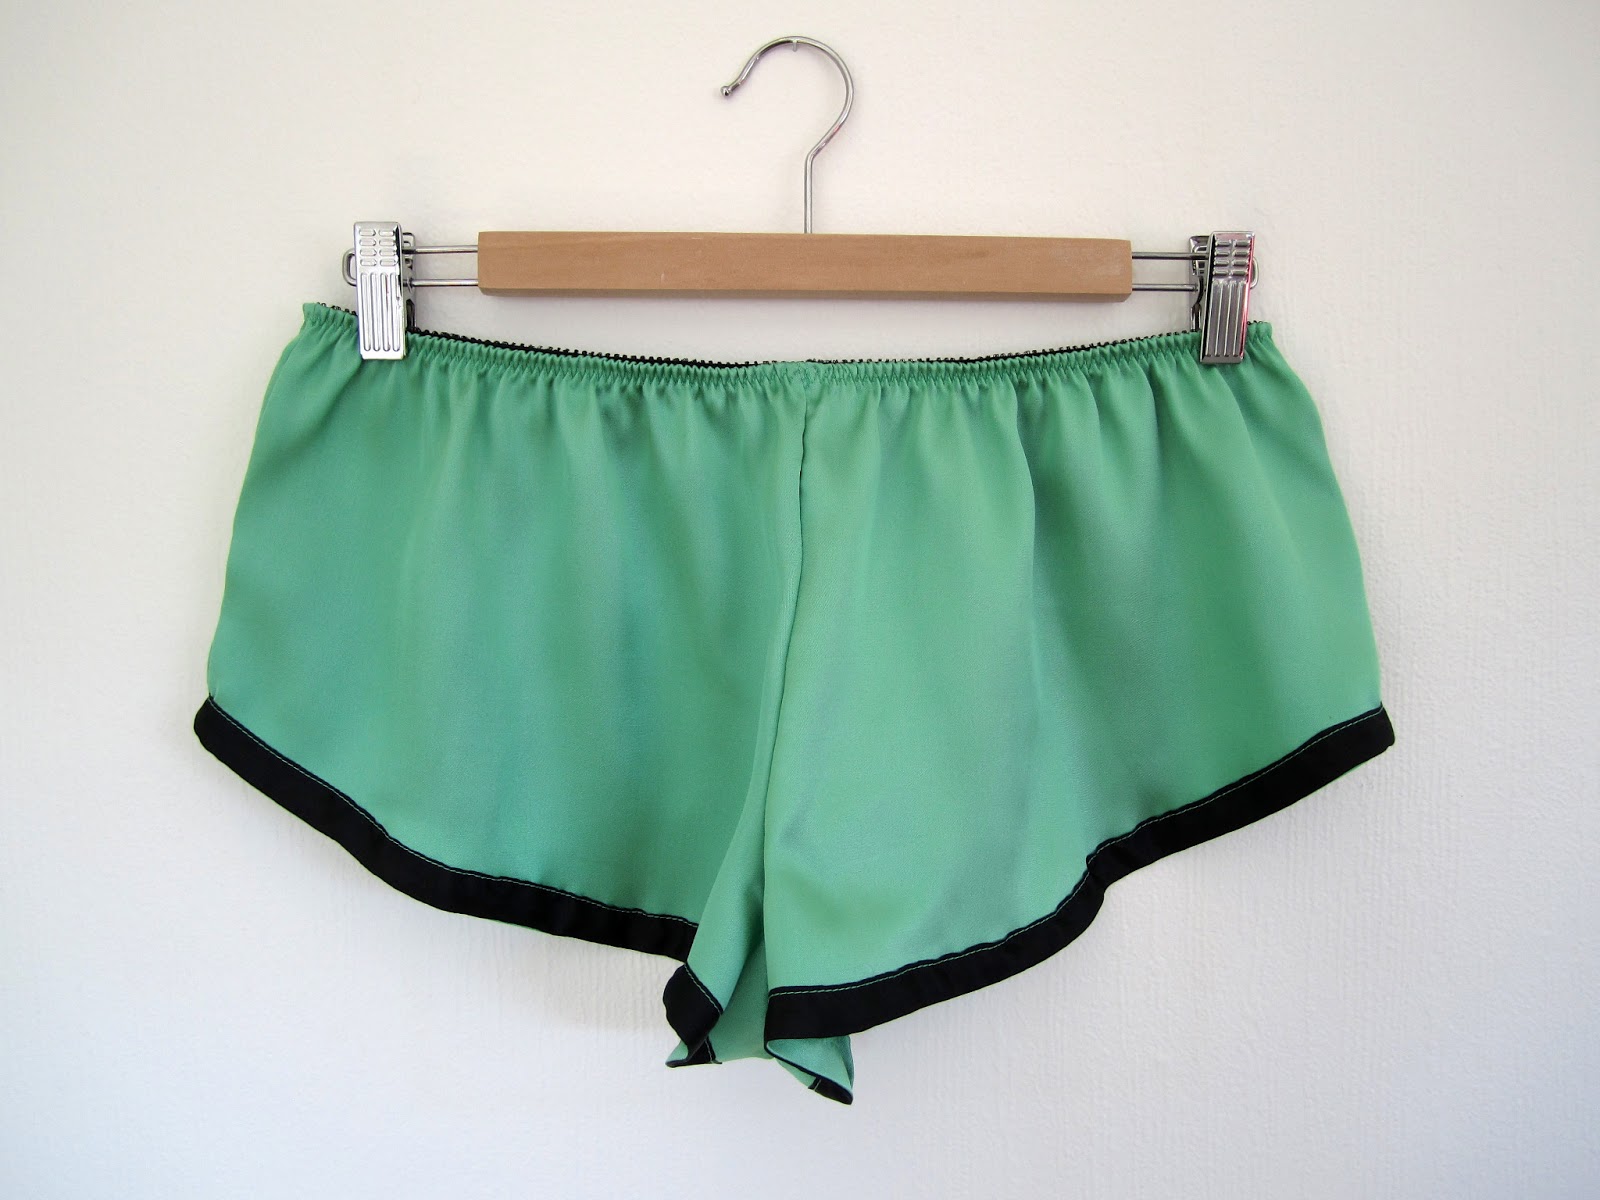
Here is my (almost) finished lace trimmed version of the Ma Cherie French Knickers.

French knickers underwear with vintage lace edging.

What more do they need, you might ask? Why, my initials delicately embroidered into one of the edges, of course. More on that next time!

Monday, April 22, 2013

French Knickers Sew-Along... Adding "Le Crotch" Insert


Today for the French Knickers Sew-Along we're going to add a finishing touch to our French Knickers: "Le Crotch."  (I may as well just get used to saying it. )
This piece should be cut from cotton jersey fabric or something similar. Mine is tencil knit jersey. bamboo knit jersey is also wonderful. You can even cut this piece from an old t-shirt if you like!

"Le Crotch"

For certain fabrics you might consider finishing the edges of "le crotch" with an edge stitch. I didn't bother with this step because I know that the raw edges of the tencil knit jersey will not fray or be problematic.

The four points of the crotch piece are going to line up with your center front, center back, and crotch seam on the inside.


Line up the short center of the diamond with the crotch seams first, then align the two longer points with the center front/ back seam allowances.

Now just gently tack each point in place, just catching the seam allowances with your needle, without actually poking through to the outside of the knickers.


Just a few basting stitches should do the trick. 

I used thread that matches my fabric color perfectly so that it blends right in.

And voila! If you've gone with the ribbon edging like I did in this version then you're done! 


Here is my finished pair of French Knickers with ribbon edging. Pretty, no?


For our next post, I'll go over trimming the leg openings with lace instead of ribbon.

Any questions?

Monday, September 24, 2012

How to Make a Hot/ Cold Pack

It would appear that disaster follows me wherever I go. Allow me to expound on that. I am accident prone in the extreme. During my visit to see my mother in Nebraska, I had all sorts of plans to stay fit and not gain any weight from the many hamburgers and grilled cheese sandwiches I planned on consuming. I had recently gotten up to running two miles several times per week and set out on a run to maintain my fitness levels when my luck once again caught up with me. Sprinting at my top speed, I managed to find one of the many uneven bits of sidewalk that cunningly lies in wait looking to snag unwary passers-by. I struck the sidewalk so fast that for a moment I was convinced that I had somehow been hit by one of the four cars that drives through the small town per day. Lucky me, I hadn't and limped home with two badly skinned knees (one to the bone) a skinned palm, and I later found out, four bruised ribs.


Ouch. To the rescue flew my excellent mother and as per the doctor's suggestions I was constantly anointed (drowned) in Lavender oil (great for fighting swelling and infection) and packed in ice. My mother used a wonderful home remedy that I'm rather fond of. This "ice pack" is a soft cotton bag filled with wheat grains and holds cold very well while contouring comfortably to whatever anatomy is ailing.


After 3 minutes in the microwave it is also the most fool-proof remedy for cramps I have ever tried. Having found it so useful throughout my life, I thought I would pass along how to make one.

You will need:
2 squares of cotton fabric (mine measured 9" x 15", you can make it any size you desire).
2 1/2 lbs of wheat grains/ berries.
This is the perfect size to cover one's stomach, rest atop one's head, and warm one's feat respectively.

I have chosen to make mine with 3 channels as you see above. You can also make them without the channels but they do help the bag contour to the body.


Place your two cotton squares right sides together and pin. Your fabric must be pure cotton. Any poly blends may melt or catch fire in your microwave.


 Leave one end open for turning and filling. If you choose to make the channeled version, leave one entire end open. If you choose to make simple bag, leave only a 2" gap.

A 2" gap for filling an un-channeled bag.


Stitch, back-stitching at your open end to secure your threads. Clip your corners.


Turn the bag right side out and press. To make sure my corners turn crisply, I use the blunted tip of my sewing scissors to push them out.


 Now measure two channels and mark them on the outside. These are each 2 1/2" from the outside edge and stop 1" from the narrow ends.


Sew along your marked channels, stitching in place to secure them at each end.


Now you're ready to fill your bag! Mine took about 2 1/2 lbs of wheat and I didn't fill it completely full. For best results, fill the bag about 4/5 full and then slip stitch to close your opening.


Voila!

Now you have a nifty home remedy that makes a great ice pack or hot pad! I'll be using mine a lot this winter to warm my side of the bed before I get in!

Note: Test your bag carefully if you choose to microwave it. Microwaves vary. My mother has a very strong one and 3 minutes on high was more than enough to get it piping hot. My crappy overseas military issue energy efficient microwave takes much longer.

Wednesday, January 11, 2012

Pattern Envy

I regularly troll ebay for great patterns and recently I found a doozy.


Hollywood 1667 may be the most ideal apron pattern I have ever seen. But of course, I was outbid.
But can you guess how much this darling pattern sold for? Can you?


OUCH!
So of course I can make a pattern for this, it's very simple... if only I didn't have 8 PROJECTS GOING ALL AT ONCE. I think I need to finish a few things first.

But on the note of lovely vintage patterns selling for quite a bit, I was bidding (what I considered to be) quite high on this lovely hat pattern a couple of days ago and lost it too.

Have you ever seen a more stunning cloche?

Can you guess what this perfection sold for?

Sunday, November 6, 2011

Sunday Roundup.

Here are just some interesting things for your day...

Tilly and the buttons is hosting a giveaway. There's a fantastic observation on fitting a garment to the human form, and the comment to win section is really a great read. She asked that everyone share a sewing secret or tip and the resulting comments are fascinating and informative.

Also, if you like vintage fashion catalogs (swoon) there's a great collection of pictures over on Casey's Elegant Musings, shared with us by her guest blogger, Ashley from Bramblewood Fashion.

In other news, I got my Victoria's Secret catalog in the mail today and instantly fell in love with this:

Velvet Boyfriend Shirt at VS.
So I got online and bought 2 yards of lovely rayon velvet and dug through my Burda Fashion Magazine collection for a great button down shirt pattern. I found a dozen or so. more on that later.
So of course that got me thinking about what else I like in the catalog that I could sew...
and I went straight to the page that had these gorgeous leggings:

VS Siren Legging in corduroy.


Naturally I hadn't checked out yet at fabric.com so did a search for stretch corduroy and found this, and promptly bought some of that too.


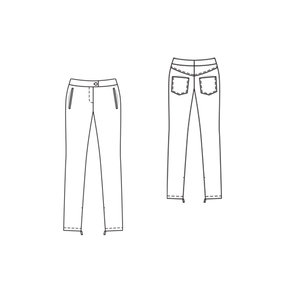
This Burda skinny trouser pattern is just what I have in mind. Good thing I have the issue filed away in my collection, ready to go!
I think post sew-along I'm going to have some fully modern sewing on my hands.

Saturday, June 4, 2011

The Winner, and whole bunch of flowers.

We have a winner for this week's vintage pattern pdf giveaway.

The winner of the above vintage 1940's bra pattern pdf file by random number generator is The Creative Miss W.

Congratulations!

On another note, I just learned how to make really gorgeous flowers out of napkins of all things!
 I found some great napkins in different colors with a great raised damask texture from my local Norwegian version of the dollar store. So in other words, the five dollar store.


I made them in  two sizes, large wall size, and small enough for a vase. The large ones I put in a row in my stairwell.