Showing posts with label underwear. Show all posts

Friday, November 7, 2014

Make your own... Lingerie and Loungewear from 1949.


Hello lovely readers! Today I was browsing my collection of vintage editions of Le Petit Echo de la Mode and I stumbled upon this lovely fashion spread from 1949 featuring trousseau lingerie and lounge wear.


These designs were once available as mail order sewing patterns (oh, to have such a magazine delivered to your mailbox!). I realized though, as I drooled over these patterns, that I have quite a few similar designs in my shop.


So, I thought I'd share today, how to get the 1949 looks pictured in the magazine using patterns from Mrs. Depew Vintage!


1. Bra in Satin - Easily copied using Depew #2015.
2. Panties with gathered waist - Use Depew #7311A and add allowance to the waist for gathers.
3. Corselet - Use Depew #2003 and add a top-stitch motif to the center front.
4. Basic straight slip - Use Depew #604.
5. Rayon bra with lace trim - Use Depew #352.
6. Corselet with wide lace ruffle - Use Depew #2002 and finish the lower edge with 6" or wider lace trim.
7. Tap pants with gathered side panels - use Depew # 612 and add side panels as cut-outs to the side legs.
8. Slip with ruffle - Use Depew #7314, cut it shorter at the hem and change the neckline as needed.


9. Slip with ruffle and tap pants with ruffled leg. Slip - Use Depew #7314. Tap pants - Use Depew #7314B.
10. Dressing gown - Use Depew #5003.
11. Pajama set - Use Depew #354 or Depew #601.
12. Pink dressing gown - Use Depew #5004 and replace cuffs with lace.  Blue nightgown with lace trim - Use Depew #171.

In other sewing news, I was really excited to learn yesterday that Collete Patterns will be releasing a digital sewing magazine starting in December! Seamwork will feature articles, sewing tutorials, and downloadable easy-to-sew sewing patterns. I really enjoy reading the Coletterie blog and I know that the magazine is going to be even better!

Image courtesy of Seamwork and Collete Patterns.

To get updates on Seamwork's progress, writers, and patterns, and to be entered to win a full year's worth of patterns in the process, sign up here!

Happy sewing, my darlings...


Sunday, November 2, 2014

Simplicity S-Series - I have dated them at last!


Hello my dear readers! It is a bright, sunny Saturday here in California and I am a happy girl today. Many of you are quite familiar with my obsession with the Simplicity S-Series Patterns. I have been collecting and researching them for a few years now and while I was relatively confident that they were from the late(ish) 1930's, I had no proof. None of them have ever had any copyright dating on them.  I have scoured the internet and antique shops for old Simplicity pattern flyers - buying every one I could find, and finding no trace inside them of S-Series patterns! (You can see a fraction of my collection of Simplicity pattern flyers here.)
I was at a dead end.
Until recently, that is...


I found this Simplicity counter catalog from March, 1938 on Ebay last week, and while I was browsing the auction pictures, I saw it - a small glimpse of what I knew to be Simplicity S-602! I didn't care that the booklet was in sad condition, and that it had been used as both a recipe book and diary (strange, and fascinating) for 40 some years... I had to have it! Boy, was it worth it! I found EVERY SINGLE S-Series pattern they ever released, both in the index, and in illustrations.


Without further ado, for your viewing pleasure...

Simplicity S601 and S602, both in my collection.
Simplicity S607 and S603, both of which I NEED!
I was delighted to find illustrations of Simplicity S603 and S608, both of which I knew existed, but had never seen before!

Simplicity S604 (in my collection) and S602, which I need!
Simplicity S612 and S605, both in my collection. Reproductions of S612 and S605 are now available! Just click on the links.
Simplicity S606 and S609, both in my collection.
Simplicity S611 and S610, both in my collection.
Simplicity S614 in my collection.
As you can see, the lady who owned the catalog pasted recipes from newspaper all over the 300+ page book!

Simplicity S615, in my collection.
Simplicity S616, in my collection.
Simplicity S618, and S617, both in my collection. A reproductions of S617 is now available! Just click on the link.
Simplicity S619, in my collection.
Simplicity S620, in my collection.
Simplicity S621, and S613, both in my collection.
Simplicity S622, in my collection. (Also, check out the hooker eye shadow on the lower right corner. Lovin' it, girl!)
Simplicity S623 and S624, both in my collection.
I now have gratuitous amounts of boxer patterns for no reason.
So what's next? I need to find only three: S603, S607 and S608, and then I will have them all... Then I will sew them all. I'll be swimming in silk nightgowns and my poor husband will have more vintage boxers (which he wouldn't wear) than he'll know what to do with.

How about you? Do you have something vintage and charming that you obsessively collect?


Monday, April 22, 2013

French Knickers Sew-Along... Adding "Le Crotch" Insert


Today for the French Knickers Sew-Along we're going to add a finishing touch to our French Knickers: "Le Crotch."  (I may as well just get used to saying it. )
This piece should be cut from cotton jersey fabric or something similar. Mine is tencil knit jersey. bamboo knit jersey is also wonderful. You can even cut this piece from an old t-shirt if you like!

"Le Crotch"

For certain fabrics you might consider finishing the edges of "le crotch" with an edge stitch. I didn't bother with this step because I know that the raw edges of the tencil knit jersey will not fray or be problematic.

The four points of the crotch piece are going to line up with your center front, center back, and crotch seam on the inside.


Line up the short center of the diamond with the crotch seams first, then align the two longer points with the center front/ back seam allowances.

Now just gently tack each point in place, just catching the seam allowances with your needle, without actually poking through to the outside of the knickers.


Just a few basting stitches should do the trick. 

I used thread that matches my fabric color perfectly so that it blends right in.

And voila! If you've gone with the ribbon edging like I did in this version then you're done! 


Here is my finished pair of French Knickers with ribbon edging. Pretty, no?


For our next post, I'll go over trimming the leg openings with lace instead of ribbon.

Any questions?

Wednesday, April 17, 2013

French Knickers Sew-Along... Adding Elastic to the Waist.


Hello lovely readers. Today for the French Knickers Sew-Along I'll show you how to add elastic to the waist of your knickers. First though, to my readers in Boston, know that you're in my thoughts and prayers. I have nothing but admiration for how Bostonians, first responders and civilians alike, have helped victims and their families in these last horrible few days.

It may seem silly to talk about sewing in light of how saddened we all are at such senseless violence, but for some of us, sewing is a form of therapy. For those of you who find comfort in the simple, reliable hum of your sewing machine, and the feel of fabric at your fingertips, here is the next step in our Sew-Along.

~Elastic~


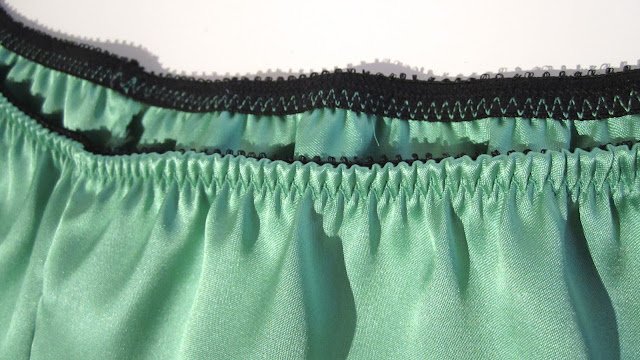
For my knickers, I have chosen 3/8" picot elastic. It has a plush underside that is quite comfortable against one's skin.

First, follow the instructions in the pattern for measuring the length of elastic you'll need.
Lap one end of the elastic over the other and baste in place with a few stitches.


Before pinning your elastic to the waist, first measure your elastic in halves, and then quarters and mark these points with a pin. Pin these quarter points to the front, back and side seams of the knickers so that your elastic is equally distributed between these four points as you stitch.


Picot elastic, pinned plush side up to the RIGHT side of the fabric, and with the plain edge even with the knickers raw edge.

For picot elastic, first pin the elastic to the OUTSIDE of the knickers, with the plain edge of the elastic even with the raw edges at the waist.


Elastic pinned at the four major seams.

 Stitch close to the picot (ornamental) edge with a narrow zig-zag stitch, stretching the elastic gently as you sew and keeping the plain edge of the elastic even with the knickers raw edge.


Here I am keeping my elastic stretched evenly by gently pulling at the nearest seam until it is straight.

To help distribute the elastic evenly as you sew, pinch the waist and elastic at the nearest seam and gently keep it taught as you stitch.


The knickers waist after the first half of elastic stitching.


Now turn the elastic to the inside and carefully trim any excess fabric that peaks above the elastic edge.


The excess fabric trimmed away from the elastic.

Then fold elastic to the inside and stitch again, on the right side using a 3 step zig-zag stitch, again gently stretching the elastic as you go


The elastic stitched to the INSIDE now with a 3 point zig-zag stitch.


The waist after the elastic has been folded to the inside and stitched.


Pretty, no? In our next post we'll add the cotton crotch insert and then we'll go over more ideas for embellishing the knickers.

Any questions?

Saturday, March 30, 2013

Announcing the Ma Cherie French Knickers Sew Along!


Well, it turns out I did get the flu after taking care of my sick man, and now that I don't feel like dropping dead any longer, it's time for that sew-along we were talking about!

Underwear are so marvelously versatile and the Ma Cherie French Knickers are no different.


We're going to make some gorgeous underwear together! The plan is for me to sew a basic pair of French Knickers and walk you through the steps as explained in the pattern. Then I'll sew several other versions and demonstrate different techniques for finishing and embellishing them. We'll go over different fabrics you can use and elastic choices. If we have time, I'll show you how to trim them with ribbon facings, lace edging and insets, scallops, bows and even embroidery!

If there's something you'd like me to cover, please leave me a comment and I'll do my best to work it in.
Now for the pattern. Anyone who wishes to participate in the sew-along can now buy the digital version of the pattern at MrsDepew.com at a discounted price. This discount will be available until April 10th.
If you're printerless, don't worry, I have a paper version too! The paper version is available here.

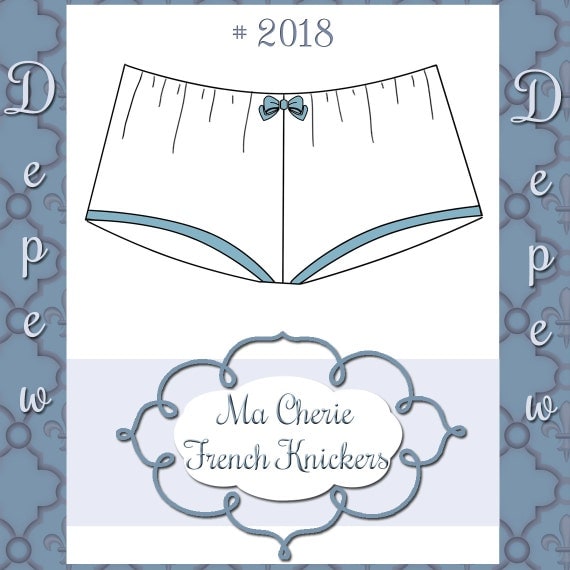
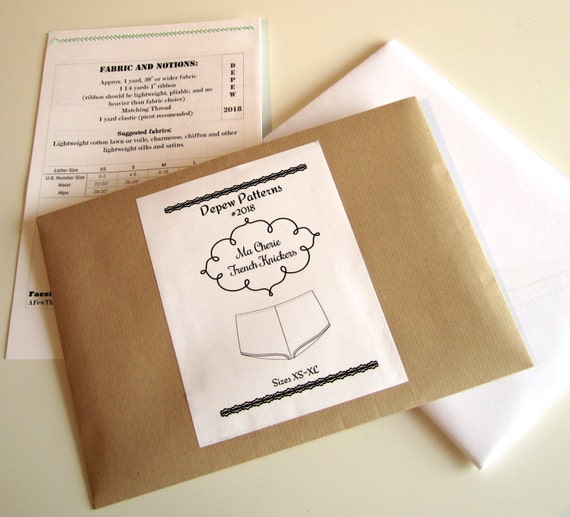
Depew 2018 Ma Cherie French Knickers Pattern
In my next post I'll talk about fabric and trim choices, and I'll give you links to some of my favorite places to find the perfect trimmings for lingerie.

Here's a sneak peek of some of the beautiful things I've bought to embellish my knickers with:

Silk Ribbon, vintage lace, antique silk embroidery threads...we're going to make some beautiful lingerie!
I hope you have a lovely, sunny, and warm weekend. And I hope there's cake involved. Everything is better with cake.