

Hi there lovely readers. I hope I'm posting at an o.k. rate for you. It's been a strange week and I've been unfortunate enough to have a headache for 5 days now. I went to the doctor today just to be on the safe side and everything is fine - I'm just one unlucky girl this week...
For today's post we're going to sew our actual bra together now! In our last post, we went over lining and facing options. Now that we've squared that away, and you've faced your pattern pieces (if you so chose) we'll put together our bra in the exact same order we put together the test muslin.

This time though, as we sew each individual seam, we're going to stop and press the seam allowance a certain way, then top stitch it in place. This will give us that lovely 1940's look, as well as securing our raw edges.
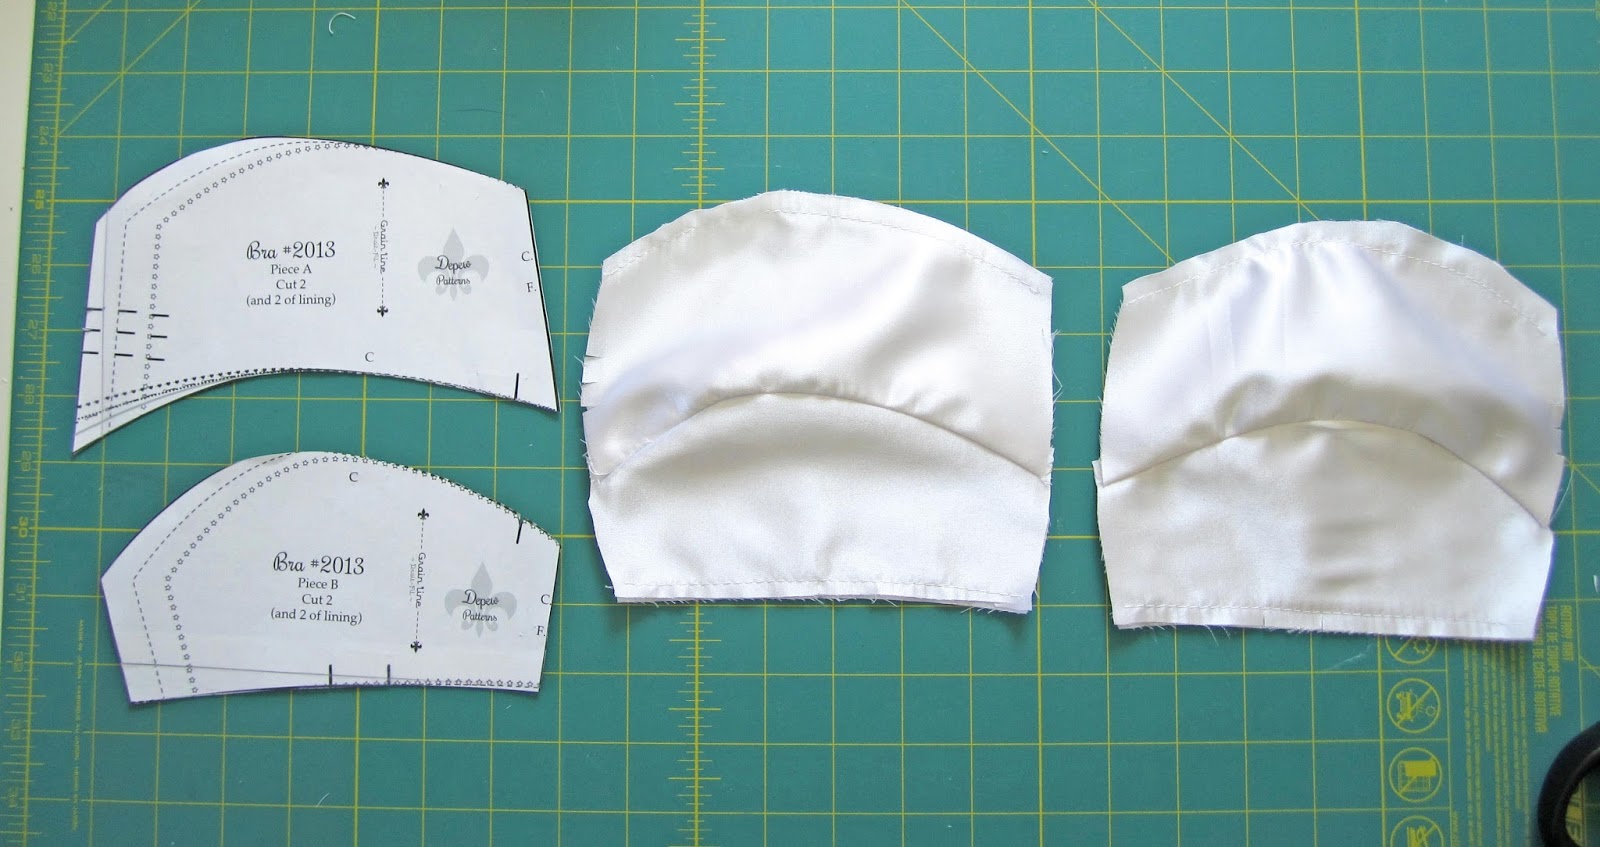
So we start by sewing pieces A and B together along that tricky curved seam, and then press the stitches as sewn without opening them up. This will set the stitches. Then open pieces A and B, and press the seam allowance UP onto piece A.
Now you're ready to very neatly top-stitch 1/8" from the seam on piece A, as done below.

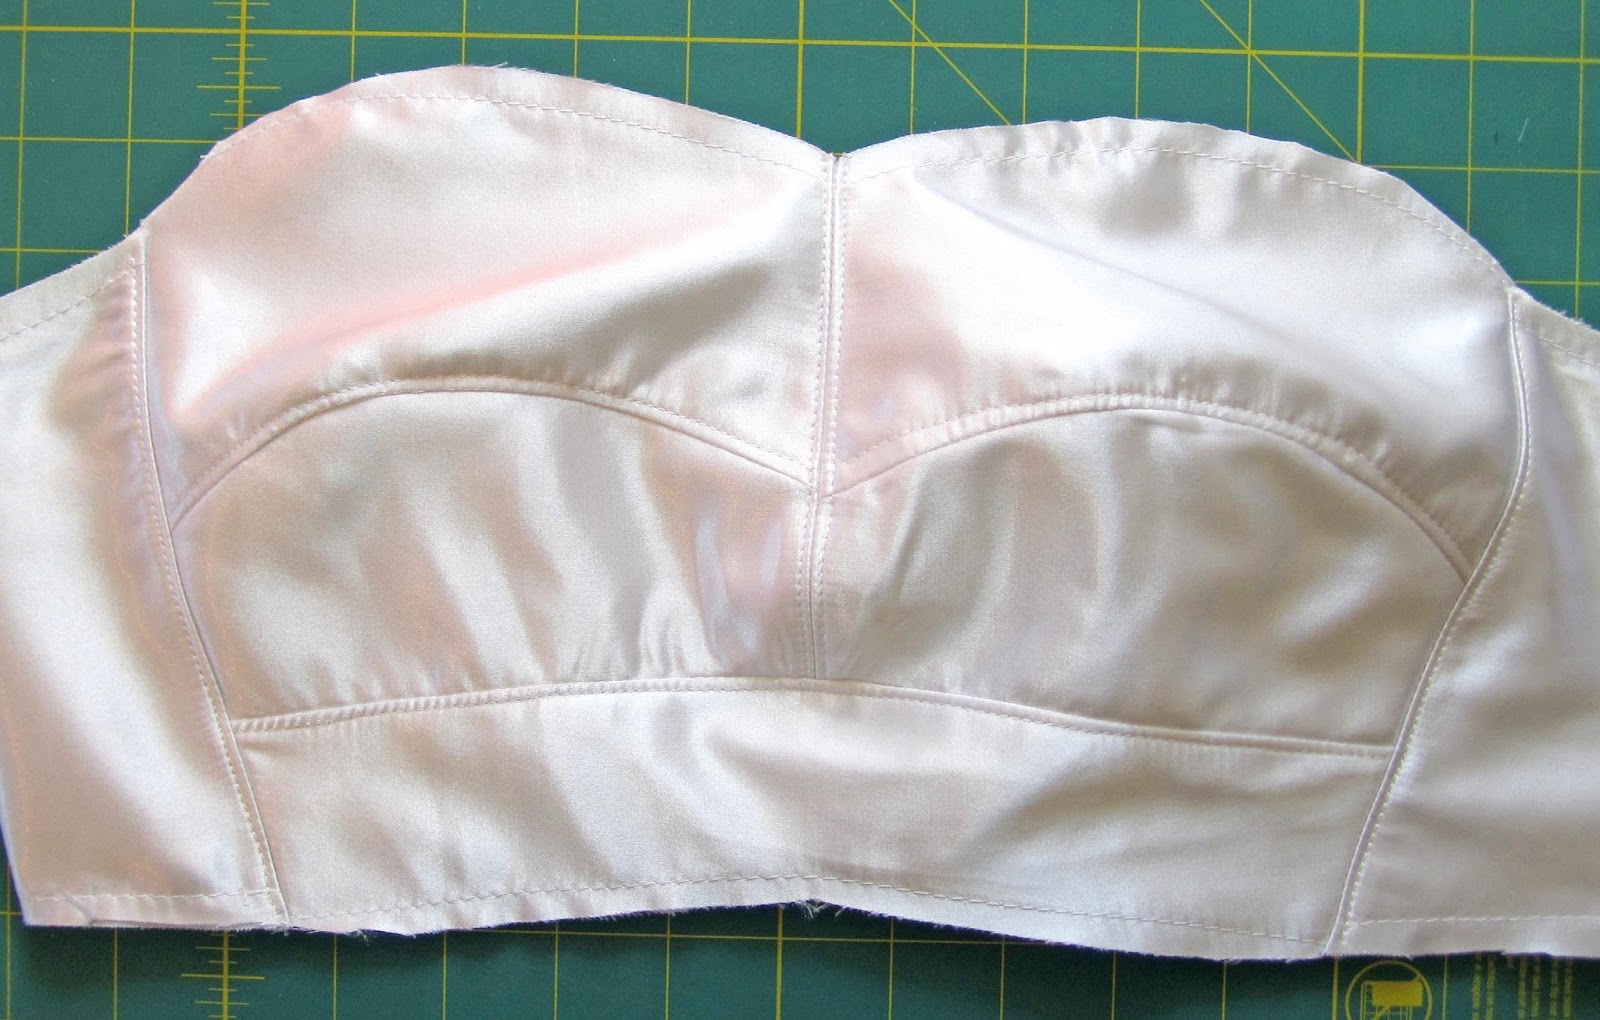
Now stitch both center front pieces together and press that seam open.

Top stitch again 1/8" from the center front seam on EACH side.
Then sew piece C to the lower edge of pieces B, press the seam allowance DOWN, and top-stitch 1/8" from the edge on piece C.

Now you're ready to attach the back of the bra, pieces D, to the side seams.

Once you have, press the seam allowances outwards to piece D, and top-stitch again.
Happy sewing,
