Thursday, June 19, 2014

La Mode Française from January, 1932

Hello my lovely readers. Today for you I have just a couple of pretty things. I was looking through an old edition of La Mode Française ("French Fashion") and found a lovely little feature on jewelry.

La Mode Française French fashion magazine from 1932.
The title, Bijoux Moderne, translates as "modern jewelry." The article speaks about the impossibility for most budgets to allow beautiful jewelry for every ensemble in your closet. It suggests that when she is constrained by lack of cash, the clever woman can make her own instead.

You can see from the motifs pictured below what kinds of beads and and styles were popular in 1932. I have seen a lot of vintage jewelry in my time (it was one of my mother's particular specialties) and even now pieces like these are expensive to buy.


Judging by the designs above though, they wouldn't be that hard to reproduce. One can often find lots of loose vintage beads for sale on Etsy and Ebay - wouldn't it be fun to make your own reproduction piece?

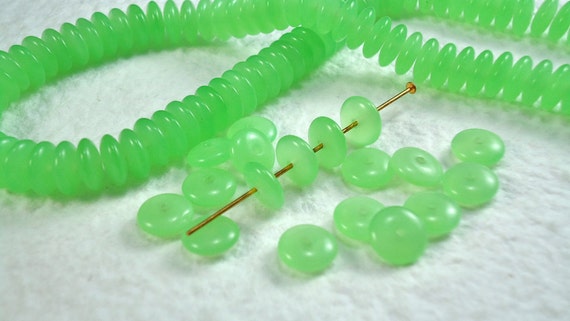
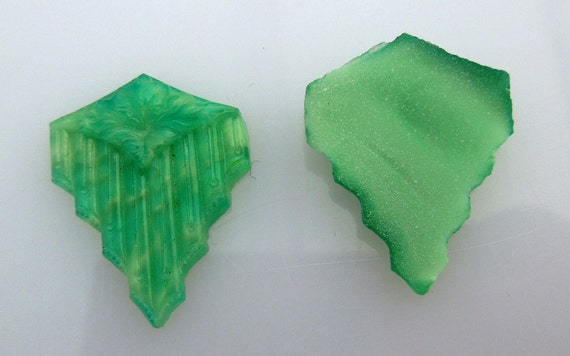
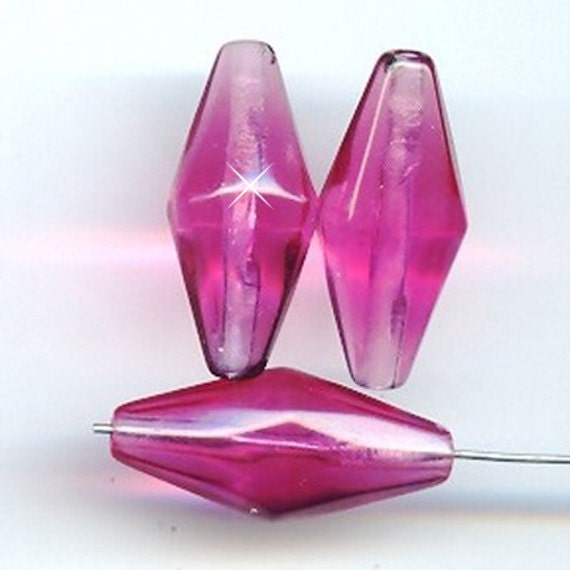
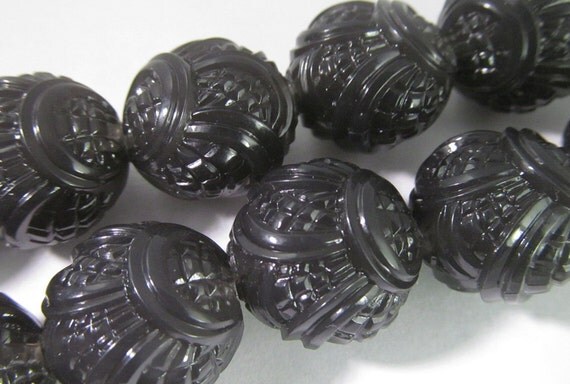
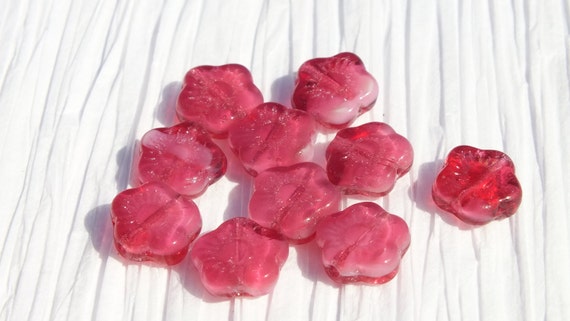
Below are some lovely beads for sale on Etsy that are similar to those illustrated.

You can find these here.

How about you, have you ever tried making your own jewelry?


Wednesday, June 4, 2014

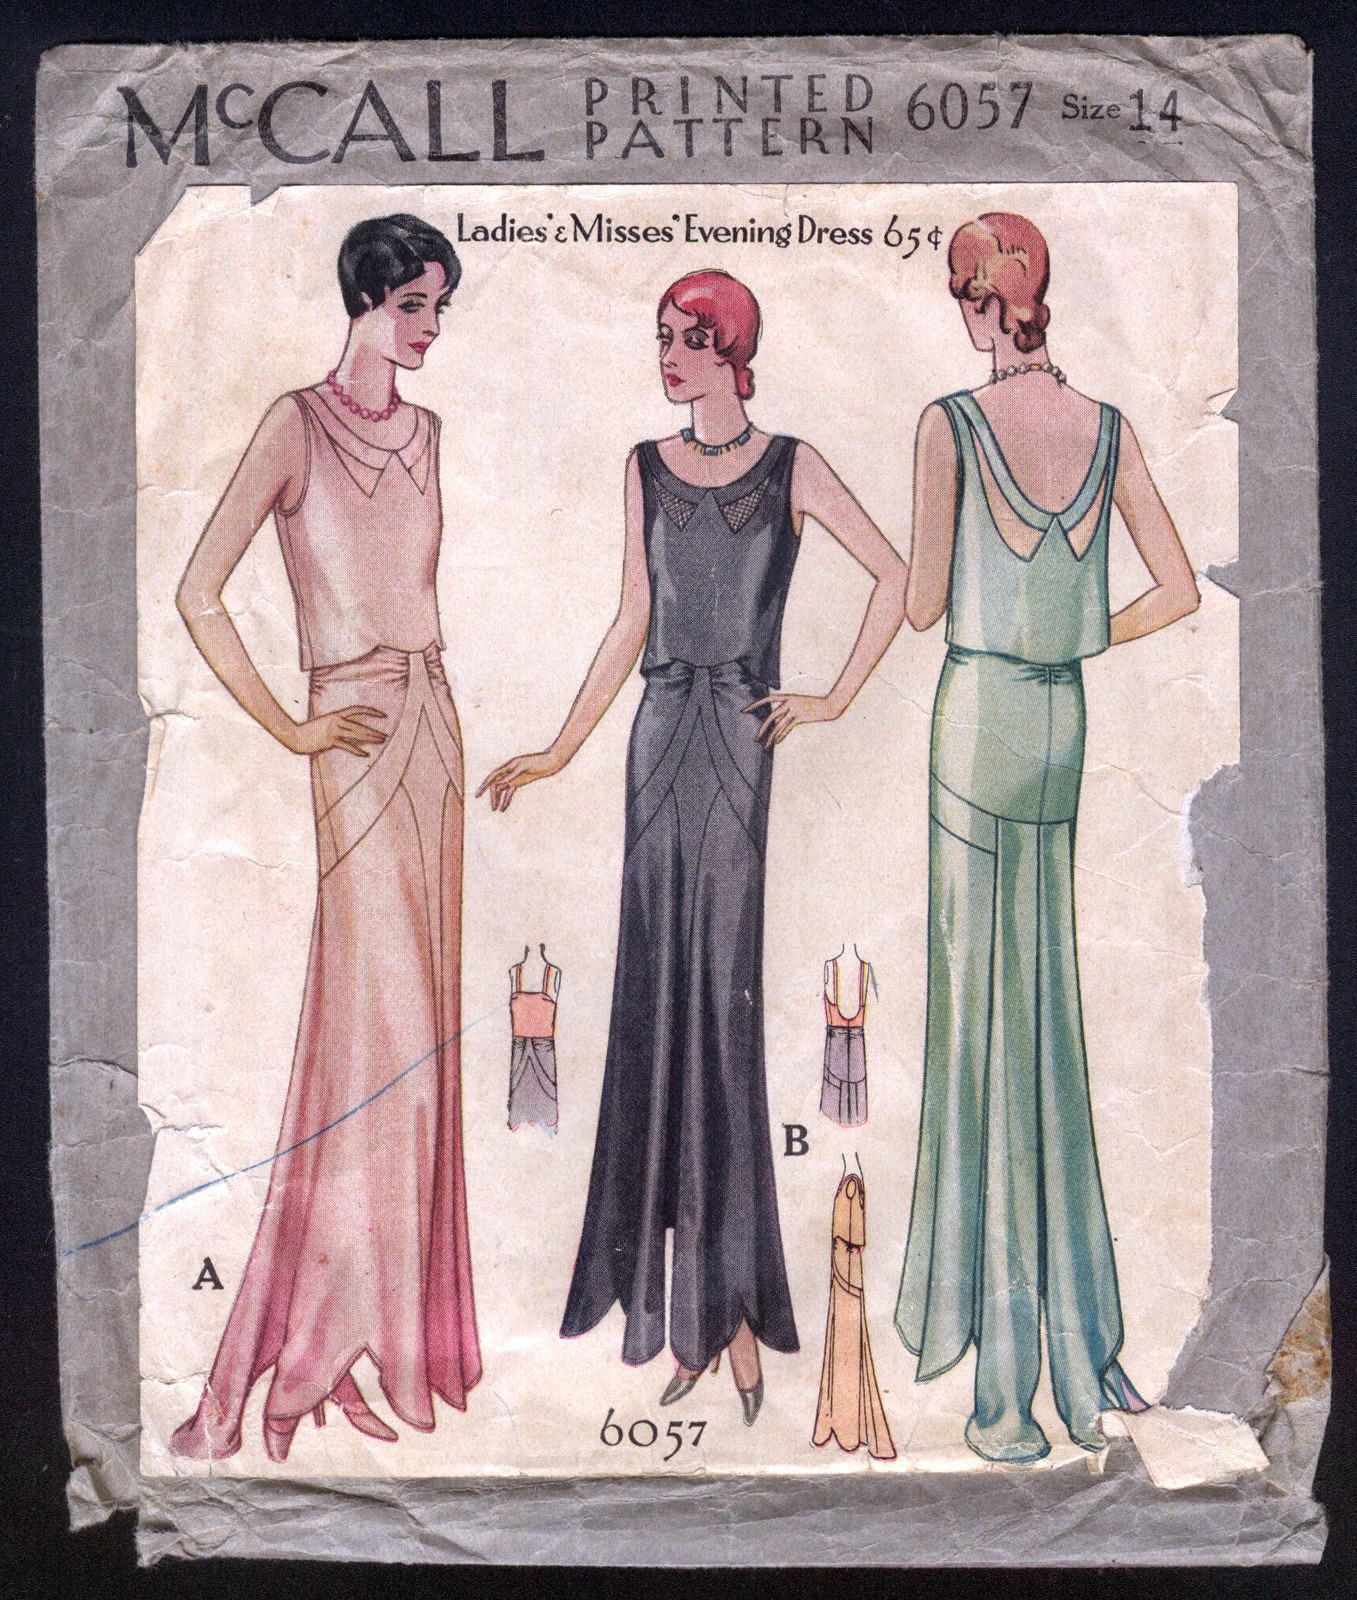
Sew Expensive... McCall 6057 Evening Gown Pattern - A Record Breaker!


Hello my lovely readers. This morning I watched, mesmerized, as a vintage pattern sold on eBay. This particular pattern was something special. I knew that there wasn't a chance in hell that I would be able to afford it, so I stared at it in horrified fascination, like one watches a train wreck, or Keeping Up with the Kardashians.

It was so pretty, and it sold for so much darn money!

McCall 6057 Evening Gown Pattern from 1930.
I watched McCall 6057 climb over the last few days until it settled at an eye-watering $831.
We have a record-breaker in the Sew Expensive category here on A Few Threads Loose, Ladies and Gents! For my international readers, that's £498 or 610€.

Some of you might remember that our former heavy-weight expensive sewing pattern was McCall 1794. This lovely pattern held the record at $685 for nearly two years!

So why was this pattern so expensive? This is the perfect storm of vintage sewing pattern wonderfulness: The artwork is beautiful + it's from a hard-to-find era for McCall patterns + it's an evening gown pattern + it's right on the historical transition from 1920's-1930's hem lines + it's sexy as hell + I want one = $831.

And that is all, my dears.
Happy Sewing,


Friday, May 30, 2014

Quickie Tutorial: How to frame your embroidery.


Hello lovely readers,
Today I have a quick tutorial for any of you who might be new to embroidery: How to frame your finished projects.

For this project I used a simple 9" wooden embroidery hoop from my local craft chain, some white embroidery floss, and the embroidered design I mentioned in my last post.
Start with your finished embroidery centered in your hoop, pulled taught, and the hoop screw tightened.

For a round embroidery hoop, begin my trimming your excess fabric off around the hoop (it doesn't have to be pretty - mine sure isn't.


Cut a long piece of either very strong thread or embroidery floss (I suggest using the same color as your fabric). This piece should be as long as the circumference of your hoop and an extra few inches.


Thread it on an embroidery needle and knot one end. Then run a simple, very wide straight stitch all the way around your fabric to the outside. Mine was about an inch from the edge of the hoop, and about 3/4" long on each stitch. You want some decent spacing because you'll be gathering this stitch.


Once you've stitched all the way around, bring your thread to the right side of the fabric and gently pull your gathers tight.


Once the stitches are gathered tightly, run a couple of back stitches and then knot off your thread.

If your embroidery hoop is not very deep like mine (mine is not even 1/2" deep) then your fabric gathers might be too bulky to lie flat enough against a wall.  Simply iron your gathers flat (you might have to use just the edge of your iron) but it works great to reduce the gathered bulk.


And now your embroidery is ready to hang!


Have a happy week,

Sunday, May 25, 2014

Make Beautiful Things... by Urban Threads


Happy weekend, my dears readers!
I'm currently riding the high of a finished project. My last project, finishing my 1930's bra, went so well that I thought I would do some more needlework. I think it's becoming a rather nice therapy for me.
This month I worked on a great embroidery pattern by Urban Threads, whose patterns I just can't seem to get enough of.
The pattern I used is Make Beautiful Things, which by the way, just happens to be on sale right now!

50 cents!!!!!!!!


Urban Threads Patterns come in two formats, designed for hand embroidery and for machine embroidery - both of which come as instant downloads just like my patterns. The patterns are usually rather elaborate (which I like because they're super time consuming) and can take quite a bit of time to trace and transfer onto your fabric. But boy, is it worth it!

Lookit what I made! I know, I have some practicing to do.

This is now hanging over my drafting table as a cheerful reminder that I love my job because I get to help other people make beautiful things.

Months ago I used another Urban Threads pattern to embroider this for a friend back in Norway (who is famous there for her amazing cakes and cupcakes).

Made using this pattern by Urban Threads.

And up next for me on my embroidery to-do list is a little something for my kitchen:

Death before Decaf by Urban Threads.

If you're into embroidery, or you're interested in giving it a try, I definitely recommend Urban Threads' patterns.
But what about you? Do you embroider? Do you use your own designs, hunt for great vintage embroidery transfers, or do you have a favorite source for your patterns?

Just one more thing before I head outside to weed my garden. As some of my might have seen on my facebook page earlier this week, a colleague of mine just lost her husband and is as devastated as you might imagine (there has been too much loss, lately!). 
Many of you know how crippling funerals can be financially so if you'd like to do some good today, her Etsy shop is still up and running (a welcome distraction, I know from experience). If you're pattern hungry, you might like to stop by her shop, Stitching By Numbers.

And thanks so much to those of you who did already- you are absolute gems and I'm honored to have such kindhearted readers! 


Tuesday, May 13, 2014

Adding Cut-Work to your Next Lingerie Project

Recently I was the happy recipient of a handful of lingerie patterns from the 1970's - 1980's. I was so delighted to find that folded up inside one of the slip patterns were a couple of pages from a magazine, I'm guessing late 70's or early 80's, and the bit featured was how to add cut-work to a slip. And it included a pattern!
I have no information on which magazine these were from, but the motif/ pattern given is meant to be resized much larger - but I think it would look amazing in just the size it is, for a more delicate look.

So without further ado, here is this great cut-work tutorial and pattern!


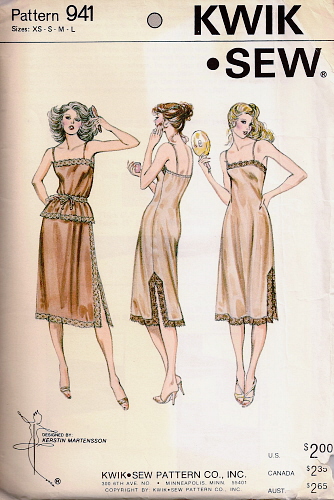
And here are a few slip patterns you might try adding it to! The pattern called for in the original tutorial is Kwik Sew 941, and there are plenty of affordable copies online.


It's ok as far as lingerie patterns go but my copy of this article was actually found tucked inside Sew Lovely S701... and though I didn't see it executed, I like where the idea was going...


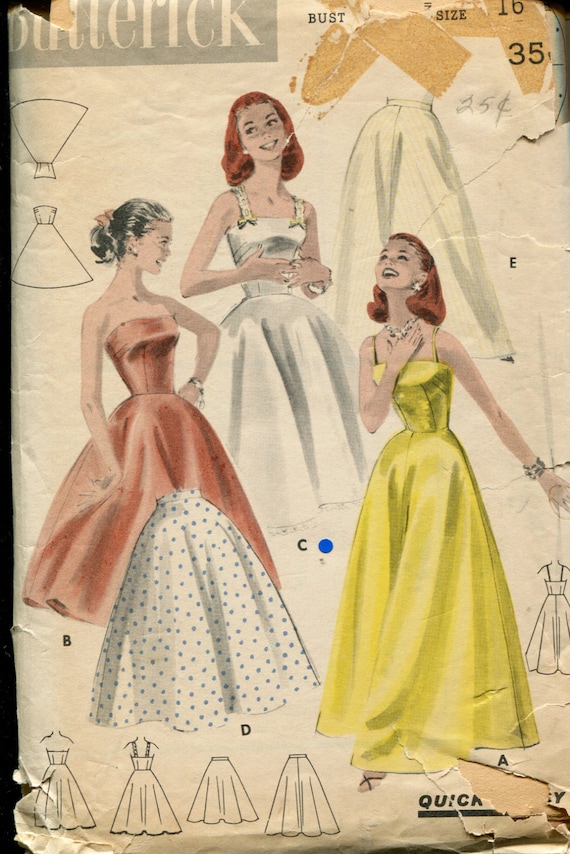
The following pattern, available here, would also look amazing with bits and pieces of this motif scattered about the skirt or hem.


Or the motif sized down a bit would look endlessly sexy on the bust of this slip pattern, available here.


How about you? Have you ever used cut-work in any of your sewing?

In other news - I have just discovered an ant crawling along the edge of my desk here and now I must re-home him. Here's a tip: Don't eat Reese's peanut butter cups in your office.


Monday, May 5, 2014

Finished UFO: My 1930's Silk Bra - Depew #610


Hello lovely readers. In our last post we talked about my getting back to sewing as a bit of therapy. I have been working with my hands for the last 4 days now and it has helped enormously! I finished a UFO project from before my mother passed away and also got started on a beautiful embroidery project. I'm feeling just a little bit more myself today.

The bra pattern that was sitting unfinished was about half done and was waiting for a fitting so that I could put my closure at the back. The bra is made using my any size draft-at-home pattern, Depew #610 and I'm so happy with how it came out. (Keep in mind that it fits me perfectly, though it's a bit off on Lusty Lulu - she's a bit more symmetrical than I am).


I used silk crepe de chine for the main fabric, and I re-purposed a soft silk vintage scarf (cutting around a few pinholes) for the lining.

Wednesday, April 30, 2014

My California Studio

Hello lovely readers.
For a week now I have been staring at a blank blog post editor, trying to find inspiration to blog about something you might all like. My inspiration seems to have fled - along with my camera battery charger - so a few post ideas are on the back burner pending battery power and photographs. Inspiration has been a hard thing to come by lately, as you might imagine. For those of you who are strangers to loss or depression (you, a happy minority, I would guess) there is a listlessness that can plague one's days after a great loss, and it can be hard to find your way back from it.

I am searching high and low to find my spark again (and that blasted charger) and I think it might be found in sewing. Of course my to do list is massive and that's what usually keeps me away from my sewing, but sometimes you just need to blow off the "musts" and deal with the "needs."

I have a few U.F.O.'s floating about my sewing space and I think I'll finish a much neglected silk bra today. But first, I thought I would show you my new studio. For those of you who are new to A Few Threads Loose, I moved to California about 9 months ago and finishing my new studio space has been an evolving project.

I was recently featured on the Pattern Pattern Blog (which is fantastic, by the way) and it was motivation enough to finish my studio and take some photos (using the last of my battery power, coincidentally).

So, without further ado, here is my (almost) finished studio!


My pattern drafting table also pulls triple duty as a pattern folding and shipping station.


Wee Butters (now almost 70 lbs and still growing!) keeps me company all day as I work. He and Vinny the cat play constantly and provide numerous hilarious distractions from work.


You can see Vinny the cat hiding out (and most likely cleaning the dog slobber from his fur) in his tiny cube behind my chair.


I'm excited to try out my new sewing corner - before, the machine was cramped on my drafting table and it was frustrating as all get out.


You all remember Boobs McGee, of course.


And of course, no workspace is complete without a picture of happier times, and cartoon monster post-its.

Coming soon: a giveaway, pictures of my garden (my best therapy so far) and a little sumthin' to do with vintage cars.

I'm off to sew!