

In the first post on the tap pants, we traced out a pattern piece for the lace inset. (Before you add any extra to the size of the pattern).

It might come in handy to fold the inset pattern piece in half so that you have a crease guiding you to the center of the inset.

I am using a vintage lace trim several inches wide. The source of the lace? My awesome mother! Your steps may be different depending on what type of lace you use. What I did above was just center the inset pattern piece over the two scallops so that I could cut my trim at the right point. Then I cut two lengths of the lace, one for each leg.

I have marked the very center of the spot where I'll be laying in my inset on the RIGHT side of the tap pants leg. Since I have chosen to use a scallop- edged lace, I will line up the center point of my two scallops with the pin.
 |
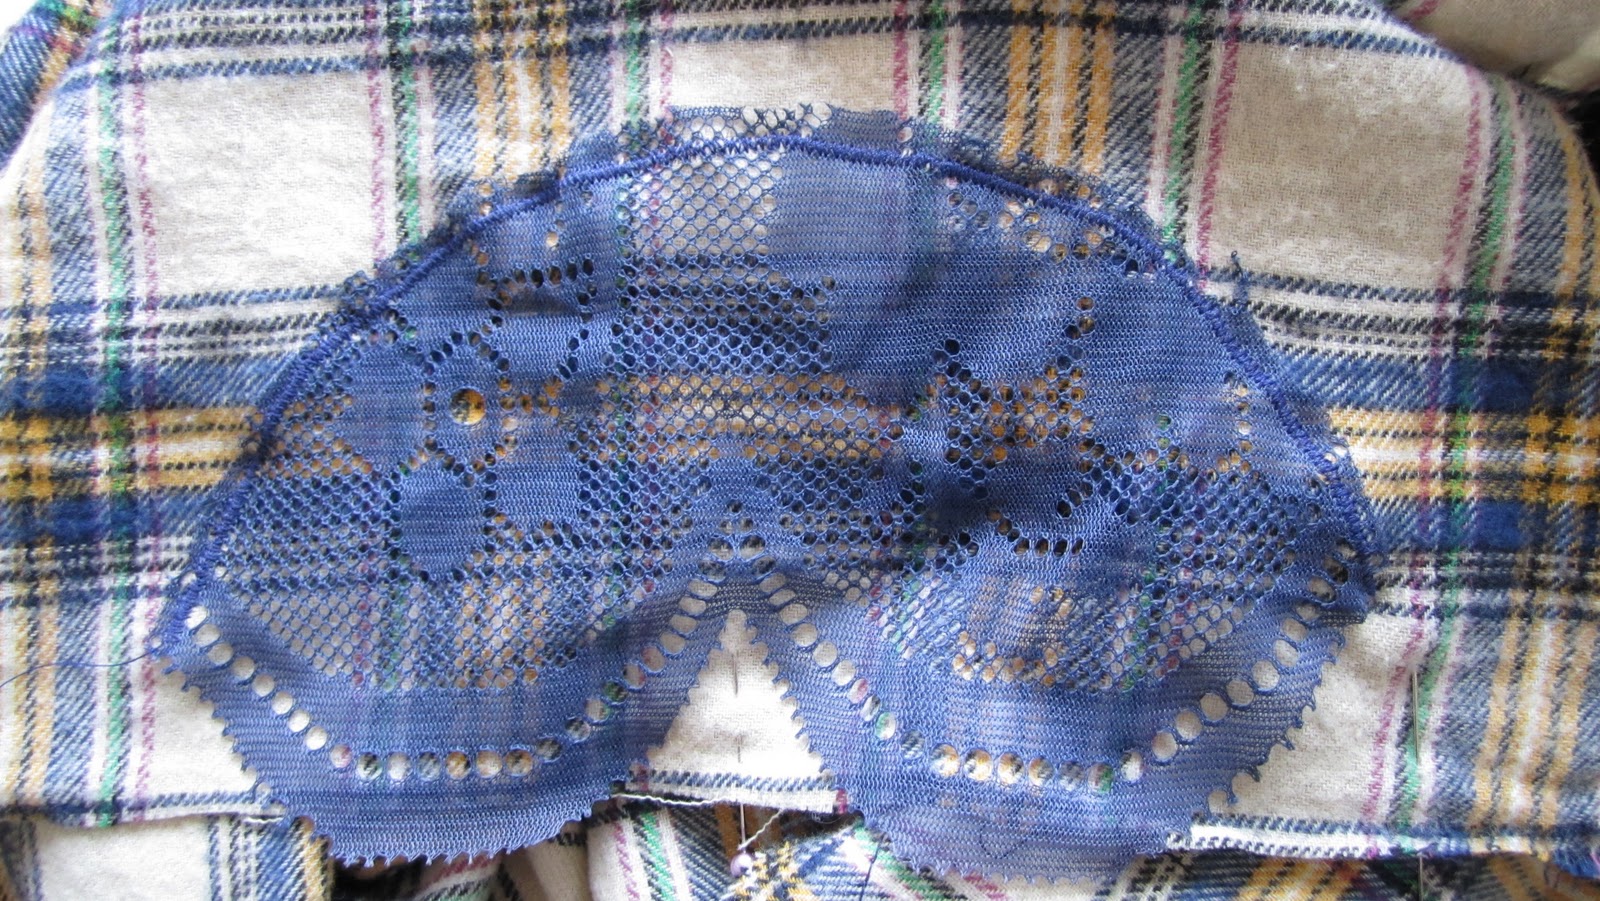
| lace inset being set up on the RIGHT side of the pantie leg. |

Above I have removed the pattern piece and secured the lace again to the pantie leg. Now comes the fun part.

In Pretty Pretties, the lace is hand stitched carefully to the RIGHT side of the fabric. Luckily, we have something better now than hand stitching for lace insets. Its called an Applique Stitch and it's our friend! Most machines should have this stitch, and you can look in your manual to find it if you're not sure.


On my Brother machine, my applique stitch is #24. If you don't have an applique stitch on your machine, just use a zigzag stitch. After much experimenting I discovered that the best applique stitch for me is 3 mm wide and 0.5 mm between each stitch.
With your lace very securely pinned in place, stitch all the way from one end of the curve to the other, about 1/4" from the edge of the lace. Sewing a bit back from the edge gives your applique stitch as much grip on the lace as possible to keep it safely attached.

Now trim the excess lace from the outside of the stitching, being careful not to clip your stitches.

 |
| Your inset stitching from the WRONG side. |


Since I have a scalloped lace edge, I trimmed the edge of my fabric to a scallop too. This edge will be bound later.

A quick note for those of you who accidentally cut out your V of Doom from the placket opening: For your yoke facing, you'll want to extend the edge of it so it faces the edge of the extension placket I mentioned. Below is just a quick mock up of an extension I drafted to make the yoke facing piece longer.


For the yoke facing, pin it right sides together to the pantie yoke matching up the center and the edges at the placket. Stitch the facing on and press.

 |
| The Front yoke of the pantie, with the yoke faced and pressed on the other side. |

Now we want to pin the back facing piece to the back of the panties, RIGHT sides together and stitch. Then flip the facing to the inside and press.
 |
 |
| The pantie back from the RIGHT side, with the facing pressed to the inside. |
 | ||
| The pantie facing pressed to the inside. |
2 comments:
The lace is really beautiful and adds an amazing accent to the plaid. This step of the tutorial is really helpful and the lace part is not at all as scary as I thought.
Post a Comment