Friday, May 30, 2014
Quickie Tutorial: How to frame your embroidery.
Hello lovely readers,
Today I have a quick tutorial for any of you who might be new to embroidery: How to frame your finished projects.
For this project I used a simple 9" wooden embroidery hoop from my local craft chain, some white embroidery floss, and the embroidered design I mentioned in my last post.
Start with your finished embroidery centered in your hoop, pulled taught, and the hoop screw tightened.
For a round embroidery hoop, begin my trimming your excess fabric off around the hoop (it doesn't have to be pretty - mine sure isn't.
Cut a long piece of either very strong thread or embroidery floss (I suggest using the same color as your fabric). This piece should be as long as the circumference of your hoop and an extra few inches.
Thread it on an embroidery needle and knot one end. Then run a simple, very wide straight stitch all the way around your fabric to the outside. Mine was about an inch from the edge of the hoop, and about 3/4" long on each stitch. You want some decent spacing because you'll be gathering this stitch.
Once you've stitched all the way around, bring your thread to the right side of the fabric and gently pull your gathers tight.
Once the stitches are gathered tightly, run a couple of back stitches and then knot off your thread.
If your embroidery hoop is not very deep like mine (mine is not even 1/2" deep) then your fabric gathers might be too bulky to lie flat enough against a wall. Simply iron your gathers flat (you might have to use just the edge of your iron) but it works great to reduce the gathered bulk.
And now your embroidery is ready to hang!
Have a happy week,
Labels:
embroidery,
embroidery frames,
embroidery hoop,
how to,
tutorial
Sunday, May 25, 2014
Make Beautiful Things... by Urban Threads
Happy weekend, my dears readers!
I'm currently riding the high of a finished project. My last project, finishing my 1930's bra, went so well that I thought I would do some more needlework. I think it's becoming a rather nice therapy for me.
This month I worked on a great embroidery pattern by Urban Threads, whose patterns I just can't seem to get enough of.
The pattern I used is Make Beautiful Things, which by the way, just happens to be on sale right now!
 |
| 50 cents!!!!!!!! |
 |
| Lookit what I made! I know, I have some practicing to do. |
This is now hanging over my drafting table as a cheerful reminder that I love my job because I get to help other people make beautiful things.
Months ago I used another Urban Threads pattern to embroider this for a friend back in Norway (who is famous there for her amazing cakes and cupcakes).
 |
| Made using this pattern by Urban Threads. |
And up next for me on my embroidery to-do list is a little something for my kitchen:
 |
| Death before Decaf by Urban Threads. |
If you're into embroidery, or you're interested in giving it a try, I definitely recommend Urban Threads' patterns.
But what about you? Do you embroider? Do you use your own designs, hunt for great vintage embroidery transfers, or do you have a favorite source for your patterns?
Just one more thing before I head outside to weed my garden. As some of my might have seen on my facebook page earlier this week, a colleague of mine just lost her husband and is as devastated as you might imagine (there has been too much loss, lately!).
Many of you know how crippling funerals can be financially so if you'd like to do some good today, her Etsy shop is still up and running (a welcome distraction, I know from experience). If you're pattern hungry, you might like to stop by her shop, Stitching By Numbers.
And thanks so much to those of you who did already- you are absolute gems and I'm honored to have such kindhearted readers!
Labels:
beautiful things,
coffee,
cupcakes,
embroidery,
urban threads
Tuesday, May 13, 2014
Adding Cut-Work to your Next Lingerie Project
Recently I was the happy recipient of a handful of lingerie patterns from the 1970's - 1980's. I was so delighted to find that folded up inside one of the slip patterns were a couple of pages from a magazine, I'm guessing late 70's or early 80's, and the bit featured was how to add cut-work to a slip. And it included a pattern!
I have no information on which magazine these were from, but the motif/ pattern given is meant to be resized much larger - but I think it would look amazing in just the size it is, for a more delicate look.
So without further ado, here is this great cut-work tutorial and pattern!
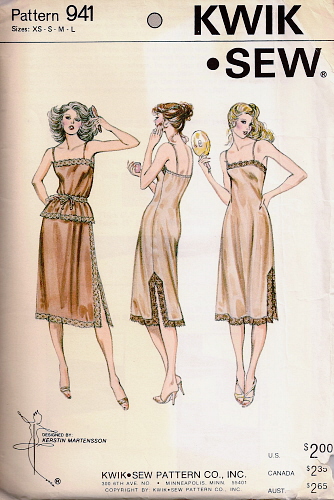
And here are a few slip patterns you might try adding it to! The pattern called for in the original tutorial is Kwik Sew 941, and there are plenty of affordable copies online.
It's ok as far as lingerie patterns go but my copy of this article was actually found tucked inside Sew Lovely S701... and though I didn't see it executed, I like where the idea was going...
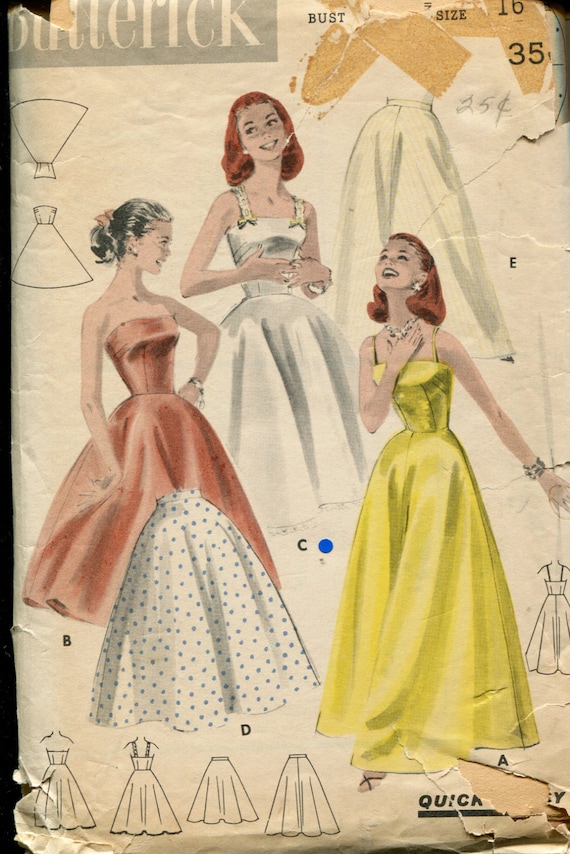
The following pattern, available here, would also look amazing with bits and pieces of this motif scattered about the skirt or hem.
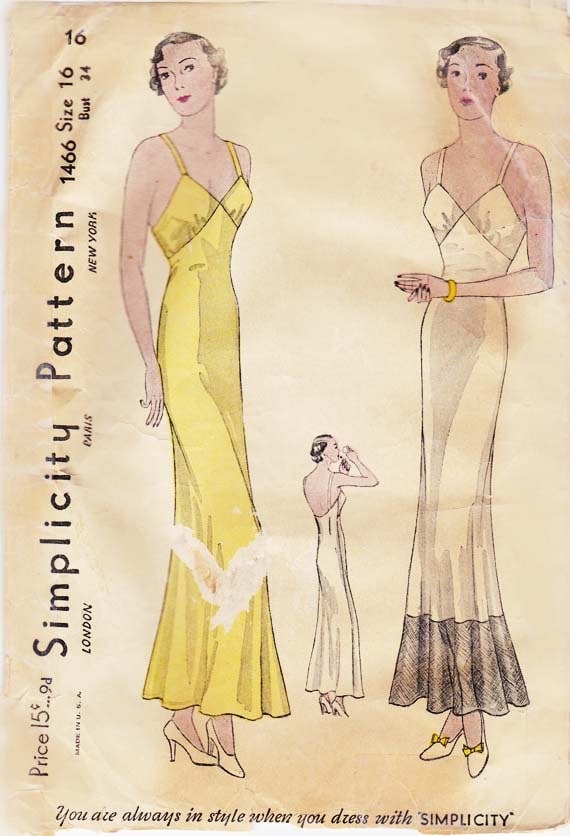
Or the motif sized down a bit would look endlessly sexy on the bust of this slip pattern, available here.
How about you? Have you ever used cut-work in any of your sewing?
In other news - I have just discovered an ant crawling along the edge of my desk here and now I must re-home him. Here's a tip: Don't eat Reese's peanut butter cups in your office.
Monday, May 5, 2014
Finished UFO: My 1930's Silk Bra - Depew #610
Hello lovely readers. In our last post we talked about my getting back to sewing as a bit of therapy. I have been working with my hands for the last 4 days now and it has helped enormously! I finished a UFO project from before my mother passed away and also got started on a beautiful embroidery project. I'm feeling just a little bit more myself today.
The bra pattern that was sitting unfinished was about half done and was waiting for a fitting so that I could put my closure at the back. The bra is made using my any size draft-at-home pattern, Depew #610 and I'm so happy with how it came out. (Keep in mind that it fits me perfectly, though it's a bit off on Lusty Lulu - she's a bit more symmetrical than I am).
I used silk crepe de chine for the main fabric, and I re-purposed a soft silk vintage scarf (cutting around a few pinholes) for the lining.
Subscribe to:
Comments (Atom)


