First off, for those of you who are interested in a fascinating blog post on the 1940's style bra silhouette, check out
this very well researched post on By Gum, By Golly.
 |
| Photo from By Gum, By Golly. |
We also had a good question yesterday about darts: after resizing her bra pattern to allow for a larger bust size, Xye asked:
Anna! Where is the top dart supposed to lie? Mine is pointing the dart nearest the side/furthest from centre - so not central to bust point? And how far from centre back should the tapered point of the upper bra piece end? Mine is ending about 2" from centre back (I think, while squinting and half turning to look in the mirror!). Thanks!
This is a great question! Xye, your top dart is in just the right place! Good job! The back sounds about right too. On mine it is about 2 1/2" from the center back, but this will vary a bit depending on whether or not you extended the back, and how much stretch your bra band fabric has on the bias.
And now on to binding the top of the bra:
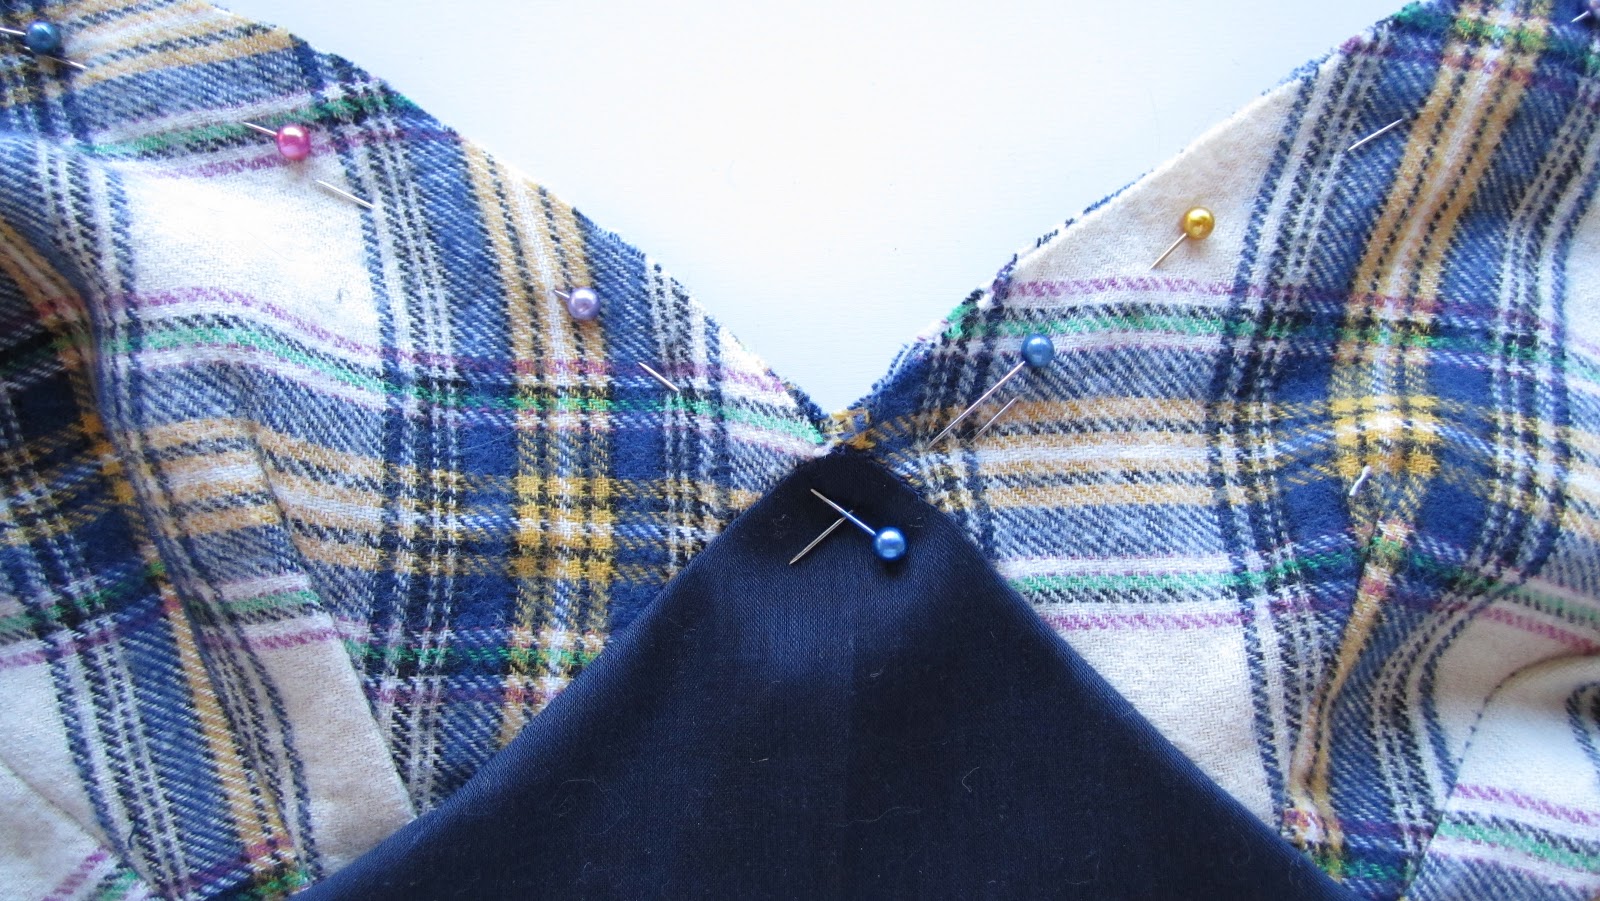
When last we left off, we had just finished creating a separate outer and lining. Place the outer and lining pieces WRONG sides together.
 |
| Outer and Lining Wrong sides together. |
|
Start by matching the center front and pin a few pins to secure them together.
 |
| Pin the center front of outer and lining WRONG sides together. |