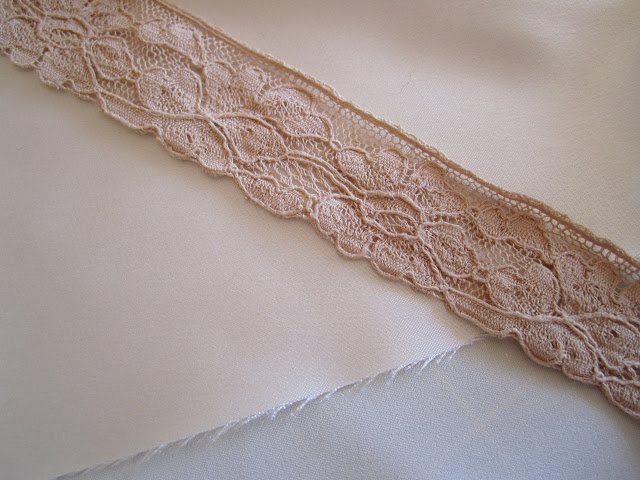
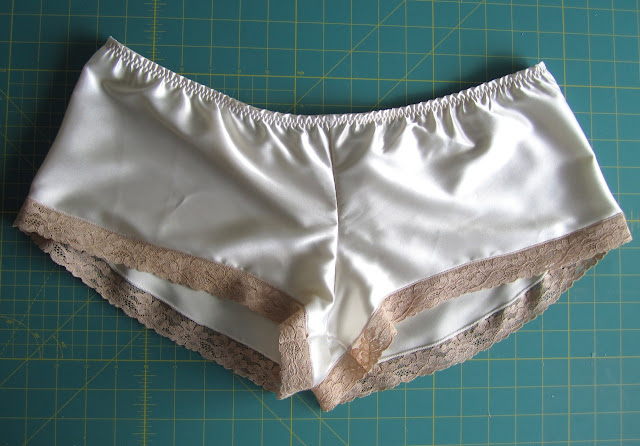
I started by sewing a simple pair of the French knickers using some cream colored satin. I chose to use some vintage lace from my stash (originally acquired from my mom and her lovely shop).
My lace is about 1" wide (2.7 cm). Lace much wider than this might not sit right, and might look funny on your thighs. If you have some wider lace you'd like to try, test it out by pinning a length to one leg opening and see if it fits ok.
Since I'm using some rather old lace, here are some tried and true tips for sewing with vintage lace:
- start by gently hand washing your lace. If it survives a hand washing then chances are it's strong enough to be used in your project, worn, and gently washed in the future.
- carefully press you lace on low heat.
- examine the lace carefully for any hidden stains before you start sewing with it.
- if you have them, silk pins can help you secure more delicate lace to your fabric as you sew.
Start at the crotch seam and pin your lace, right side up to the outside of the knickers leg opening.
By starting at the crotch seam, we ensure that if there are any small mistakes at the finish, they'll be well concealed there.
 |
| This might just be me, but pinning like this, as opposed to perpendicularly, helps keep slippery fabrics in place. |
When pinning the lace, the upper edge of the lace should be 3/8" from the edge, which is the seam/ hem allowance along this edge.
Reserve a 1/4" overlap on each lace end so that you have a seam allowance to join your two lace ends together.
Pin your lace ends right sides together, and then flip the lace over and lay it flat against the leg opening. Check to see if there is any excess, or if you need to adjust the lace at all.
 |
| As you can see here, the lace is the right length, but I'll need to move my lace seam over a bit to match the crotch seam. This only matters if you're super particular about things like this :) |
Flip back to the wrong side of the knickers and lace, and hand stitch the lace ends together. A small overcasting or blanket stitch on the ends will finish it nicely.
Now finish pinning your lace in place at the seam, and get ready to stitch.
The best stitch for attaching lace to other fabrics is an applique or satin stitch. Check your sewing machine manual to see if you have one. If not, use a narrow, tight zig-zag stitch.
 |
| It's stitch #24 on my Bother HE-240 |
My stitch is the exact width of the narrow end running along the top of my lace. Stitching slowly, applique stitch the lace all the way around the leg opening.
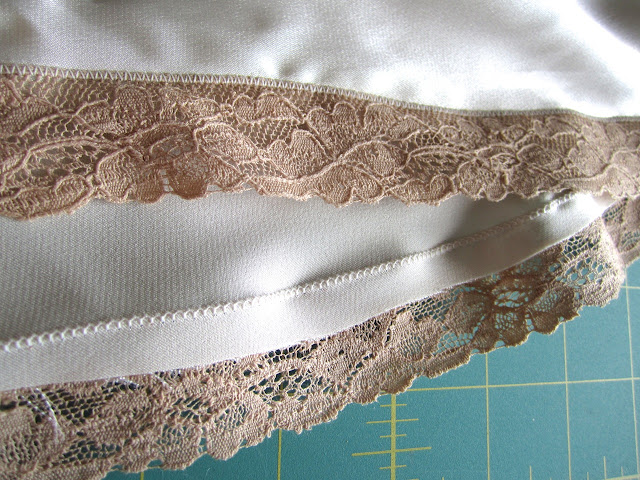 |
| My lace stitched to the leg opening. |
Here's how to avoid it completely:
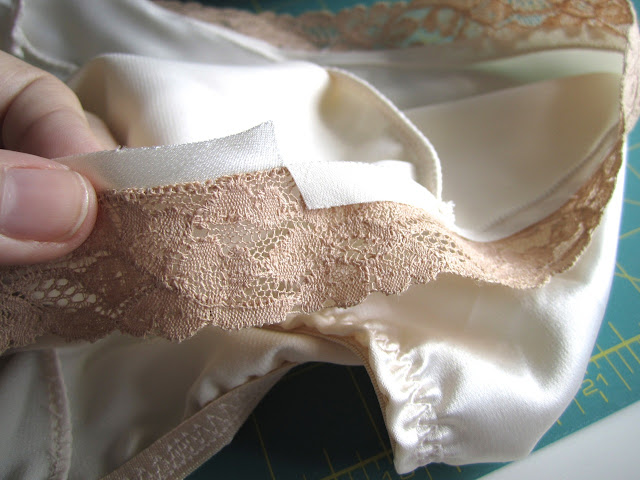
Make a vertical snip into the fabric to be trimmed off as in the photo above. This is your starting point.
Flip one end of the fabric up, and fold the lace underneath down so that the lace is folded to the right side of the knickers.
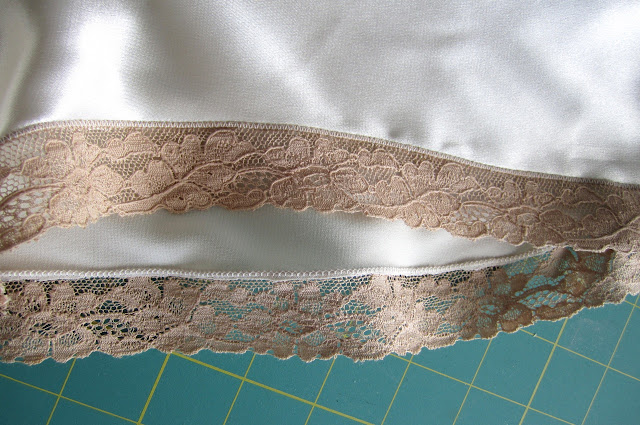
Now you can easily snip the excess fabric away right up to the applique stitch, without worrying about cutting into your lace.
 |
| My hem allowance trimmed away from the lace on the inside. |
 |
| The lace edge from the outside. |
And tada! You have a nice and clean lace edge for your knickers!
Here is my (almost) finished lace trimmed version of the Ma Cherie French Knickers.
What more do they need, you might ask? Why, my initials delicately embroidered into one of the edges, of course. More on that next time!





So pretty!
ReplyDeleteI really must have a go at something like this, but the vintage singer I use only does straight stitches. So I don't know how it would work :-/
Still beautiful though!
Jo :-)
So beautiful! I'm a little late to the game but I believe I need french knickers in my life!! =)
ReplyDeleteLove the way these came out. I made a pair already that I used my serger and a really thin yarn to finish the openings. It came out great! I can't wait to make another pair to use some of my vintage lace on!
ReplyDeleteThanks for this - it's so clear and easy to understand :)
ReplyDeleteI just completed mine and they are so pretty. I cant wait to see what you do with the embroidery.Thanks
ReplyDeleteSuch a detailed post with a beautiful outcome! Thank you. x
ReplyDelete